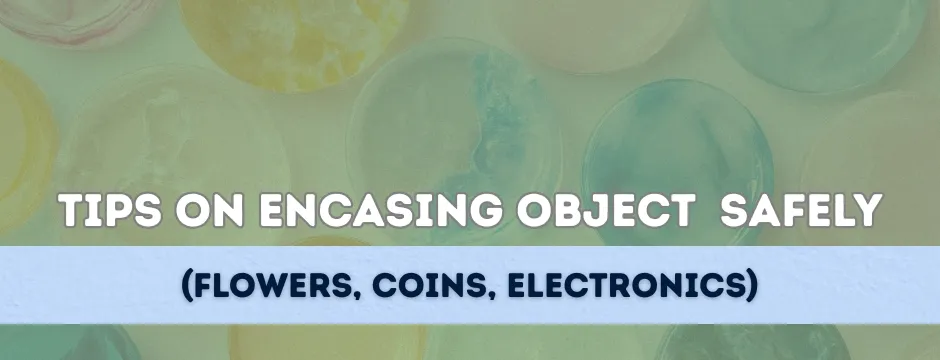
Step by Step Guide to Embedding Inclusions in Epoxy Resin
Resin art is not only about pigments and smooth finishes but also a storey. One of the most magic tricks is placing objects into epoxy. It could be the preservation of flowers in a wedding bouquet, displaying an old coin, or even a hobby of working with little electronics, all that would be placed into a case of transforming the most common things into the most valuable handover.
And in case you have ever been concerned about bubbles, or a sinking object or object discolouring in resin, this guide will take you through each step one by one to ensure you embed objects successfully.

Why Embed Objects in Epoxy?
- Preservation: Keep sensitive things such as flowers, documents or shells dry and dry.
- Aesthetic interest: Get three-dimensional/ depth- objects look to be suspended in crystal-clear resin.
- Applications: Production of jewellery, tabletops, paperweights, display blocks, or encapsulated electronics.
- Personal meaning: Pin up sentimental objects such as charms, fabrics or mementos.
Choosing the Right Objects
It is not possible to have everything embedded safely. Here is a quick guide:
Best options:
- Dried flowers and leaves
- Nonporous objects (beads, coins, stones, metal charms, glass pieces, etc.)
- Photos or paper (sealed first).
- Small-electronics (not functioning / ornamental)
Objects to be avoided (except in some cases prepared):
- Fresh flowers (water causes browning)
- Food products (Release and rot gases)
- Moist (mould risk) organic material.
Pro tip: Sealing and drying porous items prior to embedding will avoid the bubble and moisture damage.
Sealing Porous Objects
Porous materials such as paper, fabric or dried flowers absorb resin and traps air resulting in bubbles. To prevent this:
- Dry thoroughly - Flowers should be pressed or silica-dried. Paper is to be flat and dry.
- Sealer Apply the clear-drying spray sealer, Mod Podge, or a thin coat of resin.
- Seal in layers Two coats are better than one.
- Wipe dry and then implant.
This is so as to keep your embedded object free of bubbles.
Selection of the Resin to be used in Embedding.
Not every resin is made the same. In embedding, clarity and viscosity are important:
- Deep pours and embedding of large objects are better done with casting resin (low viscosity, longer cure).
- Epoxy coating resin is used to do shallow shallows (jewellery, coasters) with objects resting near the surface.
- UV resin is superb when it comes to small projects that are quick and limited to thin layers.
- In a precarious situation, use a crystal-clear precast epoxy resin which is to be used to apply thicker layers.
Embedding Techniques
1. Suspension (Floating Effect)
- Pour a thin resin layer.
- Put your sealed object in a good position on the tacky surface.
- Add more resin to cover.
This helps to avoid the sinking of the object to the bottom.
2. Layering (Depth Effect)
- Apply resin in layers (e.g. background, object, topcoat).
- Add objects in various steps to create a 3D effect.
- Ideal to adorn with flowers, glitter or several coins.
3. Complete Encapsulation (Solid Block)
- Make or work with a mould (cube, sphere, dome).
- Halfway pour, object, top up.
- When cured de-mould, sand/polish edges.
Avoiding Common Problems
Bubbles:
- Pre-seal porous objects.
- Heat gun or torch is used over the surface of resin lightly.
- Let the resin warm slightly and then combine to achieve reduced viscosity.
Sinking objects:
- Allow the initial resin layer to become sticky, and then add objects.
- Have thin pours rather than a thick pour.
Discoloration:
- Proper dry and seal organic matter.
- Select epoxy that is not yellowing with UV.
Floating objects:
- Pre-paste with resin glue and then pour.
- Add bit by bit so as to hold things in place.
Special Case: Embedding Electronics.
Epoxy is good at insulating and protecting electronics, however, you have to be careful:
- Embed only non-functional ornamental components (e.g. gears, art wires).
- In case of functional circuits, potting resins used should be electronics specialised.
- Always be compatible-heat during curing can be detrimental to delicacy.
Dealing with Your Embedded Project.
Once fully cured:
- Carefully scrape off demould - Give a rub at Flex silicone moulds.
- Sand as desired - You can begin with 400 grit, but then proceed to 1000 or more to make clear.
- Polish & buff - Resin polish or buffing compound.
- Apply a protective topcoat - This is a thin flood coat which guarantees a glass-like appearance.
Project Ideas of Embedding.
- Resin Jewellery: Little charms, pressed flowers, shells.
- Memory Blocks: Baby souvenir (lock of hair, hospital band).
- Ornamental Materials: Coins, stamps, old trinkets in coasters or trays.
- Tabletops: Capsule bottle caps, photos or other small items with a resin flood coat.
- Geek Projects: Embed gears (or circuit boards or small figurines).
Common Mistakes to Avoid
- Planting of fresh (wet) flowers onto the ground → causes rotting/discoloration.
- Pouring too slow → burns, forms bubbles/cracks.
- Failing to seal objects → acting as porous matter are prone to bubbles.
- Layering over layers → Never lay on more till some more has been cured.
- Improper resin type used → coating resins tend to crack during heavy pours.
FAQs
Q: Can I embed photos in epoxy?
Yes but make sure you seal the photo with Mod Podge or laminate to avoid the ink to run around.
Q: What about the bubbles around flowers.
Seal the flowers and pour the thin layers in and then apply the torch/heat gun to get rid of the trapped air.
Q: Does resin destroy coins or metal?
No, but certain metals will be a little tarnished--coating the coin with clear first will do.
Q: How far can I pour resin to embed in?
Casting resin to a layer of a few inches. The coating of resins must be restricted to the thin layers.
Conclusion:
Endless opportunities are provided by epoxy embedding. Personal talismans to epic decorative art, the process of preserving items in resin is useful and aesthetic. Now all you need is preparation: dry, seal, and place your items in a careful manner, and your resin will have them in crystal clarity all the years to come.
Seal it, set it, and let your memories live forever in resin.


