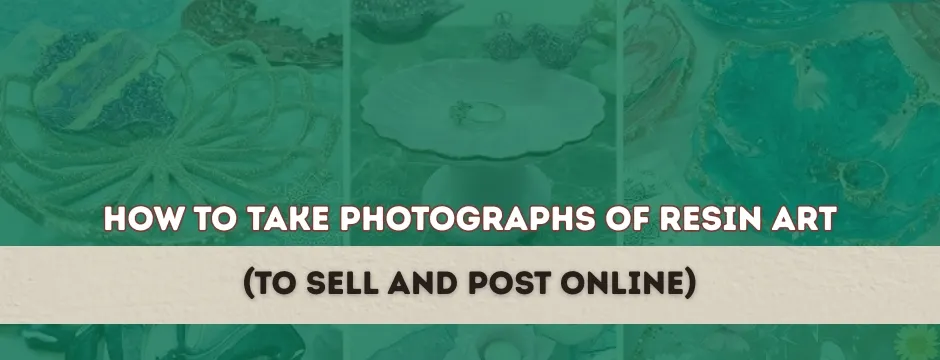
How to take Photographs of Resin Art (to sell and post online): Lighting, angles and process tips.
You have poured, waxed, and finished your resin item, but when you snap a photo, it simply does not seem so beautiful as it is in real life. Sound familiar?
It is difficult to photograph resin art. Its smooth, shiny, reflective surface may cause glare or colour distortion or conceal detail, particularly when photographed in the wrong light or at the wrong angle. This is where proper resin photography techniques become important.
With the right resin photography techniques, however, you can make your photos as stunning as your artwork, perfect for Instagram, Etsy, or your online store. Learning how to photograph resin art properly will completely change your results.
We are going to start by exploring the most effective methods of capturing resin art and social media and sales, including expert resin art tips for photographers.


Master the Lighting
The most significant aspect of resin photography is lighting. Due to the property of resin that makes it reflective, intense or direct light may cause shiny white spots or destroy your design. This is one of the most important resin photography techniques.
Best Lighting Setup
- Use diffused natural light.
- Take a picture next to a window with mild daylight, ideally in the early morning or in the late afternoon.
- Hang a piece of pure white curtain or a piece of baking paper to take the shine off the sunlight in case it is too strong.
Avoid overhead lights. They are prone to glare and distorted shadows. Rather, side lighting is used to demonstrate texture and depth in professional resin photography.
For indoor or night shoots, you can invest in a lightbox or softbox kit of LED lights and set up the lights in 45 degrees on each side of whatever you are working on to minimise reflections—essential resin art equipment for photographers.
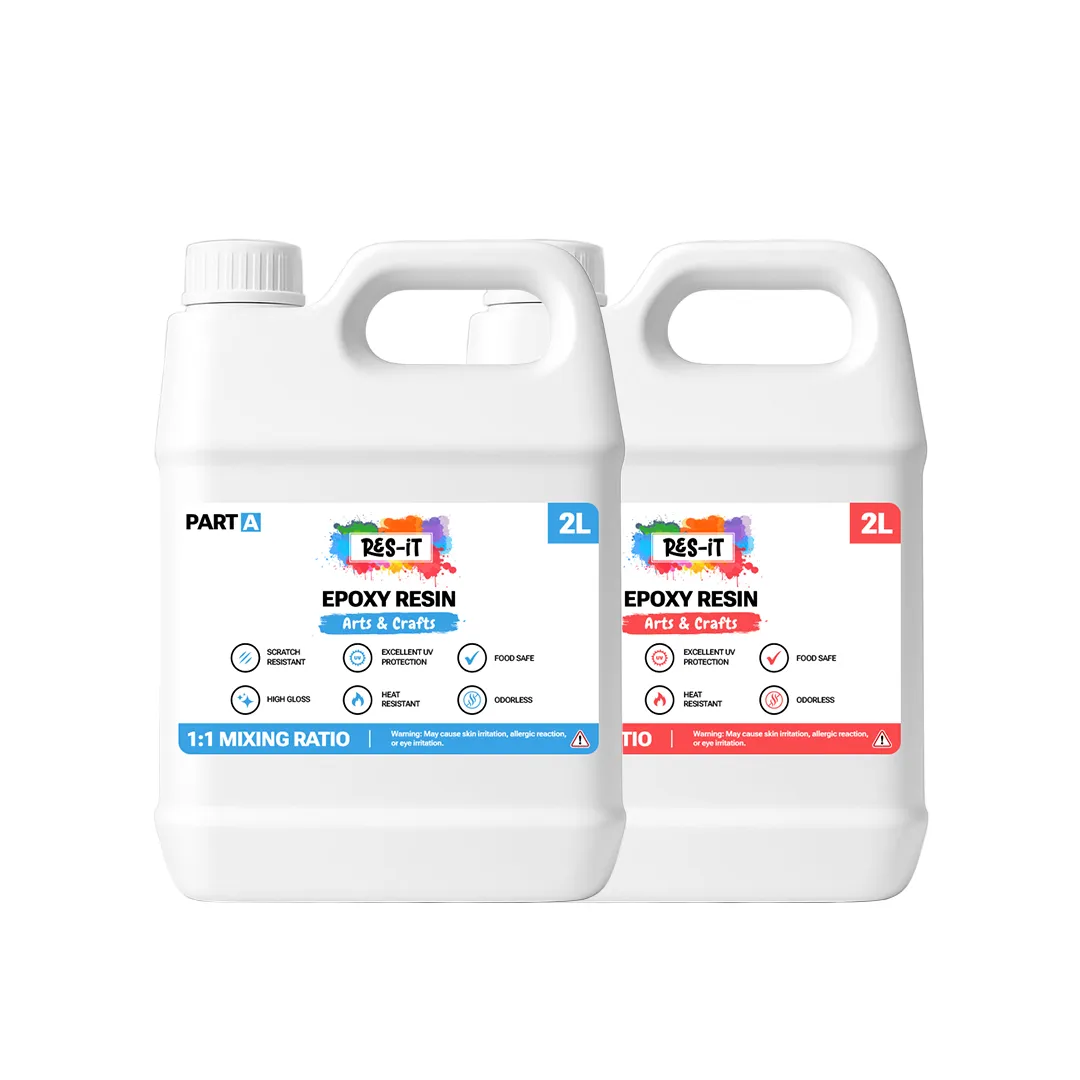
Pro Tip: When selling art on the Internet, a light box with adjustable LEDs (such as the ones included in the Epoxy Res-iT Artist Starter Bundle) will offer a constant, glare-free light to take professional pictures, improving your resin photography techniques.
Choose the Right Background
Not the background, but the resin art should be the highlight. This is one of the most important resin art tips for photographers.
- Apply white, grey, or beige on clear resin or colourful artwork.
- Metallic or glittery designs should be printed on black backgrounds so that they stand out.
- Do not have patterned surfaces that distract the eye and compete with your work.
- In case of social media posts, alternate the background colours to make the feed consistent.
Res-iT Tip: Vinyl or matte photography backgrounds are best since they minimize reflections as opposed to the glossy surface.
Find the Perfect Angle
Straight-on shots often cause glare. Try these resin photography techniques:
- Move your camera or your painting a little upside down or downwards to prevent window reflections or light reflection.
- Shoot in different angles, top-down when the item is a flat such as coasters or trays and low-angle when the item is a depth such as the geodes or river tables.
- In the case of Instagram reels or Tik Tok, slow pan shots are to be recorded to showcase shimmer and colour change.
Pro Tip: Use a mini tripod to ensure that your camera or phone is at a level position, which prevents the problem of shaky shots and also gives you a chance to have a light key resin art equipment for photographers.
The best camera settings to use.
You do not require an expensive DSLR, as a smartphone camera can be used perfectly with it for photographing resin art.
Photographic Tips in Smartphones.
- Switch the flash off, as it brings bright spots on resin.
- Tap to focus on the focal point, and then drop the brightness down a notch to adjust exposure.
- Small pieces of resin should be done in portrait mode; it will blur the backdrop to give a professional appearance.
- When you have bright and dark spots in your piece, then shoot in HDR mode.
If using a DSLR, start with:
- ISO : 100 - 200
- Aperture: f/4 - f/8 for sharpness
- White balance: Daylight
Wash and Pre-Clean Your Resin Piece.
Clean up your resin piece before shooting, remove dust and clean. This is essential for clean resin photography.
- Wipe using microfibre cloth.
- Examine under varying lights - smudges and lint.
- Do not touch immediately before taking photos; use gloves where necessary.
Composition & Styling Tips
The way of presentation is important, particularly on social media posts and for improving resin art tips for photographers.
Try these creative ideas:
- Put the piece of resin on a board of wood or a cloth of a neutral colour to texture it.
- Use something soft, such as dried flowers, brushes, or your brand tools (moulds, pigments, etc.) to create a story.
- Minimizing the scene to one or two complementary objects only.
- Make certain you leave some negative space around the subject in case you wish to crop it later when needed, according to the square or the vertical format.
Pro Tip: Before you crop your shot to look like it was in natural proportions, always take a picture of your art and then utilize the same photo on your web listing, reels, and advertisements.
Finishing with a Smooth Appearance.
Editing does not imply that you are altering your work of art; it simply implies that you are trying to use the photo to add reality to it.
Simple Editing Steps
- Crop and straighten - centre and align your piece.
- Control brightness and contrast - resin should be bright but not to be overexposed.
- Adjust colours - match your photo to a real-life appearance of your resin.
- Sharpen a little - to emphasise details and edges.
- Spots of dust or lint - can be removed with the help of apps such as Snapseed or Lightroom Mobile.
Extra Bonus: Be sure to include your brand watermark in an inconspicuous corner before it goes live. It assists in securing your work and marketing your brand whenever shared.
How to optimize Photos on social media and sales.
The various platforms support different formats including content for resin photography techniques and how to make resin jewelry at home.
- Instagram: Square (1:1) or vertical (4:5) pictures; natural light appears the most beautiful.
- Etsy or Website Listings: Horizontal shots (3:2) with minimal backgrounds should be used.
- Pinterest: Tall (2:3) photos with text overlays are better.
Hit descriptive captions with keywords such as epoxy resin art, handmade resin coasters or UK resin artist.
Freebie: Add your Epoxy Res-iT resin kit or your pigment bottles in a couple of behind-the-scenes shots, this adds the realism, and also markets your products by default.
Frequently asked questions
1. How do I clean up the epoxy resin tools that I use?
Wipe your resin instruments (cups, sticks and spreaders) with paper towel each time you pour with a little isopropyl alcohol. Allow the resin, which may be left to dry completely, and then peel off. Plastic tools should not be exposed to acetone because it may lead to the tool being cloudy or broken.
2. Can mixing cups and silicone moulds of resin be reused?
Yes! Silicone moulds and flexible mixing cups can be reused several times as long as it is clean. This can be done by letting the resin cure and then bending it out. Mould release spray is supposed to be applied frequently to extend the life span of the mould as well as keep the surfaces shiny.
3. What shall we do to avoid the resin on the moulds or cups?
Pouring must never be done without a mould release agent or silicone spray. It suppresses the bonding of resin and promotes demoulding.
4. Which is a better way of cleaning resin tools with alcohol or acetone?
Isopropyl alcohol (IPA) is suggested for general cleaning of resin tools in simple cleaning because its cleaning is not difficult, effective, and not dangerous to silicone.
5. How can I make my resin tools last longer?
Wipe tools as soon as they are used and store them in a dry, dust-free area, and always store silicone moulds flat so that it does not bend.
Final Thoughts
Great pictures do not only make your resin art look prettier they generate trust and increase sales. By mastering resin photography techniques like lighting, angles, and editing, your creations can appear as vibrant and detailed online as they do in real life. This guide covers everything from resin photography to advanced resin art equipment for photographers.
Your next masterpiece will be a glossy on and off-camera masterpiece, with the right photography tools, and epoxy resin kits of Epoxy Res-iT.


