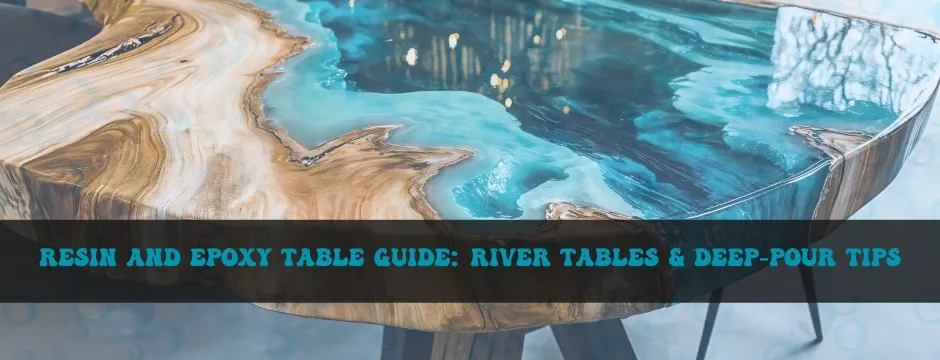
Understanding Resin and Epoxy Table Projects
Epoxy table or resin table is a popular DIY and woodworking project among many people. The combination of wood and resin provides a natural appearance with a touch of classiness, which is ideal in every household. Need to know how to build a river table, build a clear resin table top or know how to make epoxy table, this guide is going to take you step by step. From choosing the correct epoxy and epoxy kit, to deep-pour methods, resin and moulds, and finishing tips - we have you covered.
We will also describe how resin epoxy clear is cured, and how resin can be poured on a wood table to make a quality smooth, long lasting finish that even beginners will find professional.


What Is a Resin and Epoxy Table?
A resin and epoxy table is a wooden table where special epoxy table resin is poured into gaps, cracks, or the centre to make a decorative effect. These tables are often called:
- River table
- Epoxy resin table
- Wood and resin table
- Epoxy table
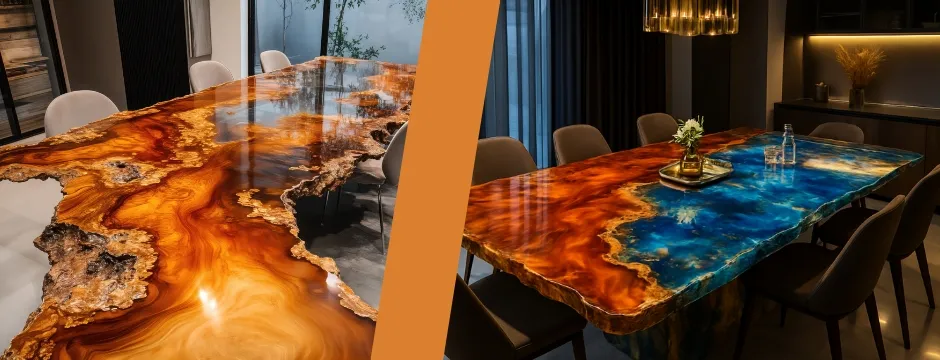
The “river” design comes from resin flowing between two wood slabs, giving the look of water. Using Res-iT epoxy or a complete epoxy kit makes this process much easier, especially for beginners.
Materials and Tools You Need
Before starting, gather all the right materials and tools for your resin table project.
Materials
- Resin epoxy clear (deep-pour formula is best)
- Wood slab (walnut, oak, maple, or acacia)
- Pigments or mica powder (optional)
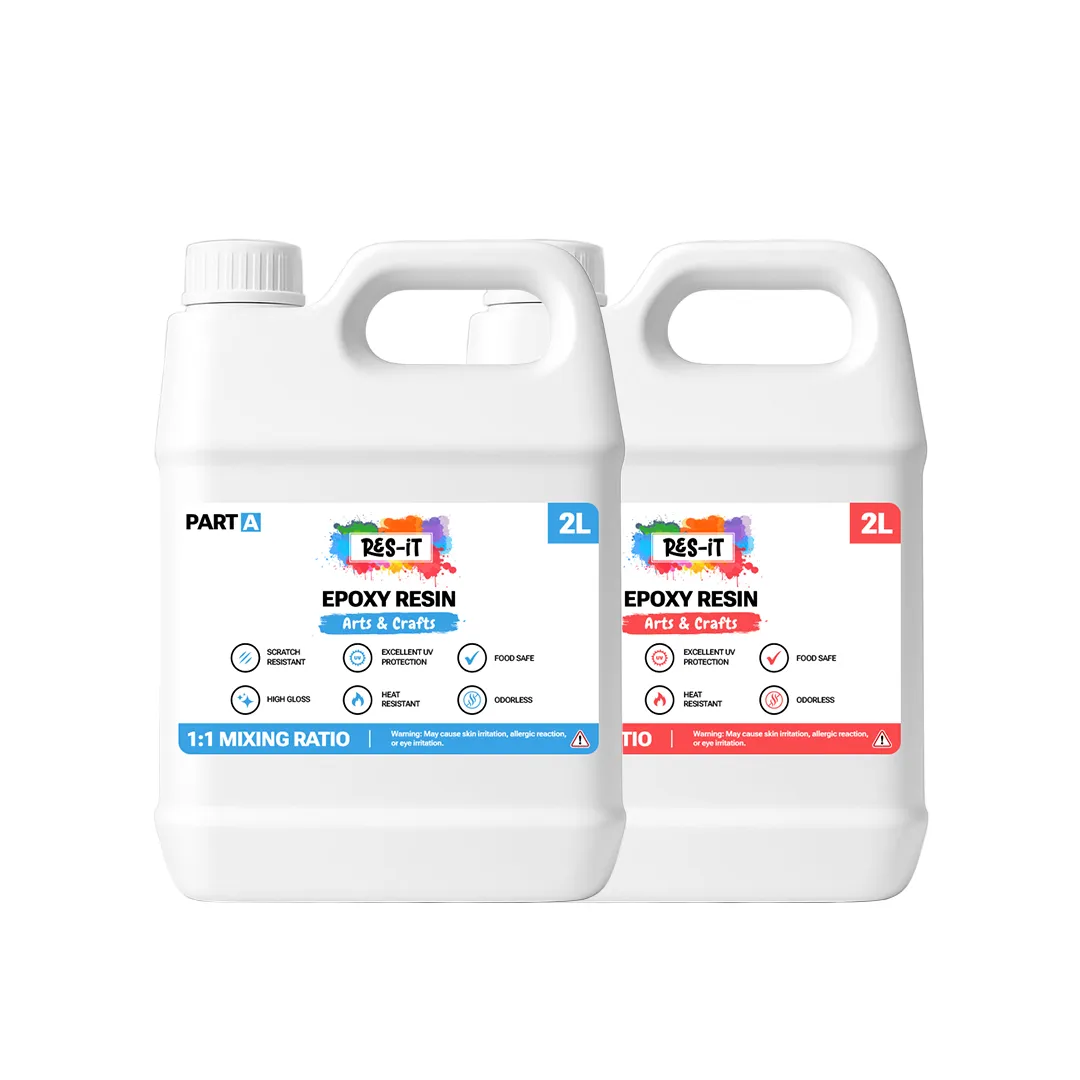
- Res-iT epoxy kit or epoxy resin table kit
- Seal coat resin
- Mould tape or melamine board
- Mixing cups, spreader, heat gun
Tools
- Sander
- Gloves and mask
- Clamps
- Level surface
- Polishing compound
Using a proper epoxy kit ensures you have everything you need and reduces mistakes, especially for deep pours.
Preparing Your Wood for a Resin Table
Preparation is key for a perfect epoxy table resin project.
Steps:
- Clean and dry the wood. Moisture can cause bubbles and cloudy resin.
- Remove loose or weak pieces. Loose bark or cracks can break during the pour.
- Sand lightly. This helps the resin stick better.
- Seal the edges. Apply a thin layer of resin to stop bubbles from rising during the deep pour.
Setting Up Your Resin and Epoxy Mould
Your mould or frame keeps everything in place and ensures a smooth pour.
Steps:
- Use melamine board or HDPE as the mould. Resin doesn't stick to these surfaces.
- Tape the edges with mould tape.
- Make sure the mould is level so resin doesn't flow unevenly.
- Clamp the wood slabs to hold them in place.
A well-prepared mould is essential to create the perfect table river look.
Choosing the Right Resin for a River Table
For thick pours like a river table, choose deep-pour resin instead of normal table-top resin.
Why Deep-Pour Resin Works Best
- Cures slowly to prevent cracking
- Creates crystal-clear results
- Reduces bubbles
- Perfect for fills over 1-2 inches
Using Res-iT epoxy or an epoxy kit ensures you get consistent results every time.
Mixing Resin and Epoxy Properly
Mixing is the most common step where beginners make mistakes.
Tips:
- Follow the mixing ratio exactly.
- Mix slowly to avoid air bubbles.
- Use a large mixing container for bigger tables.
- Stir until the resin becomes clear and has no streaks.
- In case of adding colour, combine pigments or mica powder once the hardener and resin are mixed.
Pouring a Deep-Pour River Table
Step 1: Seal Coat
Add a coating of a thin layer of resin on the wood surface so that the bubbles do not rise to the deep pour.
Step 2: First Layer
Gradually pour resin in the river section. In the event that your resin has a depth limit, pour half way first.
Step 3: Remove Bubbles
Heat gun is used to get out any air bubbles on top.
Step 4: Second Layer
After the initial layer has been partly cured pour the subsequent layer to the depth of full coverage.
Step 5: Curing
Let resin cure fully (24-72 hours) depending on temperature and type of resin.
This task is simplified with the help of Res-iT epoxy, especially for beginners.
Pouring Resin on a Wood Table Top
For a smooth and shiny resin table top:
- Sand the wood well.
- Clean all dust.
- Apply a thin seal coat.
- Pour the table-top epoxy evenly.
- Bubbles are eliminated using a torch or a heat gun.
- Let it cure completely.
A clear resin epoxy table finish that protects the wood and gives a professional look.
Sanding and Finishing Your Resin Table
Once cured:
- Start sanding with 120 grit, then 240, 320, 600, and finally 1000-2000 grit for gloss.
- Optionally, apply oil for a rich wood look.
This gives your resin table a polished, professional finish.
Common Problems and How to Solve Them
- Bubbles: Use a heat gun, seal coat, and warm workspace.
- Cracking: Happens if pouring too thick or in cold weather.
- Yellowing: Use UV-resistant Res-iT epoxy and avoid sunlight during curing.
- Sticky Resin: Usually caused by incorrect mixing ratio - measure carefully.
Best Resin Products for Your River Table
- Deep-pour formula
- UV resistance
- Low heat reaction
- Crystal clear finish
- Long working time
A Epoxy Resin 2L Pro Kit is perfect for beginners, including all you need for a river table, resin table top, or epoxy resin table project.
Conclusion
Simple instructions make it possible to make a resin and epoxy table either a river table, a clear resin table top, or an epoxy table. This will give you a professional quality table which will last many years when using the right material such as Res-iT epoxy or an entire epoxy package and doing it the deep-pour way and taking your time to ensure that the material is put into place.
You are either creating a table river or adding some colour effects or just protecting the wood, this guide will provide you with all the tips to get your project going without any hesitations.
Frequently Asked Questions
Which resin is the most suitable in making a river table?
A: In the case of a river table, Epoxy Resin 4L Pro Kit (deep-pour) is preferable or an epoxy kit of high quality. Deep-pour resin takes a long time to cure, forms fewer bubbles, and forms a crystal-clear finish, which is ideal with thick pours.
Can I pour resin directly on wood without a mould?
A: The small pours do not necessarily need a mould but it is generally more appropriate to use resin and moulds or a framed set. This maintains the resin within, gives the resin smooth effect of a river on the table and prevents leakages.
What is the approximate time of a resin table to finish drying?
A: The time to cure is based on the pour and resin type thickness. The average time of a resin epoxy clear pour is 24-72 hours to complete cure. Multiple layers can be used in deep-pour, with each layer taking sufficient time to dry before the next one.


