Resin Cure Guide: Timing and Temperature(UK)
Epoxy resin is highly rewarding to deal with, yet it is extremely sensitive to temperature, humidity, and time. Curing resin may be particularly a problem with resin artists and DIY users in the United Kingdom. The effect of cold winters, wet garages, sheds, and the change in humidity on resin curing and hardening can vary suddenly.
Whenever you have completed a resin project only to realize that it is sticky, cloudy, soft, or not smooth, then the problem is generally related to the cure schedule. Cure schedule: This is the combination of temperature, time, and environmental conditions enabling resin to cure appropriately.
In this guide, we will discuss how epoxy resin cures and why the temperature and time used are important, and how you can use your working environment in accordance with the UK weather. Good, clear, and professional results in resin are attainable all year round with the correct formula.


Res-iT 2L Pro Epoxy Resin Kit
Res-iT Epoxy Resin 4L Pro Kit
What Is a Resin Cure Schedule and Why Is It Important?
A resin cure schedule will be the temperature and time required to ensure that epoxy resin has hardened. Each resin system possesses a profile of its cure. This is based on the proportion of resin to the hardener, the chemical formula, and the environment.
In case the resin fails to cure properly, several issues may manifest themselves.
In case the resin is too slow to dry, you can see:
- A sticky or soft surface
- Amine blush or a cloudy haze
- Dust settling into the resin
- Finished works which are weak or indifferent.
Should the resin cure too fast, it may have the following effects:
- Excess heat (exotherm)
- Cracks or yellowing
- Surface bubbles
- Uneven or rippled finishes
Having the proper schedule of cure procedure can facilitate proper hardness, clarity, and long-lasting durability. This is required when doing resin art, jewellery, countertops, or river tables.
Optimal Resin Curing Temperature.
Epoxy resin is cured best under warm conditions, yet excessive heat must not be used. The majority of the epoxy resins available for use are those that cure at room temperature.
Recommended curing temperature:
20degC to 25degC
At a lower range, the chemical reaction becomes slow. In the area above this, resin can be cured too quickly and form defects.
Challenges of temperature within the UK.
Most individuals in the UK work in sheds or garages where the temperatures would go down to below 10 °C during winter. Under such circumstances, resin can take days before it can cure, or it may not.
Lofts and conservatories may get hot up to 28 °C easily during summer. Heat may lead to overheating of resin, which may result in bubbles and uneven cure.
Temperature Control Tips
- Heat the working area and then combine the resin. Still, a small space heater is capable of heating the room to a safer temperature of 18-22 °C.
- Heat the bottles of the resin by placing them in closed containers in warm water (30-35 °C) and letting them warm there for approximately 10 minutes. This reduces viscosity and assists the bubbles of air to escape.
- Direct heat sources like heat guns should not be used in the curing process as they will leave spots of heat and damage surfaces.
- Low-temperature resins like deep-pour resin tend to be more consistent.
The effect of humidity on resin drying.
Humidity will not prevent resin from curing, but it may have a serious impact on the surface finish. The high moisture content in the air could interact with the hardener, particularly when the curing period is long.
Due to excessively high humidity, you can have:
- Cloudy or milky surfaces
- The so-called amine blush is a greasy or waxy coating.
- Low level of resin adhesion.
Humidity Control Tips
- Target level of humidity between 40 and 60%.
- Install a dehumidifier in areas that are enclosed, like a garage or a shed.
- Moisture absorbers can be used with small curing boxes that have silica.
- The rainy days or very humid days should be avoided with large surface pours.
- In case of the appearance of amine blush, wipe the surface using warm soapy water and dry it, trying not to touch sand, then wipe it with sand and recoat.
Coastal and high-moisture regions in the UK can have a special need for good humidity control.
Knowledge about Resin Curing Time.
The temperature is not as essential as the timing when using epoxy resin. The majority of resin products give an account of the curing stages.
- Pot life: The duration of time that the mixed resin can be used before thickening (20-60 minutes)
- Gel time: The resin can be considered sticky or rubbery (1-3 hours).
- Demould time: The time at which the resin is safe to be removed from the moulds (12-24 hours).
- Complete cure: Resin gains maximum strength and clarity (3-7 days).
Timing Tips
- Do not demould too early. Resin can be hard on the surface, yet it can be in the process of curing.
- Assess the correct resin to use. Thick pours mean the use of slower-cured systems, while thin layers prefer faster resin.
- Make sure that the layers have time in between. Bonding is best achieved when the last layer is partially cured, but it is not still tacky.
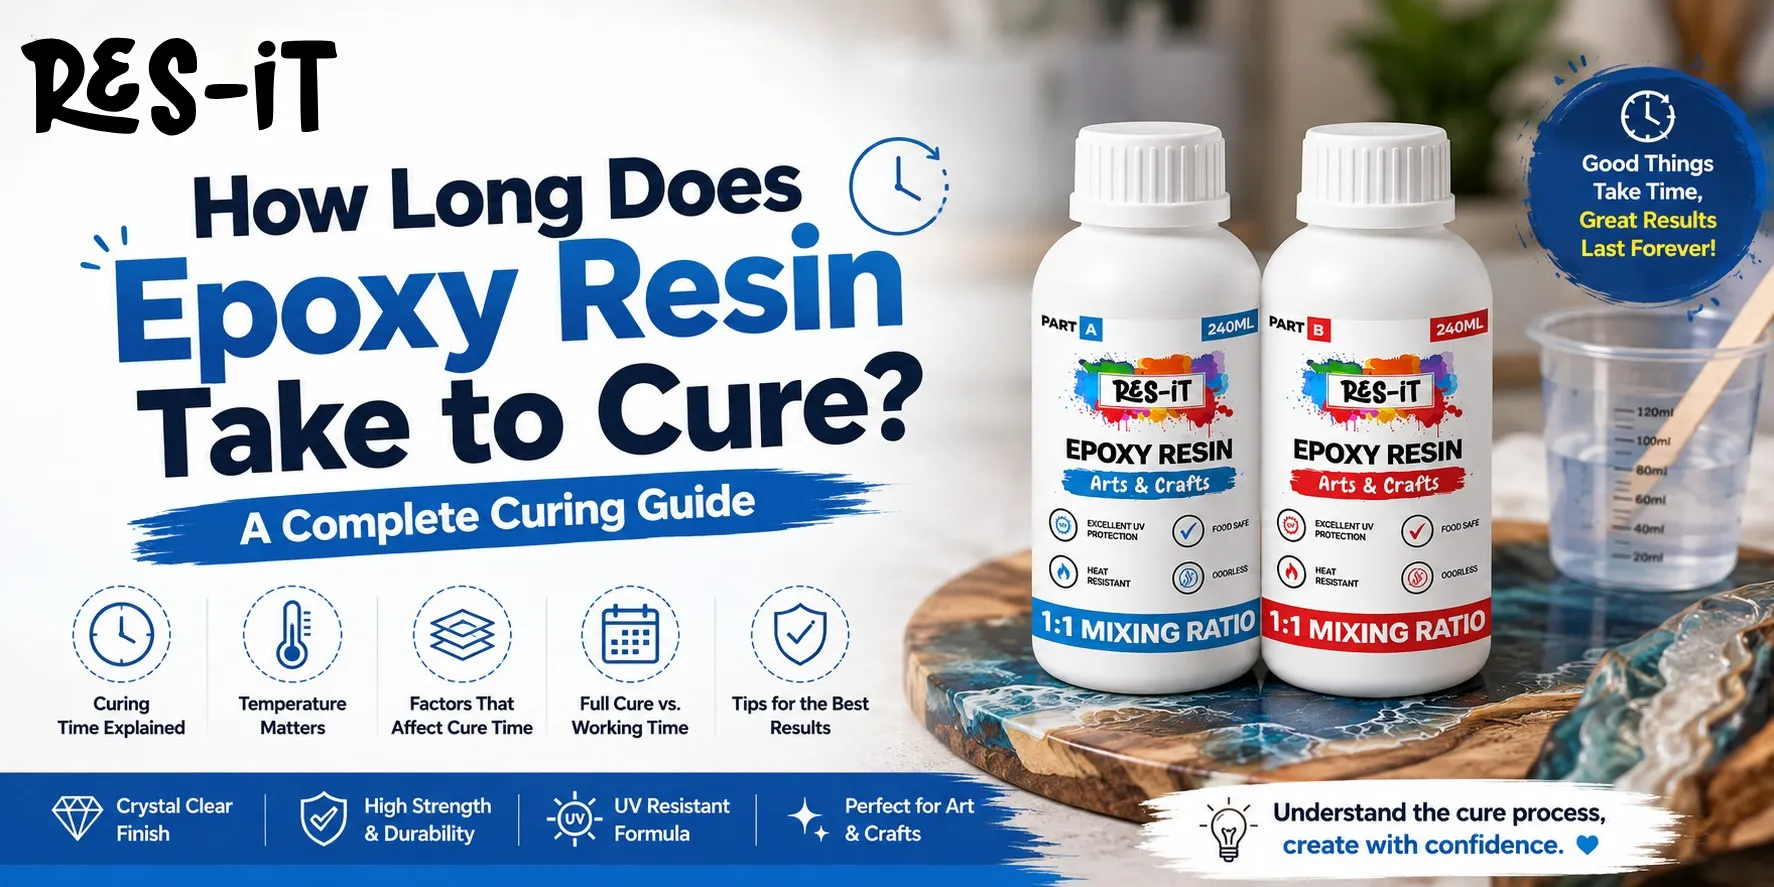
How Long Does Epoxy Resin Take to Cure?
One of the most common questions among resin artists is, "How long does epoxy resin take to cure?" The answer depends on the type of resin, the room temperature, humidity levels, the thickness of the pour, and the manufacturer's instructions.
Most standard epoxy resin systems follow a similar curing schedule:
| Curing Stage | Estimated Time |
|---|---|
| Working Time (Pot Life) | 20–60 minutes |
| Initial Set | 4–8 hours |
| Touch Dry | 12–24 hours |
| Demoulding Time | 24–48 hours |
| Full Cure | 3–7 days |
Deep-pour resin systems designed for river tables and thick castings may require additional curing time because the slower curing process helps prevent excessive heat build-up, cracking, yellowing, and trapped air bubbles.
Temperature also plays a significant role in curing speed. Resin exposed to temperatures between 20°C and 25°C generally cures more consistently and produces clearer, stronger, and more durable results.
If your resin remains sticky or soft after curing, the cause is usually one of the following:
- Incorrect resin-to-hardener ratio
- Low room temperature
- Excessive humidity
- Insufficient mixing time
- Pouring layers that are too thick
How to Cure Epoxy Resin Correctly
Understanding how to cure epoxy resin correctly is essential if you want a crystal-clear, glossy, and long-lasting finish. Even high-quality resin can produce disappointing results if the curing process is not carefully controlled.
Follow these simple steps to improve your results:
1. Prepare Your Workspace
Keep the room temperature between 20°C and 25°C and maintain humidity levels below 60%. Dust, moisture, and sudden temperature changes can negatively affect the curing process.
2. Measure the Components Accurately
Always follow the manufacturer's recommended mixing ratio. Inaccurate measurements can prevent the chemical reaction from completing properly and may leave the resin sticky or uneven.
3. Mix the Resin Thoroughly
Stir the resin and hardener slowly for several minutes while scraping the sides and bottom of the container. Proper mixing ensures a consistent texture and minimises the risk of soft spots.
4. Pour the Resin Carefully
Avoid pouring excessively thick layers unless you are using a specialised deep-pour epoxy resin. Thinner layers help reduce overheating and improve clarity.
5. Protect the Surface During Curing
Cover the project with a dust shield or curing box to keep dirt and debris away while maintaining a stable environment.
6. Allow Sufficient Curing Time
Although the surface may feel dry after approximately 24 hours, complete curing often requires several days. Allowing enough time will maximise the strength, durability, and clarity of the finished piece.
Following these steps will help prevent common problems such as cloudy finishes, trapped bubbles, cracking, uneven curing, and yellowing.
Cold weather working with resin in the UK.
- Construct a curing box/ tent with either insulation boards or cardboard that is lined with foil.
- insert a small heater or heat mat to keep warm.
- A thermometer and hygrometer are used to enable proper monitoring of conditions.
- Before pouring, warm silicone moulds are heated to avoid slow curing.
- Drafts should be avoided because a rapid change of temperature may lead to uneven drying.
The initial 12-18 hours of maintaining the temperature are highly essential in the curing process.
Modifying Resin Curing in Hot Weather.
- Blend smaller batches to minimize heat buildup.
- It is recommended that resin should be poured in thin layers instead of in a single deep pour.
- Work either early in the morning or in the evening.
- Slow-curing or deep-pour resins should be used to be in control.
Epoxy Resin Curing Temperature and Time
Getting the right temperature and curing time is essential for achieving a strong, clear, and smooth epoxy resin finish. Temperature can affect the resin's working time, curing speed, viscosity, and final appearance.
Recommended Curing Temperature
Most epoxy resin projects cure best in a stable, warm environment. A temperature around 20°C to 25°C is commonly suitable for many resin systems. Always check the manufacturer's instructions because the recommended temperature can vary between products.
How Long Does Epoxy Resin Take to Cure?
Curing time depends on the specific resin, room temperature, mixing ratio, pour depth, and project size. Many epoxy systems become touch-dry within approximately 12 to 24 hours, while a full cure can take several days.
| Curing Stage | Typical Time |
|---|---|
| Working Time | 20–45 minutes |
| Initial Set | 4–8 hours |
| Touch Dry | 12–24 hours |
| Light Handling | 24–48 hours |
| Full Cure | 3–7 days |
How Temperature Affects Curing
Cooler temperatures generally slow down the curing process and can make epoxy resin thicker and harder to work with. Warmer conditions can speed up curing, but excessive heat may shorten working time and create unwanted curing problems.
Tips for Better Epoxy Resin Curing
- Keep the workspace at a stable temperature during curing.
- Measure and mix the resin and hardener according to the manufacturer's specified ratio.
- Avoid moving the project while the resin is curing.
- Protect the surface from dust, moisture, and temperature fluctuations.
- Allow the resin to reach its recommended full-cure time before heavy use.
For the best results, always follow the technical data and curing instructions supplied with your specific epoxy resin. Different formulations can have significantly different curing times and temperature requirements.
Formation of a Trustworthy Resin Curing System.
- Thermometer and hygrometer electronic.
- Minuscule space warmer or heat blanket.
- Curing box or tent
- Flat and level work surface
- Reminders or timer to follow-up the stages of curing.
The most frequent issues with Resin and the way to solve them.
- Sticky or soft surface: This is a result of low temperature or wrong ratio of mixing. Go to a hot place, scrape (where necessary), and repaint.
- Cloudy finish: This is normally caused by high humidity. Wipe off, dust, polish, and re-polish.
- Cracks or overheating: This is due to heavy rains. Apply thinner layers or resin that cures more slowly.
- Asymmetric hardness: In most cases, caused by drafts or cold. Have consistent conditions up to the time of cure.
Frequently Asked Questions
1. What is the ideal epoxy resin curing temperature and time?
The recommended epoxy resin curing temperature and time is usually between 20°C and 25°C, with a complete cure taking approximately three to seven days, depending on the resin type and environmental conditions.
2. How long does epoxy resin take to cure completely?
Most epoxy resin products become touch-dry within 12 to 24 hours, while full curing generally takes between three and seven days.
3. Can cold weather affect epoxy resin curing temperature and time?
Yes. Low temperatures slow the chemical reaction and may result in sticky, cloudy, or soft resin surfaces if the environment is too cold.
4. What happens if epoxy resin cures too quickly?
Excessive heat can cause bubbles, cracking, yellowing, and uneven surfaces. Always follow the manufacturer's recommendations.
5. What is the best temperature for curing epoxy resin in the UK?
Most experts recommend maintaining a room temperature of approximately 20°C to 25°C for consistent curing results throughout the year.
6. Does humidity affect epoxy resin curing?
Yes. High humidity levels can create cloudy surfaces, amine blush, and poor adhesion during the curing process.
7. How can I speed up epoxy resin curing?
You can improve curing performance by increasing room temperature, reducing humidity, warming the resin bottles slightly, and ensuring accurate mixing ratios.
8. Why is my epoxy resin still sticky after curing?
Incorrect measurements, low temperatures, excessive moisture, poor mixing, or insufficient curing time are the most common reasons for sticky resin surfaces.
Final Thoughts
It is not only a matter of waiting longer to have a proper resin cure schedule. It is knowing your surroundings and dealing with them. In the UK, your results could be highly affected by changes in temperature and humidity.
You can have constant and professional results by heating your workspace, keeping the moisture at bay, selecting the resin appropriately, and having sufficient curing time.
But whether it is a small resin pendant you are making or a large river table, learning how to control the temperature and timing will enable you to make solid, clear, and durable resin pieces each time.