
Layering & Geode Techniques: How to Avoid Cracks, Heat Spikes & Color Bleed in Deep Resin Projects
Creating layered or geode-style epoxy resin art is one of the most rewarding techniques in the craft world but it also comes with its challenges. From unexpected cracks to runaway pigments, many artists discover that deep resin pours behave differently from smaller, shallow projects.
If you have ever searched “why did my resin crack” or “how thick can I pour epoxy resin”, you are not alone. Understanding how to properly layer your resin, manage curing temperature, and control exothermic heat makes all the difference between a perfect geode and a ruined piece.
In this guide, we will explain how to pour safely in layers, balance curing conditions, and keep your colours crisp especially for UK resin users working in cooler or humid workshops.

1. Why Layering Matters in Deep Resin Projects
River table and geode tray projects, and resin wall art that is in deep-pour, can need as little as 10mm up to 50mm (or more) of resin depth. That much resin poured at a time may produce excessive heat, called an exothermic reaction.
In case of overly quickened temperature:
- Crack or warp due to internal stress
- Cure unevenly (hard on top, soft underneath)
- Discolour or yellow prematurely
- Trap bubbles or cause pigment separation
That is why professionals pour in controlled layers. It keeps the chemical reaction manageable, preserves clarity, and allows for more creative control with pigments and effects.
Read our full step-by-step guide on how to give wood a glass finish with epoxy resin here: How to Give Wood a Glass Finish with Epoxy Resin
2. How Thick Should Each Resin Layer Be?
The maximum pour depth is usually indicated on the product label or datasheet of every resin formula. In the case of a deep-pour resin a typical resin may permit up to 25-50mm per pour, whereas a standard casting resin may not permit more than 10mm.
In case you are using Epoxy Res-iT Deep Pour Resin, the maximum depth that can be used in each layer is approximately 20-30mm at 20°C. However, over doing this will result into overheating or cloudy finishes.
Pro tip:
- Pour multiple thin layers instead of one thick one.
- Wait until the surface is tacky (not fully cured) before adding the next layer, usually 4-6 hours apart.
This helps the layers bond chemically, preventing visible seams or delamination.
3. Temperature & Curing Tips for UK Climates
In the UK, resin users often deal with cooler garages or damp conditions, both can slow curing and trap moisture in the mix.
This is the way to make the curing environment stable:
- Ideal room temperature: 20-25°C
- Keep it dry: Use a dehumidifier when working in a basement or when it rains
- Avoid moisture: Use a dehumidifier when in a basement or when it is raining.
- Install a curing tent or box heater: Consistency in temperature = consistency in cure.
- Draughts should be avoided: Rapid change in temperature can lead to the formation of micro-cracks or ripples on the surface or cause rippling.
Pro tip: Check your resin temperature during curing with the help of a digital thermometer or an infrared gun. Once it begins to get hot (above 30°C) inside, stop your pours or switch to a cooler place.
4. Avoiding Heat Spikes (Exothermic Reaction Control)
Epoxy generates heat when it is cured. That heat has no place to escape in heavier layers - seamlessly leading to an uncontrolled reaction.
To prevent heat spikes:
- Prepare smaller portions (less than 300ml at once perhaps).
- Add one layer at a time, when the preceding has cooled to room temperature.
- Apply deep-pour resin products that are made to cure more slowly - they give out heat slower.
- During the early curing phase, one must avoid sunlight or heaters.
It is important to remember that the slower the curing the more transparent and bubble-free the results will be.
5. How to Prevent Pigment Bleed between Layers
One of the most frustrating problems with the production of multi-layer geodes or colour gradients is colour bleeding. It occurs when the fresh layer is poured prior to the solidification of the previous layer and the pigments move.
Here is how to prevent it:- Allow each layer to reach a tacky gel phase before adding new colours.
- Use resin pigments or pastes designed for epoxy not alcohol inks, which can diffuse.
- For crisp colour lines in geodes, use mica powders or metallics that settle slightly and stay put.
- If layering transparent tints, apply them in gradual intensity to control blending.
Pro tip: Epoxy Res-iT pigments are designed for non-bleeding consistency ideal for layering art and metallic vein effects.
6. Geode Layering Technique: Step-by-Step Example
Here is a quick example of how to layer resin for a realistic geode:
- Base layer: Pour your clear or tinted base (10-15mm thick) and let it reach a tacky finish.
- Middle layers: Add mica or metallic veins along your design lines using a stick or pipette.
- Add accents: Add controlled layers of colour; place the board tilted to create natural flow.
- Final coat: When the other layers are dry, apply a thin surface coat to give it a domed surface that is glossy.
- Cure complete: Demolding or polishing not before 72 hours have elapsed.
With this technique, complicated, multi-dimensional effects can be produced without colour distortion or overheating.
7. Recommended Tools for Layered Resin Success
For best results, keep these tools in your workspace:
- Digital thermometer / IR gun – to monitor exotherm
- Silicone mixing cups & spatulas – for accurate, reusable mixing
- Epoxy Res-iT Deep Pour Resin Kit – designed for multi-layer projects
- Anti-bleed resin pigments or pastes – for crisp colour definition
- Heat gun or torch – to pop bubbles after each pour
These essentials help prevent common issues while maintaining control over clarity, colour, and finish.
8. Common Mistakes to Avoid
- Pouring layers too thick too fast
- Working in a cold or humid environment
- Mixing more resin than you can pour in 10-15 minutes
- Using alcohol inks in deep pours
- Forgetting to measure resin and hardener accurately
Avoiding these pitfalls keeps your project stress-free and your artwork gallery-ready.
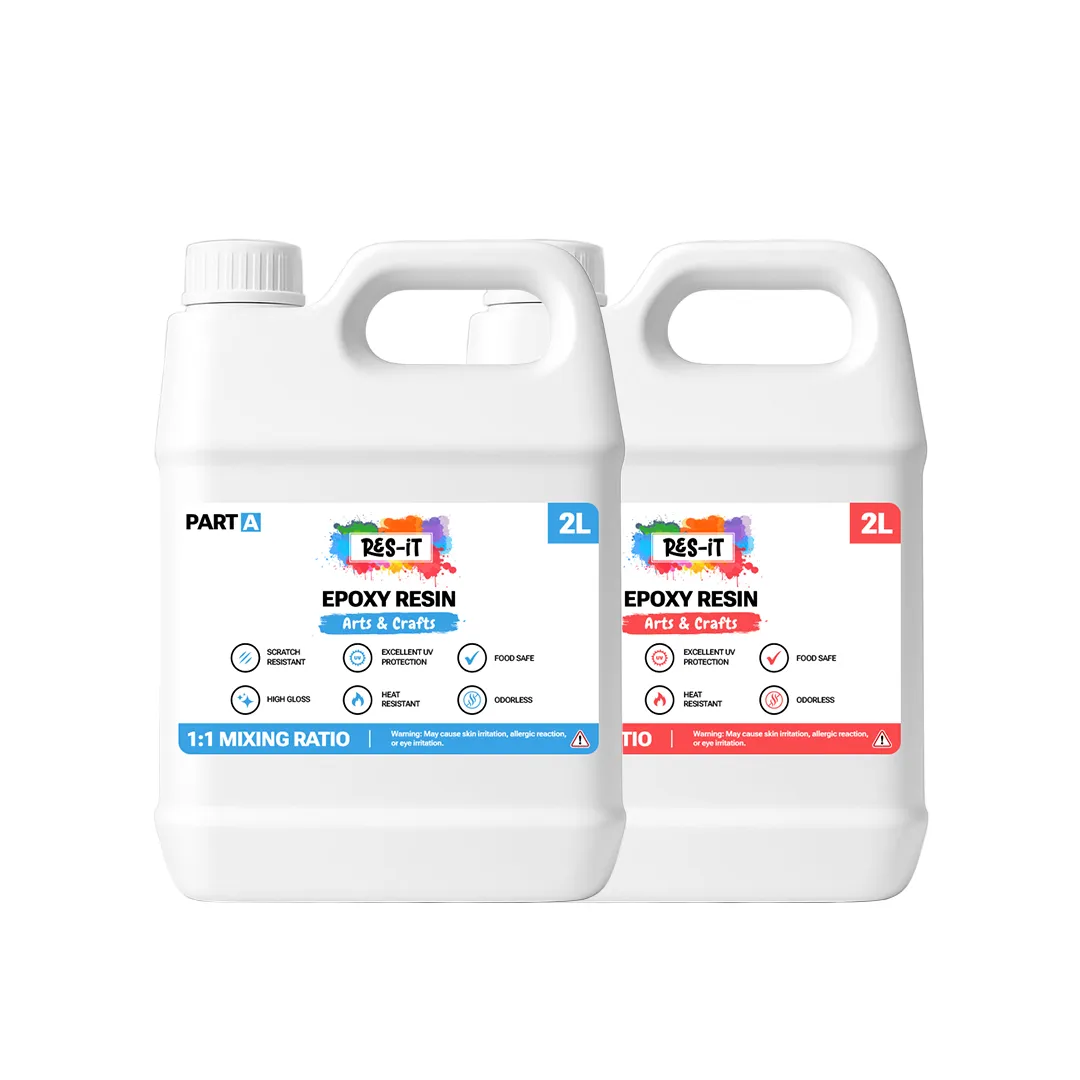
9. Why Use Epoxy Res-iT for Layered and Deep Pours?
The Epoxy Res-iT Deep Pour & Layering Resin is engineered with:
- Slow-curing formulation to reduce heat spikes
- Excellent self-levelling for smooth finishes
- High UV resistance to prevent yellowing
- Crystal-clear clarity for layered or geode effects
It is perfect for UK conditions and reliable across seasons, whether you are creating luxury wall art or large river tables.
Key Takeaway
It is not only a matter of adding depth that makes resin to be layered but also a matter of controlling chemistry. Through respecting the cure times, controlling the temperature and pigments to be applied to epoxy, you will eradicate cracks, color bleed, and cloudy finishes.
Your geode or deep-pour project can be allowed to cure beautifully clear, strong, every time, with the correct resin kit, pigments and tools.


