Creative Applications with Epoxy Resin Pigments: Techniques & Inspiration
Introduction:
Epoxy Resin is marketed as being glass-like in clarity, strength and versatility. But the real pigment that makes it a practical substance and also a means of expression is pigment. On the one hand, resin pigments make it possible to add bright colours, a shimmering effect and peculiar patterns that make an ordinary project brilliant.
Epoxy resin colours allow you to enter a new realm of possibilities in your creativity, whether you are a hobbyist DIY pourer making coasters, an artist looking to assemble a resin piece, or an industrial client who needs a bespoke finish. This tutorial discusses the tricks, tips, and ideas to maximise the use of your pigments.
What Are Epoxy Resin Pigments?
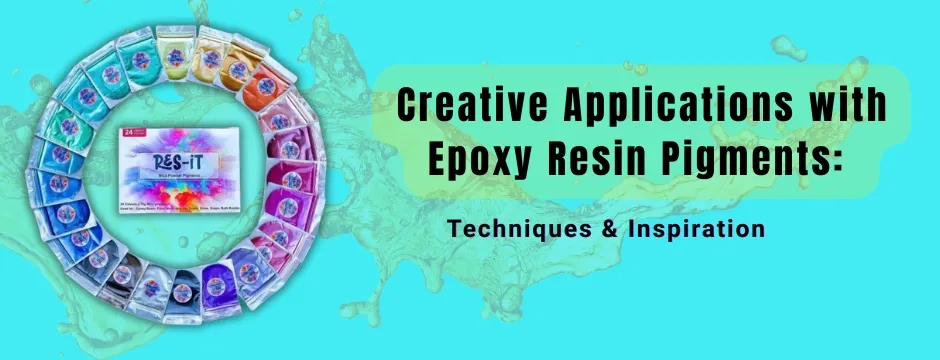
Colourants Epoxy resin pigments are colourants that have been developed to mix perfectly with resin and do not interfere with its curing process. They come in various forms:
- Liquid colour: Ideal on the skin, with a smooth colour.
- Powder pigments (mica-based): Provide shimmering, pearlescent or metallic effects.
- Alcohol inks: Prepare fluid, marbled or stained-glass effects.
- Opaque pastes: Suitable in strong colours with high coverage.
All types of pigments provide a variety of finish, so they can be used in jewellery or large-scale industrial finishes.

Advantages of working with Pigments in Epoxy Resin.
It is not only about aesthetics that pigments are added: it also improves functionality and creativity:
- Personalisation: Create one-of-a-kind colours and effects.
- Depth & Dimension: Powders of metals and mica provide a 3D effect and shimmer.
- Versatility: Works for art, décor, industrial flooring, countertops, and more.
- Durability: Pigments are used in proper way, they preserve the colour vibrancy with time.
Techniques for Creative Pigment Applications
1. Swirling & Marbling
- Use multiple pigment colours in one pour.
- Use a tooth pick, stick or heat gun to swirl colours with.
- Great for coasters, countertops, and art canvases.
2. Layering for Depth
- Pour resin in multiple layers, adding different pigments to each.
- Creates an illusion of depth; ideal for geode art, river tables, and jewellery.
3. Metallic and Shimmer Effects.
- Use mica powders for sparkling and metallic finishes.
- The particles reflect the light resulting in movement and shine.
- Perfect for coasters, trays and luxury décor pieces.
4. Ocean & Water Effects
- Combine white pigment with translucent blues and greens.
- Use a heat gun to push white pigment across the surface, creating a foamy wave look.
- Popular in beach-themed resin art and tables.
5. Alcohol Ink Explosions
- Drop alcohol ink into clear resin.
- The ink is spread out and forms cloudy organic designs.
- Works beautifully for jewellery, wall art, and abstract designs.
6. Ombre & Gradient Effects
- Play with lighter and darker colours of the same colour throughout your piece.
- Produces a moving flow to resin trays, wall art, and statement pieces.
Cool DIY Projects to be motivated:
- Resin Coasters: Metallic pigments are capable of producing high end finishes that are marbled.
- Jewellery Making: Experiment with bold opaque pigments or subtle shimmer powders.
- Keychains & Small Crafts: Perfect projects for testing pigment combinations.
Inspiring Applications for Artists
- Geode and Crystal Art: Overglaze metallic and mica pigments with glitter to replicate natural stone.
- Abstract Resin Paintings: Use swirling, pouring, and ink techniques for dynamic visuals.
- Mixed Media Projects: Combine pigments with other materials like wood or canvas.
Inspiring Applications for industrial clients
- Custom Flooring: Metallic pigments create professional, polished looks for showrooms.
- Countertops & Bars: Opaque pigments offer bold statement colours, while metallics mimic natural stone.
- Big Impact: Industrial epoxy and pigments make the installations strong and attractive.
Suggestions on working with Epoxy Resin Pigments
- Start Small: Pigments are very concentrated; add slowly.
- Blend thoroughly: It is important to mix the pigments so that no streaks appear.
- Experiment: See what happens to pigment types (e.g. mica + alcohol ink).
- Keep Ratios Right: Excess pigment may affect curing; obey product directions.
- Test Samples: We always recommend testing pigment mixture on small pours and then enlarging it.
Common Mistakes to Avoid:
- Over-Pigmenting: Results in soft finishes, or rubbery finishes.
- Failure to Seal Porous Surfaces: The stains can seep into unsealed wood, bleached colours.
- Move slowly, Rushing: Sometimes rushing can pinch out bubbles and distort pigment effects.
Troubleshooting Pigment Problems.
| Problem | Cause | Solution |
|---|---|---|
| Colours look dull | Not enough pigment added | Add more pigment gradually |
| Resin cloudy or streaky | Poor mixing | Stir thoroughly, scrape sides & bottom |
| Pigment sinks to bottom | Too much added or resin too thin | Use recommended ratios; pour in layers |
| Uneven colour distribution | Pigments clumped | Pre-mix pigment in a small resin amount before full pour |
FAQs
Q: Does this mean I can combine different types of pigments?
Yes mica powders, alcohol inks, and liquid pigments may be stacked to create special effects.
Q: How much pigment do I add?
Usually 2-6 percent of resin volume, although always cheque the instructions with the manufacturers.
Q: Will pigment fade over time?
Epoxy pigments of high quality are non-ultraviolet and are manufactured to keep the colours alive.
Conclusion
The use of epoxy resin pigments opens the door of creativity to any resin user. Swirling ocean waves and glittering metallics, bold industrial flooring styles, pigments turn the clear resin into a self-expression canvas.
No matter whether you are a DIYer, artist, or industrial customer, experimenting with the types and methods of pigmentation can help you create objects that are both useful and beautiful.
You can learn to use epoxy resin pigments, starting small, using best practises, and looking at other applications and get results that are nothing short of extraordinary.


