Creative Projects You Can Make with an Epoxy Resin 480ml Starter Kit
Epoxy resin is one of the most popular materials for creative enthusiasts and crafters due to its versatility and durability. With a 480ml starter kit, you can create your own unique projects. Whether you're a beginner or looking to expand your crafting skills, this guide will walk you through several exciting projects you can make using your epoxy resin 480ml starter kit, along with tips to help you get started.

What is Epoxy Resin?
Epoxy resin is made of two parts: resin and hardener. When mixed, it forms a liquid that cures into a strong, shiny, glass-like surface. It's durable, waterproof, and perfect for creative projects such as jewellery, coasters, and coating surfaces.
Essential Tools and Safety Precautions
Before starting, make sure you have the right tools and follow safety measures for a smooth and safe crafting experience.
- Disposable Gloves: Protect your skin with nitrile or latex gloves.
- Mixing Cups and Stir Sticks: Use silicone or clear cups and sturdy sticks for accurate mixing.
- Protective Covering: Place a silicone mat or wax paper on your surface to avoid spills.
- Heat Gun or Lighter: Helps remove bubbles and create a smooth finish.
- Goggles and Mask: Safety goggles protect eyes, and a respirator prevents inhaling fumes.
Safety Tips
- Work in a Ventilated Area: Open windows and use fans for airflow.
- Wear Protective Clothing: Long sleeves and aprons prevent skin contact.
- Avoid Eating or Drinking: Keep food away from your workspace.
- Follow Instructions: Always measure and cure as per the manufacturer’s guidelines.
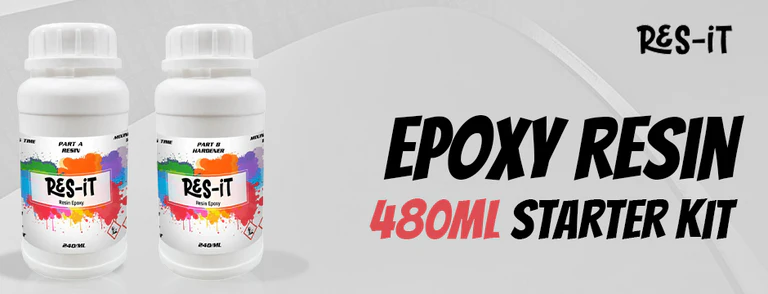
What is the Reason to Select a 480ml Epoxy Resin Starter Kit to make Creative Projects?
Epoxy resin 480ml starter kit is the most suitable as it is not too small or too big to exert pressure on beginners and hobbyists who can accomplish several small to medium projects before they become overwhelmed by the quantity of material they have. It gives the perfect compromise between quantity and control where you can experiment with colours, embeds and techniques and you produce less waste. You want a 480ml kit to be flexible, economical and produce quality results that traditional or manual methods would have required and cost a lot of time and money.
The Ultimate Guide to Planning Your Resin Project.
You should also design your project, including your colours and materials, before commencing any creative project. Consider the end result that you desire, clear and minimal, colourful and bold, or full of decorative touches such as dried flowers, glitter or metallic flakes. Get the correct amount of resin by weight and measure it according to the right proportion and prepare your moulds or surfaces in advance. Planning will aid in avoiding errors, fewer bubbles and glossy finish that adds beauty to your work of art.
How to Finish Professional Finish Every Time.
Always, make sure that you are working in a clean and dust-free and well-ventilated place in order to get the best results of your epoxy resin 480ml starter kit. Pour the resin gradually with the aim of not bubbles forming and slightly use a heat gun to remove it in case it forms on the surface. You should pour on in fine layers where there is detail or an embedded pattern, and at no time should a new layer be applied before the previous one has thoroughly set. The most important thing is to wait when the curing process is going on- allowing your resin to harden to the max will make it durable and clear and leave the glass like finish.
Creative Project Ideas
1. Epoxy Resin Coasters
Pour resin into silicone moulds and decorate with dried flowers, glitter, or flakes. Add a second layer to seal and cure fully before use.
2. Epoxy Resin Jewellery
Create earrings or pendants by pouring resin into small moulds. Add pigments, inks, or charms, then attach hooks or chains once cured.
3. Small Epoxy Resin River Tray
Pour coloured resin into a wooden tray to mimic a river. Add stones or wood pieces for a realistic effect.
4. Resin Keychains
Use moulds to create keychains with resin, glitter, beads, or dried flowers. Attach them to key rings for a personalized gift.
5. Resin Photo Frames
Seal photos in resin with decorative pigments or glitter around the edges for shiny, long-lasting frames.
6. Resin Bookmarks
Make colourful bookmarks with resin, dried flowers, and tassels. They’re strong, lightweight, and perfect for book lovers.
7. Epoxy Resin Wall Art
Swirl different coloured resins on a board to create abstract art. Experiment with heat guns and brushes for unique patterns.
8. Custom Resin Phone Case
Pour resin into a phone case mould with embedded flowers, glitter, or beads for a one-of-a-kind accessory.
Final Thoughts
The epoxy resin 480ml starter kit is a great way to start crafting. Begin with simple projects like coasters or keychains, then move on to advanced designs. With creativity and practice, you can create beautiful, personalized resin art.


