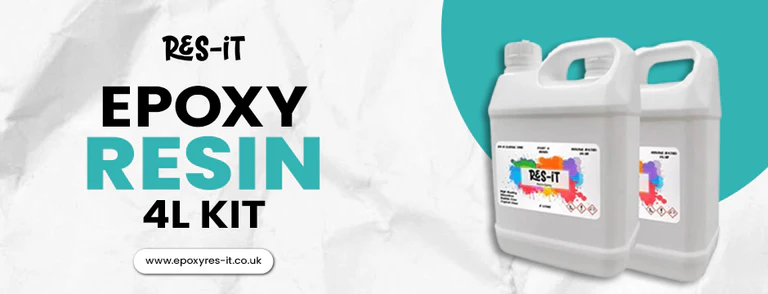
How to Get Professional Results with an Epoxy Resin 4L Kit?
Epoxy resin is a versatile and durable material used in various applications, from creating artistic pieces to functional projects. Whether you are a seasoned crafter or a beginner looking to elevate your DIY projects, an epoxy resin 4L kit offers everything you need to achieve professional-looking results. With the right techniques and understanding of the material, you can create stunning finishes, achieve a smooth, glossy surface, and ensure your project is long-lasting.
In this blog, we’ll guide you step-by-step on how to achieve professional results using an epoxy resin. From preparation to mixing and finishing touches, these tips will help you unlock the full potential of your resin. Let's dive into the key steps that will take your project to the next level.
Understanding Epoxy Resin
Before jumping into the project, it's essential to understand what epoxy resin is. Epoxy resin consists of two components: the resin and the hardener. When mixed, these two components undergo a chemical reaction that results in a durable, glossy, and long-lasting finish.
Epoxy resin is used for various purposes, such as coatings for tables, countertops, jewellery-making, casting, and even creating art. The beauty of epoxy resin is that it cures into a hard, transparent finish, which can be sanded, polished, or tinted with different colours to enhance its appearance.
Preparing Your Workspace
A clean and well-organized workspace is crucial when working with epoxy resin. Start by choosing a well-ventilated area, as the chemicals used in epoxy can emit fumes. Ideally, you should work in a space with controlled temperature (around 20–25°C) and low humidity. Ensure that the surface you will be working on is level to prevent any uneven pouring or curing.
Prepare the tools and materials you’ll need, including mixing cups, a spatula, gloves, and a plastic drop cloth or paper towels to protect surfaces from resin spills. It’s also important to cover the floor or surrounding areas to prevent any accidental spills from staining your floor.
Selecting the Right Epoxy Resin Kit
When it comes to epoxy resin, selecting the right kit can make a significant difference in the final result. A 4L kit is an ideal choice for medium-sized projects and provides sufficient resin for both small and larger surface areas. Be sure to select a high-quality epoxy resin that is designed for the specific type of work you intend to do. For example, if you are working on a table or countertop, choose a resin formulated for coating large surfaces. A resin that offers UV resistance will also help to prevent yellowing over time.
Preparing the Surface
The next critical step in achieving a professional finish is preparing the surface you're working on. Whether it’s wood, metal, stone, or another material, ensure the surface is clean, dry, and free of dust or debris. If you’re working with a wood surface, it’s essential to sand it lightly to create a better bonding surface for the resin. If you’re working with a metal or glass surface, use an appropriate cleaner to remove any grease or dirt.
If you’re coating an existing surface (e.g, a table or countertop), make sure there are no cracks, gaps, or imperfections. Fix these issues beforehand to ensure a smooth and even resin layer.
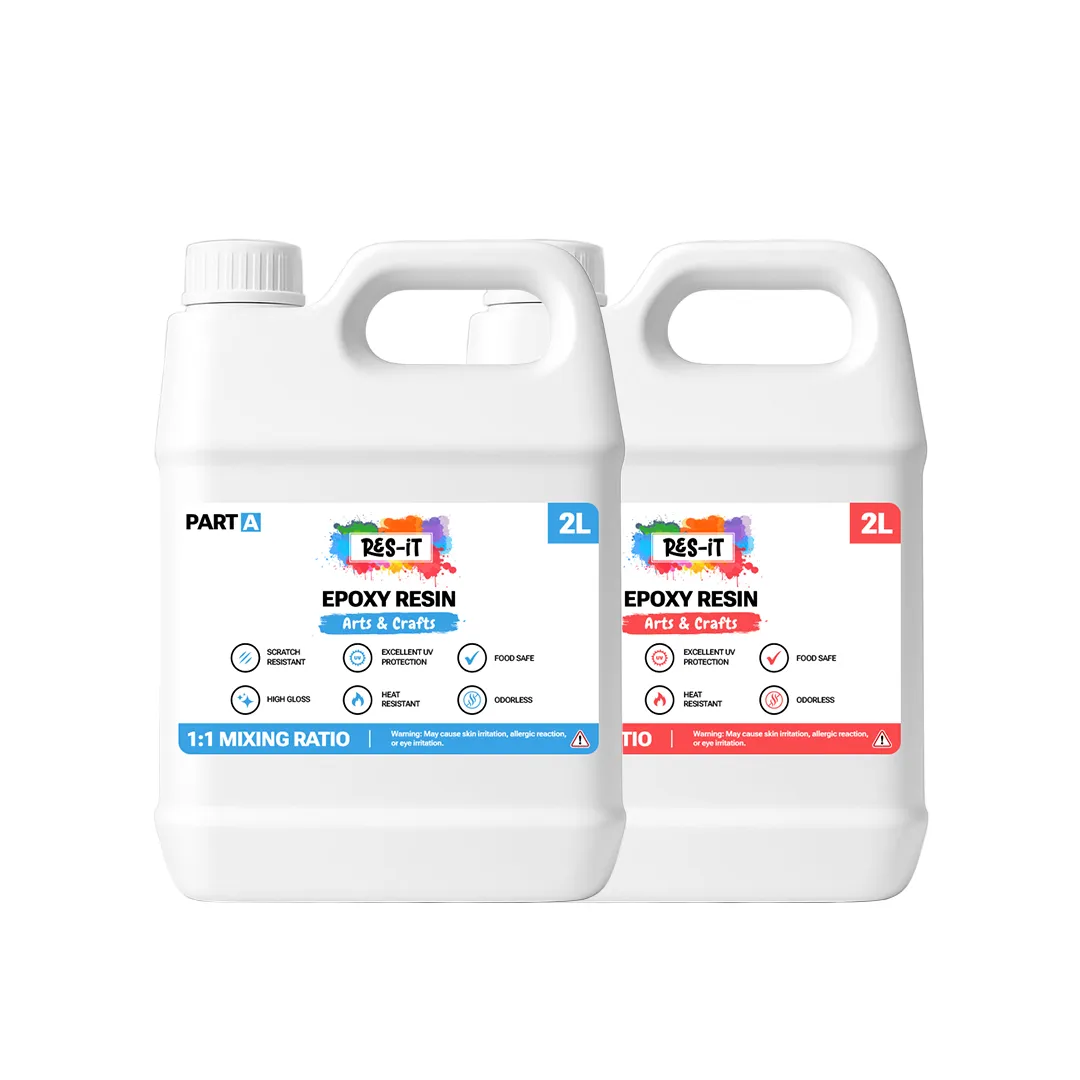
Mixing the Epoxy Resin
Mixing the Epoxy Resin 4L Kit and hardener is a critical step that requires precision. The general rule for epoxy resin is a 1:1 ratio of resin to hardener. Many epoxy resin kits will come with detailed instructions, so be sure to follow them closely.
Pour the resin and hardener into a mixing container, using a scale if necessary to ensure accuracy. Mix the two components thoroughly for at least 3–5 minutes. Scrape the sides and bottom of the container to make sure there is no unmixed material. Once thoroughly mixed, the resin will begin its chemical reaction, so it’s essential to work quickly before it starts to set.
Pouring the Epoxy Resin
Once the resin is fully mixed, it’s time to pour it onto your surface. Pour the resin slowly and steadily, starting from one corner and working your way across the entire surface. Use a spatula or spreader to help distribute the resin evenly across the surface, especially in the case of larger projects.
If you’re creating a layered effect or working with intricate designs, you may need to pour multiple layers, allowing each layer to cure before applying the next. Be sure to check for bubbles, which can form during the mixing and pouring process.
Bottom Line
Achieving professional results with an Epoxy Resin 4L Kit is entirely possible with the right knowledge and techniques. From surface preparation to the curing process, each step plays a significant role in ensuring a flawless finish. By following the steps outlined in this blog, you can create stunning and durable resin projects that will impress you.
For those looking to purchase high-quality epoxy resin kits, consider exploring the wide range of options available at Epoxy Res-iT, where you’ll find the perfect resin products to suit your project’s needs.


