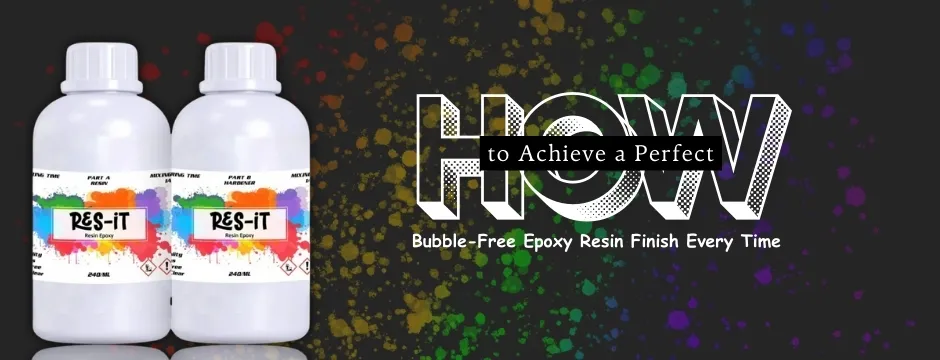
Introduction: The Battle Against Epoxy Bubbles
Bubbles in epoxy resin are a vexing issue that appears in all your DIY projects, artistic resin painting, and even when pouring epoxy resin flooring in a business venture.
These small bubbles might sound harmless; however, they can spoil both the clarity of your resin project, its smoothness, and the quality of its durability. The great news? Following proper preparation and pouring procedures, any person, amateur DIYers and professional resin painters and industrial customers alike can get a perfectly bubble-free epoxy finish on any project every time.
In this guide, we'll cover:
- Why bubbles form in epoxy resin.
- Step-by-step methods to prevent and eliminate bubbles.
- DIYer, artist, and industrial client tips.
- Troubleshooting and FAQs.
Let's dive in!
What is the Reason behind the Bubbles that are formed in Epoxy Resin?
The common causes of epoxy bubbles are important to know before we get down to prevention:
- Excessive/ Rapid mixing - Stirring excessively places air pockets.
- Low temperatures - Resin is thick and traps air on mixing.
- Pouring too fast - When it is poured too fast, the bubbles become trapped, leading to turbulence.
- Porous surfaces - Wood, canvas, and concrete give away air in the process of curing.
- Moisture and Dust - Humidity over 60 percent or air dust causes the development of surface flaws.
- It is far easier to prevent when one knows the causes.
Step by step on How to attain a Bubble Free Epoxy Finish.
Prepare Your Workspace
- Store at 20-25C (68-77F) optimum.
- Work in a clean, dust-free area.
- Get rid of draughts which may cause uneven drying.
Pro Tip: Place plastic sheets on nearby surfaces in order to prevent dust contamination.
Pre-Warm the Resin
- Cold resin is thick and air-trapping.
- Seal the bottles of resin with caps and place them in warm (not hot) water.
- This also makes the resin less viscous so that it is simpler to mix and pour.
Measure and Mix Carefully
- Precision is pertinent to treatment and clarity.
- Follow the manufacturer's ratio (usually 1:1 or 2:1).
- Gently stir in a folding motion. Avoid whipping or shaking.
- Clean the sides and bottom of your mixing cup to be consistent.
Seal Porous Surfaces
- Wood, concrete and canvas surfaces can give off air as the resin sinks in.
- Use a thin coating of sealant, prior to your pour.
- Allow to be cured, then do your final coat.
Pour Slowly in Layers
- Pour in thin, steady layers rather than one large batch.
- Allow the layers to self-level and then add the next layer.
- This minimises the possibility of later bubbles deepening.
Use Heat for Bubble Removal
Even under optimal preparation, they can come up with bubbles. That's where heat comes in.
- Work with a heat gun or torch that is moving in short sweeps.
- Apply heat about 6-8 inches above the resin surface.
- Do not overheat- scalds or turns the resin yellow.
Pro Tip:A small lighter works for tiny DIY projects like resin jewellery.
Protect and Cure
- Wrap your project in a dust shield or box.
- Allow to cure the entire length of the cure (24-72 hours, depending on the type of resin).
- Do not move or touch the project early enough.
Personalized Advice to various Audits.
For DIY Resin Enthusiasts
- Start with small moulds (coasters, jewellery, keychains) to practice.
- Have a small torch/lighter where the bubbles have been touched.
- Use silicone molds for easy release and fewer surface imperfections.
For Resin Artists
- Pre-seal flowers, photos, or objects before embedding them.
- Use thin resin layers to protect delicate artwork.
- Experiment with resin pigments, but stir them slowly to avoid air pockets.
For Industrial Clients
- Invest in a professional-grade heat torch for large-scale surfaces.
- Ensure concrete floors are sealed before applying epoxy.
- Consider vacuum degassing equipment for bulk resin projects.
How to Troubleshoot the Common Epoxy Bubble Problems.
Persistent surface bubbles?
Warm the resin more and mix slowly.
Deep-set bubbles in wood?
Re-seal the wood before re-pouring.
Cloudy or hazy finish?
Monitor humidity (not more than 60) and cure.
Foamy mix?
You stir too vigorously; slow it down the next time.
FAQs
Q: May I use a hairdryer in place of a heat gun?
A: Yes, under low heat, though, and keep it stirring. A heat gun gives more control.
Q: What is the best epoxy resin for large projects?
A: Find deep-pour, self-levelling epoxy that is used on industrial or artistic constructions such as river tables.
Q: Should I have to sand resin layers?
A: Then only when the resin is fully cured, and you are putting on extra coats. Light sanding is beneficial to adhesion.
Conclusion
No matter what you are coating, DIY resin finish, artistic masterpiece, or massive industrial installation, the secret to the perfect, no-bubbles epoxy resin finish lies in its preparation, correct pouring, and the proper tools.
So that by mastering these steps, you will be capable of always producing a clear glass-like finish that will not only add beauty but will also add permanency to your work.


