
Epoxy resin has become one of the most popular materials for DIY crafts, resin art, jewellery making, home décor, and custom gifts. Its crystal-clear finish, glossy shine, and durable surface make it perfect for creative projects of all sizes.
In this complete guide, you will learn how to use epoxy resin for crafts step by step, including tools, safety tips, mixing instructions, curing methods, common mistakes, and the best resin craft ideas for beginners.
Epoxy resin is a two-part liquid material made from:
When mixed together in the correct ratio, the chemical reaction causes the resin to harden into a strong, glossy, and transparent finish.
Epoxy resin is widely used for:
Here are some reasons why crafters love epoxy resin:
Epoxy resin crafts also sell well online, making resin art a popular small business idea in the UK and worldwide.
Before starting your first resin project, gather the right tools and materials.
Choose a high-quality crafting epoxy resin designed for art and DIY projects.
Used for creating shapes like:
Use graduated cups for accurate resin measurements.
Wooden sticks or silicone tools help mix resin evenly.
Nitrile gloves protect your hands from direct contact.
Helps remove air bubbles from the resin surface.
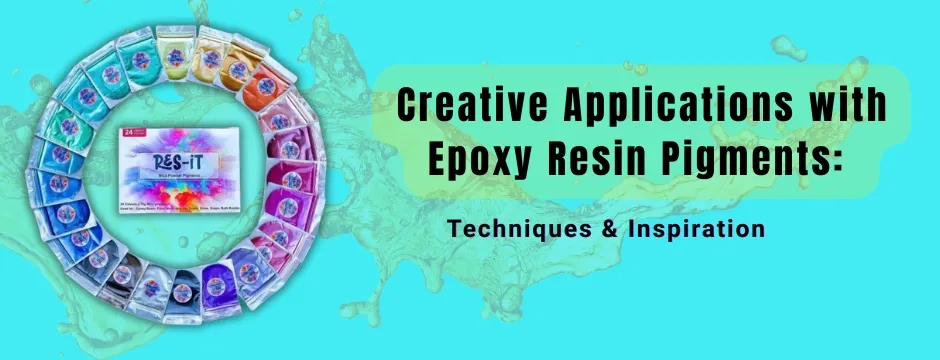
Popular resin colour options include:
Protect your workspace using:
Safety is very important when working with resin.
Always use epoxy resin in a room with proper airflow.
Use:
Do not touch mixed resin directly with bare hands.
Store materials safely after use.
Every epoxy resin brand may have different:
A clean and dust-free workspace gives better resin results.
Tips:
The ideal temperature for most epoxy resin projects is around 22°C to 25°C.
Most epoxy resin products use:
Always follow the instructions on the packaging carefully.
Incorrect measurements can cause:
Pour both parts into a mixing cup and stir slowly for 3–5 minutes.
Mixing Tips:
Well-mixed epoxy resin cures properly and gives a smooth finish.
After mixing, you can customise your resin.
Add vibrant shades using:
Creates sparkling resin effects.
Perfect for jewellery and decorative crafts.
Adds a luxury metallic look.
You can embed:
Avoid adding wet objects because moisture can affect curing.
Slowly pour the resin into moulds or onto surfaces.
For larger resin art projects, pouring in thin layers helps prevent overheating.
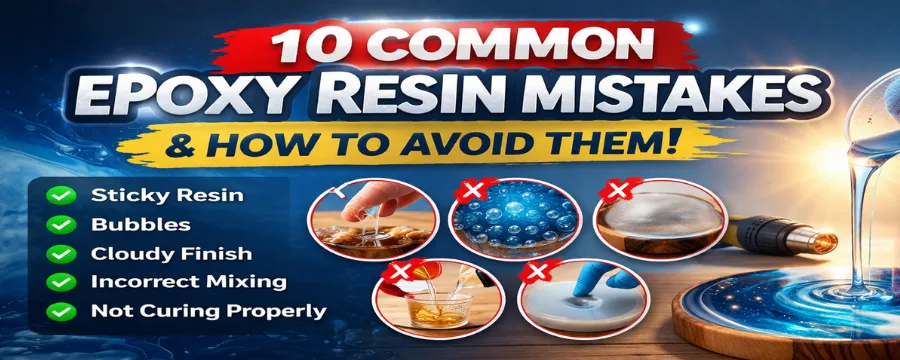
Bubbles are common in epoxy resin crafts.
Move it lightly across the surface.
Quick passes help pop surface bubbles.
Allow mixed resin to sit briefly before pouring.
Do not overheat the resin because it may burn or yellow.
Curing time depends on:
Most craft epoxy resin cures within:
During curing:
If you are new to resin crafting, start with simple projects.
Always measure accurately.
Usually caused by:
Avoid fast mixing and use gentle heat.
Deep pours can create excessive heat.
Solution: Pour in thinner layers.
Cover curing projects to keep surfaces clean.
Best for:
Used for:
Perfect for:
Yes. Resin crafts are highly popular on:
Popular handmade resin products include:
Yes, when used correctly with proper safety precautions.
Most epoxy resin becomes touch dry within 24 hours and fully cures in around 72 hours.
Usually because of:
Yes. Beginner-friendly resin kits make it easy to start resin crafting.
Res-iT Epoxy Resin 1L Starter Kit works well for smaller DIY projects and jewellery.
Learning how to use epoxy resin for crafts opens endless creative possibilities. From resin coasters and jewellery to trays and decorative art, epoxy resin allows beginners and professionals to create beautiful handmade designs with a glossy, durable finish.
The key to successful epoxy resin crafting is:
With the right techniques and materials, you can create stunning resin crafts for personal use, gifts, or even a profitable small business.


Be the first to add a comment.