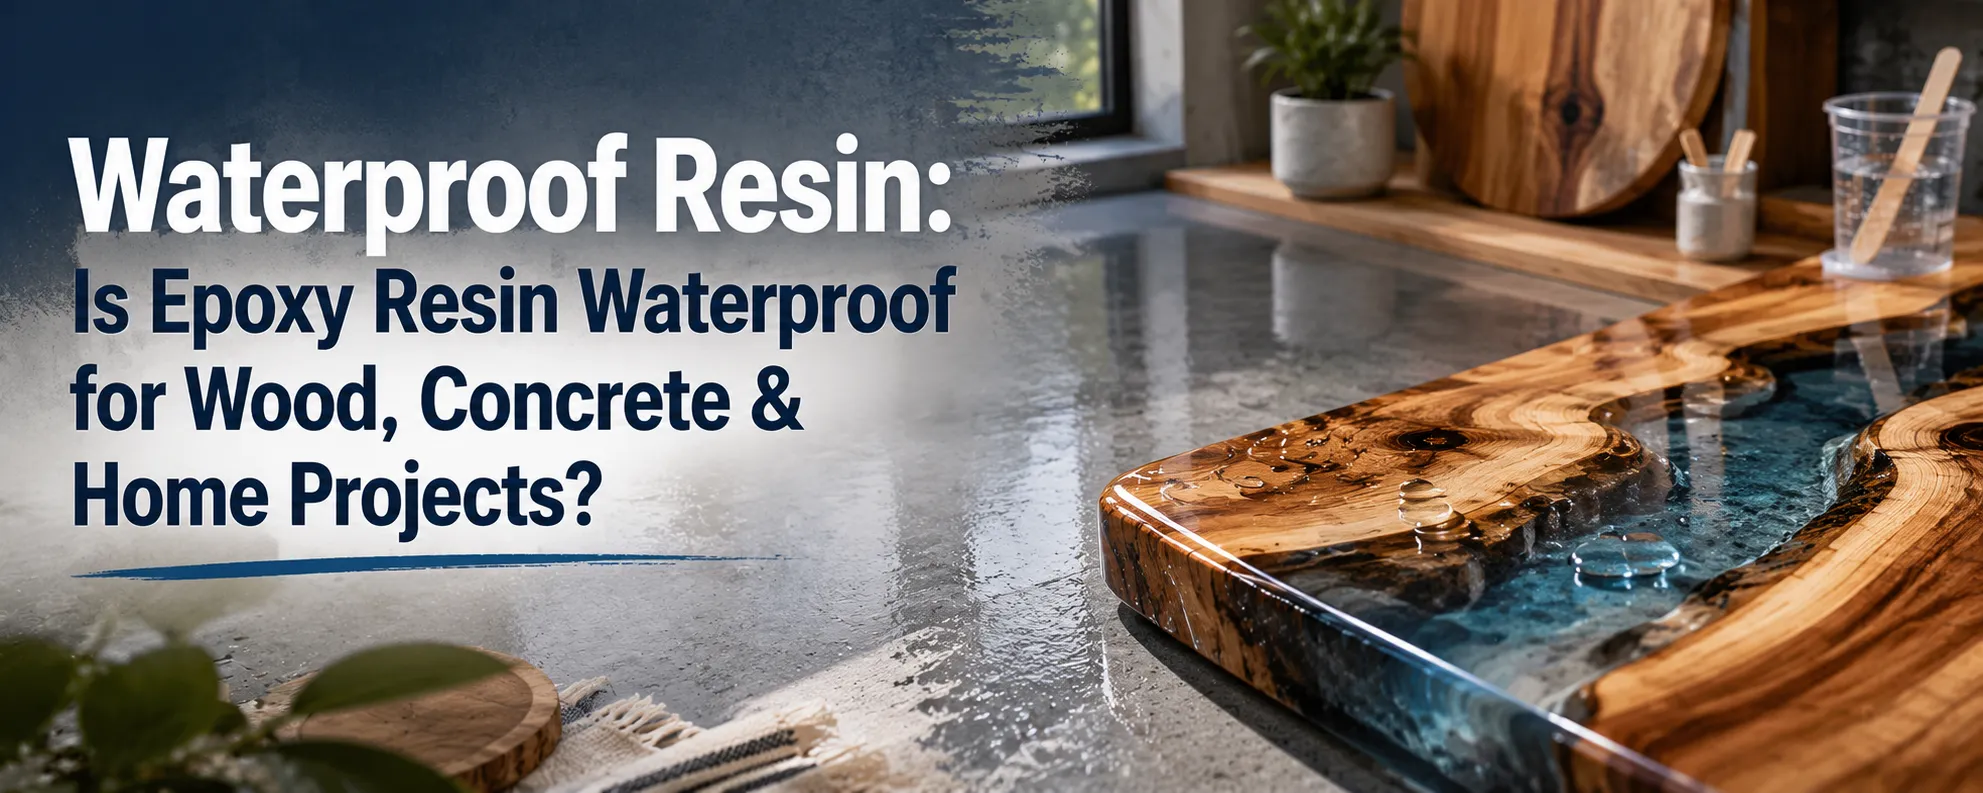
Epoxy resin projects are a fantastic way to create durable, glossy finishes for crafts such as coasters, tabletops, jewellery, and art pieces. One of the most frustrating issues when working with epoxy resin is the formation of bubbles, which can ruin the smooth surface and overall appearance of your project.
In this guide, we’ll walk you through the best techniques to achieve bubble-free epoxy resin projects so you can create stunning resin pieces every time.
1. Understand the Importance of Proper Mixing
The first step to preventing bubbles starts with proper mixing. Trapped air is usually introduced during this stage, so slow and careful mixing is essential.
How to Mix Epoxy Resin:
- Pour the resin and hardener into a clean, dry container.
- Use a wooden stir stick or plastic spatula.
- Stir slowly to avoid introducing air.
- Mix thoroughly for 3–5 minutes, scraping the sides and bottom.
Gentle, even mixing significantly reduces air bubbles and improves surface quality.

2. Use a Proper Mixing Container
Choose clear plastic or glass containers so you can monitor consistency and bubble formation. Containers with straight sides work best for thorough mixing.
3. Warm the Resin Before Mixing
Epoxy resin can be thick, especially in cooler environments. Slight warming reduces viscosity and helps bubbles escape more easily.
How to Warm Epoxy Resin:
- Place resin bottles in warm water for a few minutes.
- Do not overheat, as it may affect curing.
- Alternatively, gently warm bottles using a heat gun.
4. Use a Heat Gun or Torch to Remove Bubbles
A heat gun or butane torch is one of the most effective tools for removing bubbles from epoxy resin.
- Hold the heat source 6–8 inches above the surface.
- Move in smooth, sweeping motions.
- Avoid staying in one spot for too long.
Heat lowers viscosity, allowing trapped air to rise and pop cleanly.
5. Allow the Resin to Set Gradually
Let the resin cure slowly at room temperature. Rushing the process can cause bubbles or cracks.
- Slow curing helps prevent trapped air.
- Wait 10–15 minutes after pouring before applying heat.
6. Use Anti-Bubble Additives
Anti-bubble additives reduce surface tension, helping air escape more easily—especially useful for large pours.
- Follow manufacturer instructions carefully.
- Add a few drops before mixing.
- Stir gently to distribute evenly.
7. Avoid Humidity and Dust
Work in a clean, dry, dust-free environment to prevent imperfections.
- Minimise air movement.
- Cover projects while curing.
- Keep tools and surfaces clean.
8. Use the Right Epoxy Resin for Your Project
Some epoxy resins are designed specifically to reduce bubbles. Choose the right resin based on your application.
- Check manufacturer guidelines.
- Use thin-pour resins for coatings.
- Use deep-pour resins for thicker layers.
Craft with Confidence: Premium Epoxy Resins
For flawless, bubble-free resin projects, trust high-quality epoxy resins designed for clarity, durability, and smooth finishes. Visit Epoxy Res-iT to explore professional-grade resin solutions.
Conclusion
Achieving bubble-free epoxy resin projects requires patience, the right tools, and proper techniques. By mixing carefully, warming resin, controlling your workspace, and choosing the right epoxy, you can consistently achieve smooth, glossy results.