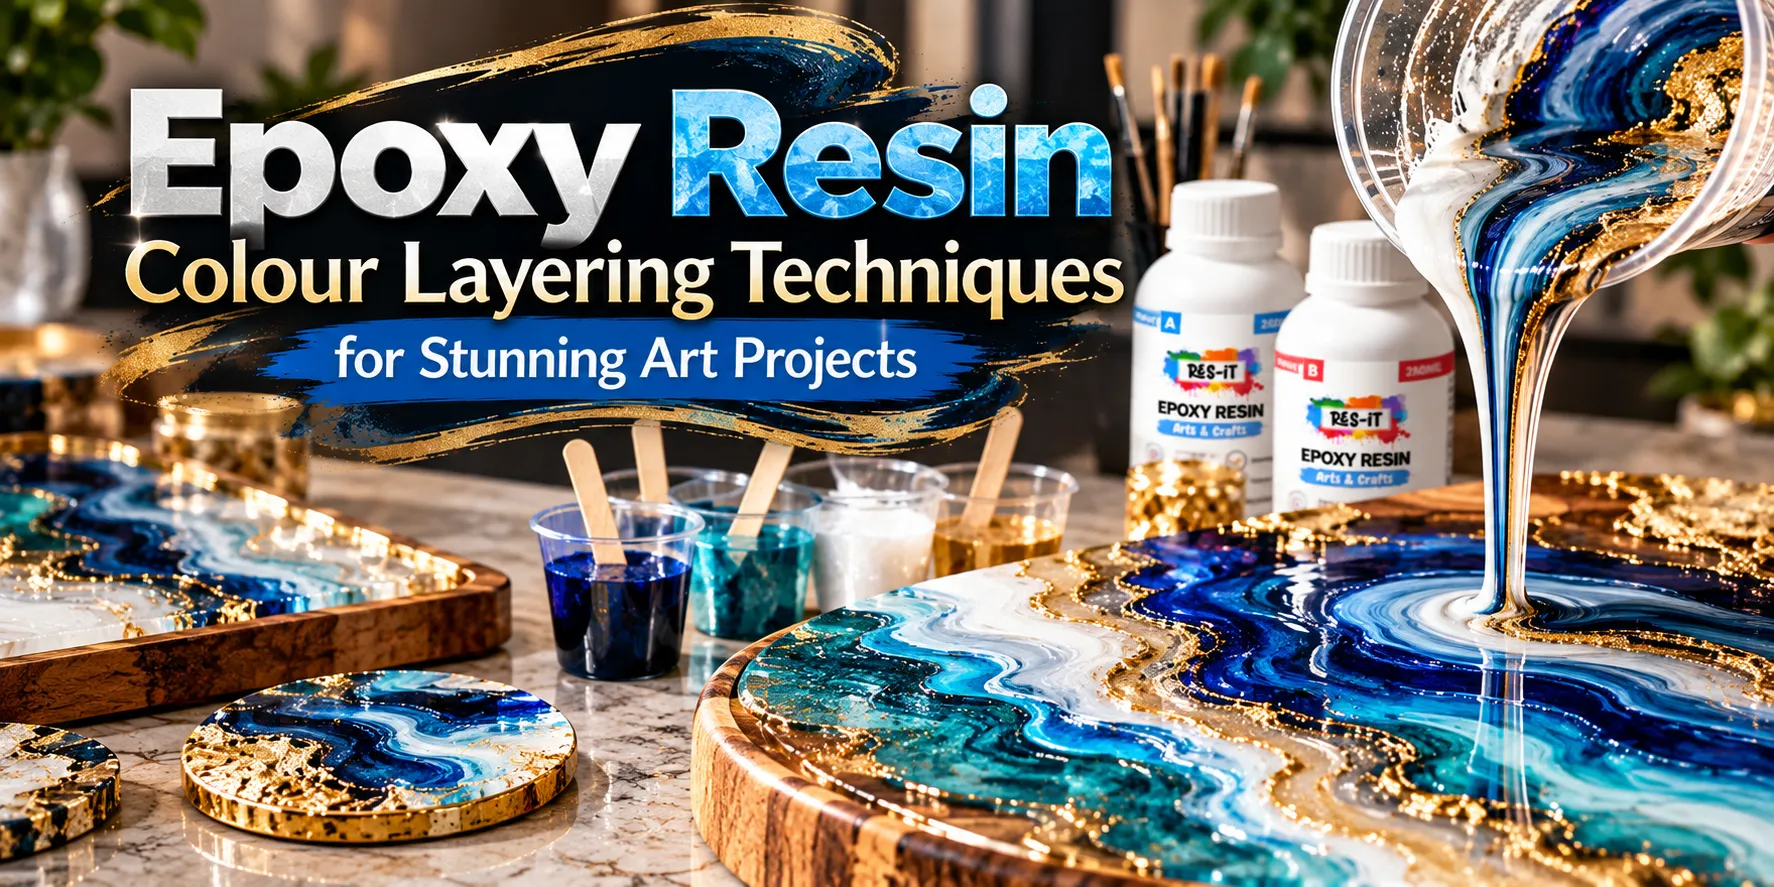
Epoxy Resin Colour Layering Techniques for Stunning Art Projects
Colour layering is one of the most creative techniques you can use to transform ordinary epoxy resin into artwork filled with depth, movement, and visual interest. Instead of mixing every colour together in a single pour, resin artists can build colours gradually in separate layers, allowing each shade, pattern, and effect to remain visible.
From ocean-inspired artwork and geode designs to decorative trays, coasters, wall art, jewellery, and abstract pieces, epoxy resin colour layering gives you greater control over the finished appearance. By understanding how resin behaves between layers, when to add pigments, and how to combine transparent and opaque colours, you can create professional-looking projects with impressive depth.
This guide explains epoxy resin colour layering techniques step by step, including preparation, pigment selection, pouring methods, curing between layers, common mistakes, and creative ideas for your next resin art project.

Res-iT 2L Pro Epoxy Resin Kit

Res-iT Epoxy Resin 480ml Starter Kit

Res-iT Epoxy Resin 240ml Starter Kit
What Is Epoxy Resin Colour Layering?
Epoxy resin colour layering is a technique where different colours or decorative effects are added in separate resin layers rather than being completely mixed together at once. Each layer contributes to the final design, allowing colours underneath to remain visible through transparent or translucent resin.
The technique can create anything from subtle colour transitions to dramatic three-dimensional effects. Depending on the project, layers can be thin and delicate or more noticeable, with contrasting pigments, metallic mica powders, glitter, dried decorative elements, or clear resin separating individual colours.
Why Use Colour Layering in Resin Art?
Layering gives resin artists more creative control than a simple single-colour pour. Because individual colours can be positioned separately, you can build complex patterns while maintaining definition between different parts of the design.
It is particularly useful when you want to create visual depth. A transparent upper layer can allow colours and decorative elements underneath to remain visible, producing an effect that appears deeper than the actual surface.
Benefits of Resin Colour Layering
- Creates greater visual depth
- Allows multiple colours to remain visible
- Helps create detailed artistic patterns
- Works with transparent and opaque pigments
- Can highlight metallic mica and glitter
- Allows decorative elements to be positioned at different depths
- Works for many resin art and craft projects
What You Need for Epoxy Resin Colour Layering
Having your materials prepared before mixing the resin makes the layering process easier to manage. Your exact tools will depend on the type and size of project you are creating.
- Epoxy resin and hardener
- Measuring cups
- Mixing stirrers
- Digital weighing scale if required by your resin system
- Resin pigments or colourants
- Mica powders
- Small cups for separating colours
- Suitable resin mould or prepared surface
- Protective gloves
- Workspace covering
- Decorative elements if required
Choosing the Right Epoxy Resin for Layered Art
Before beginning your project, choose an epoxy resin suitable for the type and thickness of the pour you intend to create. Art and craft resin is commonly suited to decorative surface work, coasters, trays, jewellery, and similar projects, while thicker castings may require a resin formulated for deeper pours.
Always check the manufacturer's recommended mixing ratio, working time, maximum pour depth, and curing instructions. Different epoxy resin systems can have different requirements, so the instructions for your specific product should guide your project.
Choosing Colours for Layered Epoxy Resin
A successful layered design begins with a good colour palette. Although you can experiment with many combinations, using a limited selection of complementary colours often produces a cleaner and more balanced result.
Blue, Turquoise and White
This combination works particularly well for ocean-inspired resin art. Dark blue can provide depth, turquoise can create brighter areas, and white can be used for waves, highlights, or contrast.
Black, White and Gold
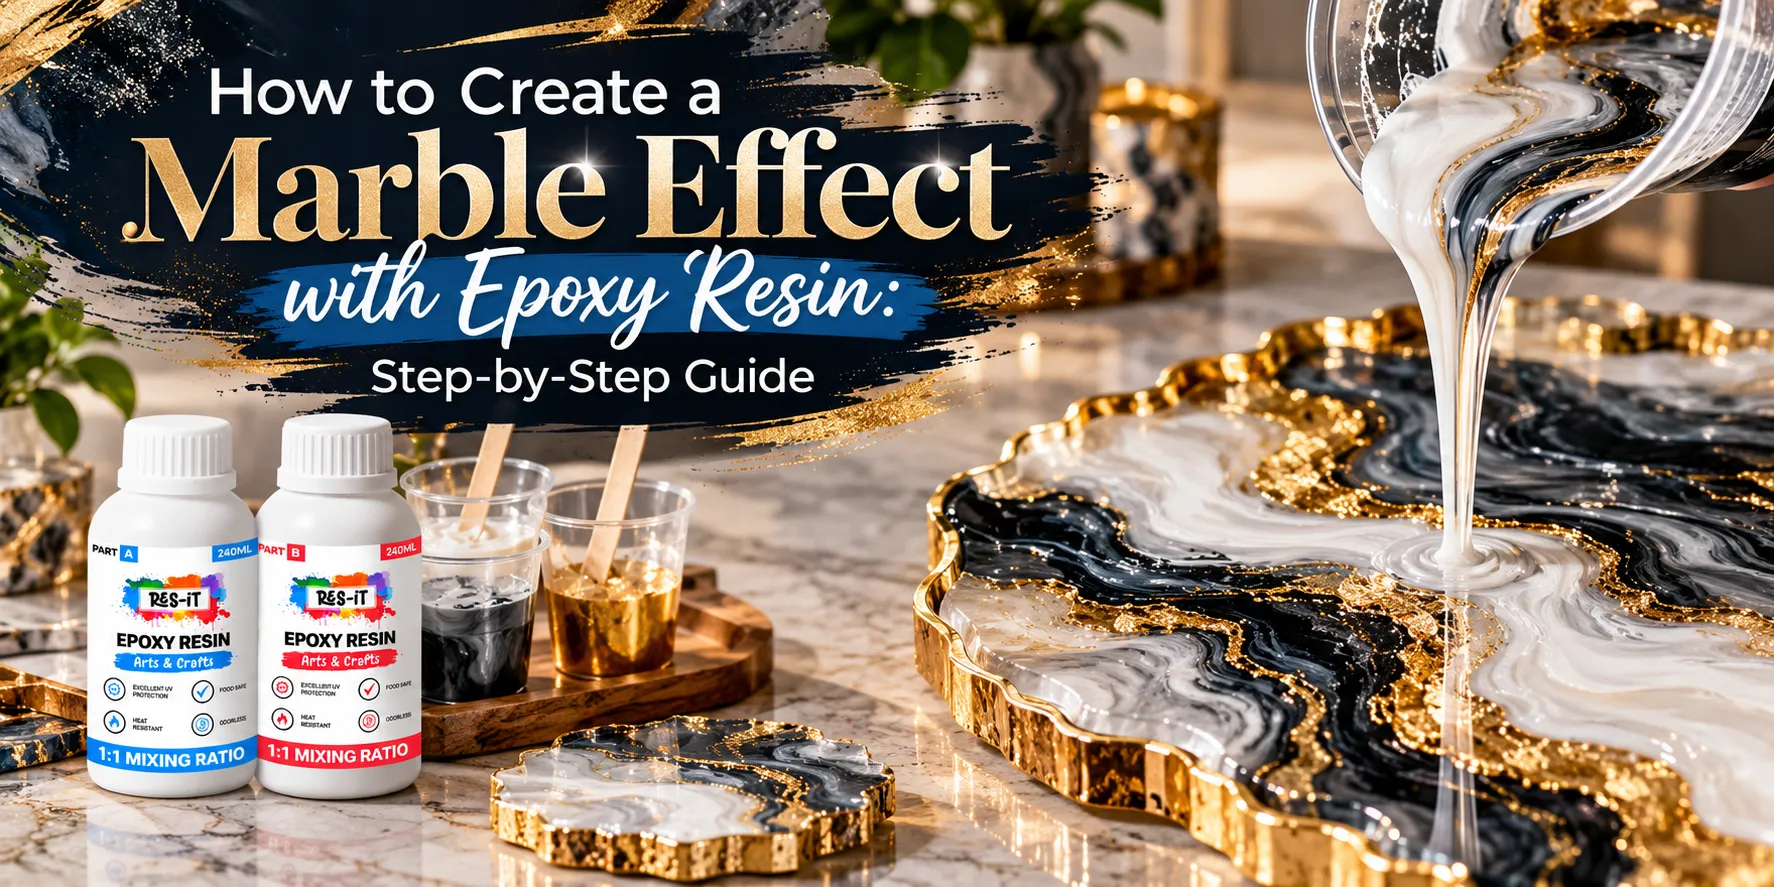
Black and white create strong contrast, while metallic gold can introduce an elegant accent. This palette is suitable for modern decorative pieces, wall art, trays, and abstract designs.
Green, Blue and Metallic Gold
Deep green and blue can create rich natural tones, while small amounts of metallic gold add additional detail and visual interest.
Pink, Purple and Pearl White
This softer combination works well for jewellery, coasters, decorative moulds, and artistic resin pieces. Pearl mica can add subtle shimmer between the brighter colours.
Understanding Transparent and Opaque Resin Colours
The transparency of your colours can significantly change the appearance of a layered project. Transparent and translucent colours allow lower layers to remain visible, making them particularly useful for creating depth.
Opaque pigments provide stronger colour coverage and can hide or partially cover the layer underneath. Combining transparent and opaque colours can therefore produce more complex designs.
Transparent Layers
Transparent layers are useful when you want to preserve visibility through multiple levels of the artwork. They can also be used between coloured layers to create physical separation and additional depth.
Opaque Layers
Opaque colours are useful for creating strong focal points, backgrounds, contrasting lines, and areas where you do not want the previous layer to remain fully visible.
Metallic Layers
Mica powders can introduce shimmer and reflective details. Gold, silver, bronze, pearl, and other metallic effects can be positioned between coloured layers to create attractive highlights.
How to Layer Colours in Epoxy Resin Step by Step
Step 1: Prepare Your Workspace
Start with a clean and level work area. Protect the surrounding surface and organise your resin, pigments, measuring tools, moulds, and mixing equipment before you begin.
A level workspace is especially important for layered projects. If your mould or surface is tilted, the resin may collect on one side and create uneven layers.
Step 2: Prepare Your Mould or Surface
Make sure your mould is clean and dry. If you are coating another material, prepare the surface appropriately before applying epoxy resin.
Remove dust, dirt, grease, and loose material that could interfere with the finished appearance. Porous materials may require additional preparation depending on the project and resin system.
Step 3: Plan the Colour Layers
Before mixing your resin, decide which colours will appear at the bottom, middle, and top of the artwork. Planning ahead helps prevent unnecessary changes once the resin has been mixed.
For example, an ocean-inspired piece might begin with dark blue, followed by turquoise, clear resin, lighter blue, and finally white highlights.
Step 4: Measure Resin and Hardener
Measure the resin and hardener according to the mixing instructions supplied with your epoxy resin. Accurate measurement is essential for proper curing.
Avoid estimating the ratio by eye. Incorrect proportions can result in resin that remains sticky, soft, or improperly cured.
Step 5: Mix the Epoxy Resin Thoroughly
Combine the measured resin and hardener and stir slowly and thoroughly. Scrape the sides and bottom of the mixing container to help combine both components evenly.
Avoid unnecessarily aggressive stirring because it can introduce additional air bubbles into the mixture.
Step 6: Separate the Resin into Colour Cups
Once your resin is properly mixed, divide the required amount between smaller containers. Add your chosen pigment or mica powder to each cup.
Keep some resin clear if you plan to use transparent sections between coloured layers.
Step 7: Pour the First Colour Layer
Begin with your base layer. This colour will influence the overall appearance of the artwork, so consider whether you want it to be dark, light, transparent, or opaque.
Pour carefully and spread the resin where necessary. Make sure the layer remains within the recommended pour depth for your resin system.
Step 8: Allow the First Layer to Reach the Appropriate Stage
The timing between resin layers depends on the epoxy system you are using and the effect you want to achieve. Some designs involve adding another colour while the previous resin is still workable, while others require the earlier layer to cure further before another pour is applied.
Always follow the manufacturer's guidance regarding recoating and curing times. If a layer has fully cured, additional surface preparation may be required before applying another coat.
Step 9: Add the Second Colour Layer
Pour the second colour carefully over or beside the first layer according to your planned design. If the lower layer remains visible, you can use transparent or translucent colours to create greater depth.
Try not to disturb the previous design unnecessarily. Controlled pouring makes it easier to maintain clear separation between layers.
Step 10: Continue Building the Design
Repeat the layering process until you achieve the desired depth and colour combination. Some projects may only need two or three layers, while more detailed artwork can contain several separate pours.
Remember that additional layers increase the overall thickness of the project, so consider the maximum recommended depth and curing requirements of your resin.
Wet-on-Wet Colour Layering Technique
Wet-on-wet layering involves introducing additional colours while the existing resin remains workable. Because the colours can move into one another, this technique is useful for creating flowing patterns, abstract designs, ocean effects, and soft transitions.
The key is controlling how much the colours are manipulated. Too much mixing can cause individual shades to disappear into one another.
Best Uses for Wet-on-Wet Layering
- Ocean-inspired resin art
- Abstract designs
- Marble effects
- Geode patterns
- Colour swirls
- Decorative trays and coasters
Separate-Pour Layering Technique
Another approach is to build the project using individual pours. One layer is allowed to reach the appropriate curing stage before the next layer is added.
This technique gives you greater control over where colours and decorative elements appear within the finished piece. It is particularly useful when you want to create clearly separated levels of colour or embed objects at different depths.
Clear Resin Between Colour Layers
Adding a clear resin layer between coloured sections can create impressive visual depth. Instead of placing one coloured layer directly on top of another, clear resin creates physical separation while allowing the lower colours to remain visible.
This technique can be especially effective in ocean artwork, landscape-inspired resin pieces, abstract art, and projects containing embedded decorative objects.
Creating Gradient Colour Layers
A gradient moves gradually from one colour or shade into another. With epoxy resin, gradients can be created by using related shades and carefully controlling how they meet.
For example, you might begin with navy blue, move into medium blue, then turquoise, and finish with a lighter translucent shade. The result can create a strong sense of movement and depth.
Tips for Better Resin Gradients
- Choose colours that naturally work together
- Arrange shades from dark to light
- Use small transitions between neighbouring colours
- Avoid excessive mixing
- Keep the overall design balanced
Creating Ocean Effects with Colour Layers
Ocean-inspired resin art is an excellent example of colour layering. Darker blues can create the illusion of deeper water, while turquoise and lighter blues represent shallower areas.
White can then be introduced to create wave-inspired highlights. Transparent resin between selected colours can increase the impression of depth.
For a decorative luxury effect, small amounts of metallic gold can also be incorporated into selected sections of the artwork.
Creating Geode Effects with Layered Resin
Geode resin art often combines multiple colour bands with metallic accents, clear resin, and decorative elements. Instead of covering the entire surface with one colour, each layer can follow an irregular organic shape.
Dark colours can define the outer areas, while lighter shades and metallic details can create contrast closer to the centre. Transparent sections can add additional depth.
Using Mica Powder in Layered Resin Art
Mica powder is useful for adding pearlescent and metallic effects to epoxy resin. Because mica reflects light, it can create visual movement as the viewing angle changes.
You can use mica as the main colour in one layer or as a smaller accent between other colours. Gold mica works particularly well with black, white, blue, green, and clear resin.
Adding Decorative Elements Between Resin Layers
Colour layering can also be combined with decorative inclusions. Depending on the project, selected objects can be positioned between resin layers so that they appear suspended inside the finished piece.
Possible decorative elements include dried flowers, suitable glitter, metallic flakes, decorative stones, and other craft inclusions. Always make sure any material you embed is suitable for your resin project.
How to Create More Depth in Resin Artwork
Depth does not depend only on the number of layers. Colour placement also makes a major difference.
Dark colours often appear visually deeper, while lighter and brighter colours can appear closer to the surface. Combining this effect with clear resin layers can make a relatively simple project look much more dimensional.
Use Dark Colours at Lower Levels
Deep blue, black, dark green, and similar shades can create a strong foundation for the artwork.
Add Transparent Mid-Layers
Transparent or lightly tinted resin can separate darker lower colours from brighter upper details.
Use Bright Highlights Near the Surface
White, pearl, metallic gold, or other bright accents can be placed closer to the upper layers to create contrast.
How to Prevent Colours from Becoming Muddy
One of the most common problems in multi-colour resin artwork is overmixing. When too many colours are repeatedly moved through each other, they can lose their definition.
To avoid this, use controlled pours and limit how much you manipulate the resin after adding each colour. A carefully planned colour palette also reduces the risk of creating unwanted combinations.
Managing Air Bubbles Between Layers
Air bubbles can become trapped during mixing and pouring. Working slowly and following the instructions for your resin system can help minimise them.
Pay particular attention when adding decorative objects because air can sometimes become trapped around their edges. Follow the bubble-removal method recommended for your specific resin product and avoid excessive heat.
Curing Epoxy Resin Between Layers
Curing is an important part of layered resin artwork. The correct waiting period between pours varies according to the resin formulation, temperature, layer thickness, and desired effect.
Always follow the manufacturer's recommended curing and recoating schedule. If the previous layer has completely cured, check whether sanding or another preparation step is required before adding more resin.
Common Epoxy Resin Colour Layering Mistakes
Adding Too Many Colours
Using too many unrelated colours can make the design look busy. Beginners may find it easier to start with two or three main colours and one accent.
Pouring Layers Too Thickly
Every epoxy resin has recommended limits for pour depth. Exceeding those limits can affect curing and project quality.
Incorrect Mixing Ratio
Always measure resin and hardener according to the manufacturer's instructions. Colour layering will not correct an improperly mixed resin system.
Overworking the Colours
Constantly moving pigments through the resin can destroy clean patterns and produce muddy colours.
Ignoring Curing Times
Adding another layer at the wrong stage can affect the appearance or bonding between pours. Use the recommended curing and recoating guidance for your resin.
Using Too Much Pigment
Adding excessive colourant can affect the resin system. Follow the recommended quantity for the pigment and epoxy resin you are using.
Creative Projects Using Epoxy Resin Colour Layers
Once you understand the basic layering techniques, you can adapt them to many different creative projects.
- Epoxy resin wall art
- Ocean resin artwork
- Geode-inspired designs
- Decorative trays
- Resin coasters
- Jewellery and pendants
- Decorative moulds
- Tabletop artwork
- Abstract resin panels
- Personalised home décor
Tips for Professional-Looking Layered Resin Art
Start by planning your colours and deciding where each shade should appear. Keep your tools organised so you can work efficiently once the resin and hardener have been mixed.
Use transparent layers strategically rather than making every layer completely opaque. This allows previous colours to remain visible and creates a stronger sense of depth.
Metallic pigments are most effective when used selectively. A small gold or pearl accent can often create more impact than covering a large area with metallic colour.
Finally, practise your technique on smaller pieces such as coasters before attempting a large wall panel or tabletop. This gives you an opportunity to understand how your resin and pigments behave together.
Frequently Asked Questions
Can you layer different colours of epoxy resin?
Yes. Different colours can be added in separate resin layers to create depth, patterns, gradients, and other decorative effects. The correct process depends on the epoxy resin system and the type of artwork being created.
How do you create depth with epoxy resin?
Depth can be created by combining transparent resin with coloured layers positioned at different levels. Darker colours at lower levels and lighter or metallic details closer to the surface can increase the three-dimensional appearance.
Can I pour clear epoxy over coloured resin?
Yes, provided the resin system is suitable and the previous layer is at the appropriate stage for recoating. Follow the manufacturer's instructions regarding curing and surface preparation.
Can mica powder be used between epoxy resin layers?
Yes. Mica powder can be mixed into resin to create metallic or pearlescent layers. It can also be used as an accent alongside other colours.
Why are my resin colours becoming muddy?
Colours often become muddy when they are mixed or manipulated too much. Reduce unnecessary swirling and allow individual colours to retain their definition.
How many layers can I add to an epoxy resin project?
The number of layers depends on the project, the resin system, total thickness, and recommended pouring and curing requirements. Follow the instructions for your specific epoxy resin rather than using a fixed number for every project.
Do I need to sand between epoxy resin layers?
This depends on the curing stage and the instructions for the epoxy resin being used. Some recoating situations may not require sanding, while a fully cured surface may need preparation before another layer is applied.
What colours work best for layered resin art?
Popular combinations include blue and turquoise for ocean effects, black and gold for luxury designs, white and grey for marble-inspired artwork, and pink, purple, and pearl tones for decorative crafts. The best combination depends on the style you want to create.
Final Thoughts
Epoxy resin colour layering gives artists and DIY makers an exciting way to create artwork with greater depth, movement, and detail. By combining transparent and opaque pigments, metallic mica powders, clear layers, and carefully positioned colours, you can transform a simple resin pour into a visually striking design.
The most important factors are accurate resin mixing, thoughtful colour selection, controlled pouring, and proper curing between layers. Avoid overworking the pigments and allow each layer to contribute something different to the finished piece.
Whether you are creating ocean art, geode designs, coasters, trays, wall pieces, or decorative resin projects, experimenting with different colour layering techniques can help you develop a distinctive style and produce stunning epoxy resin artwork.