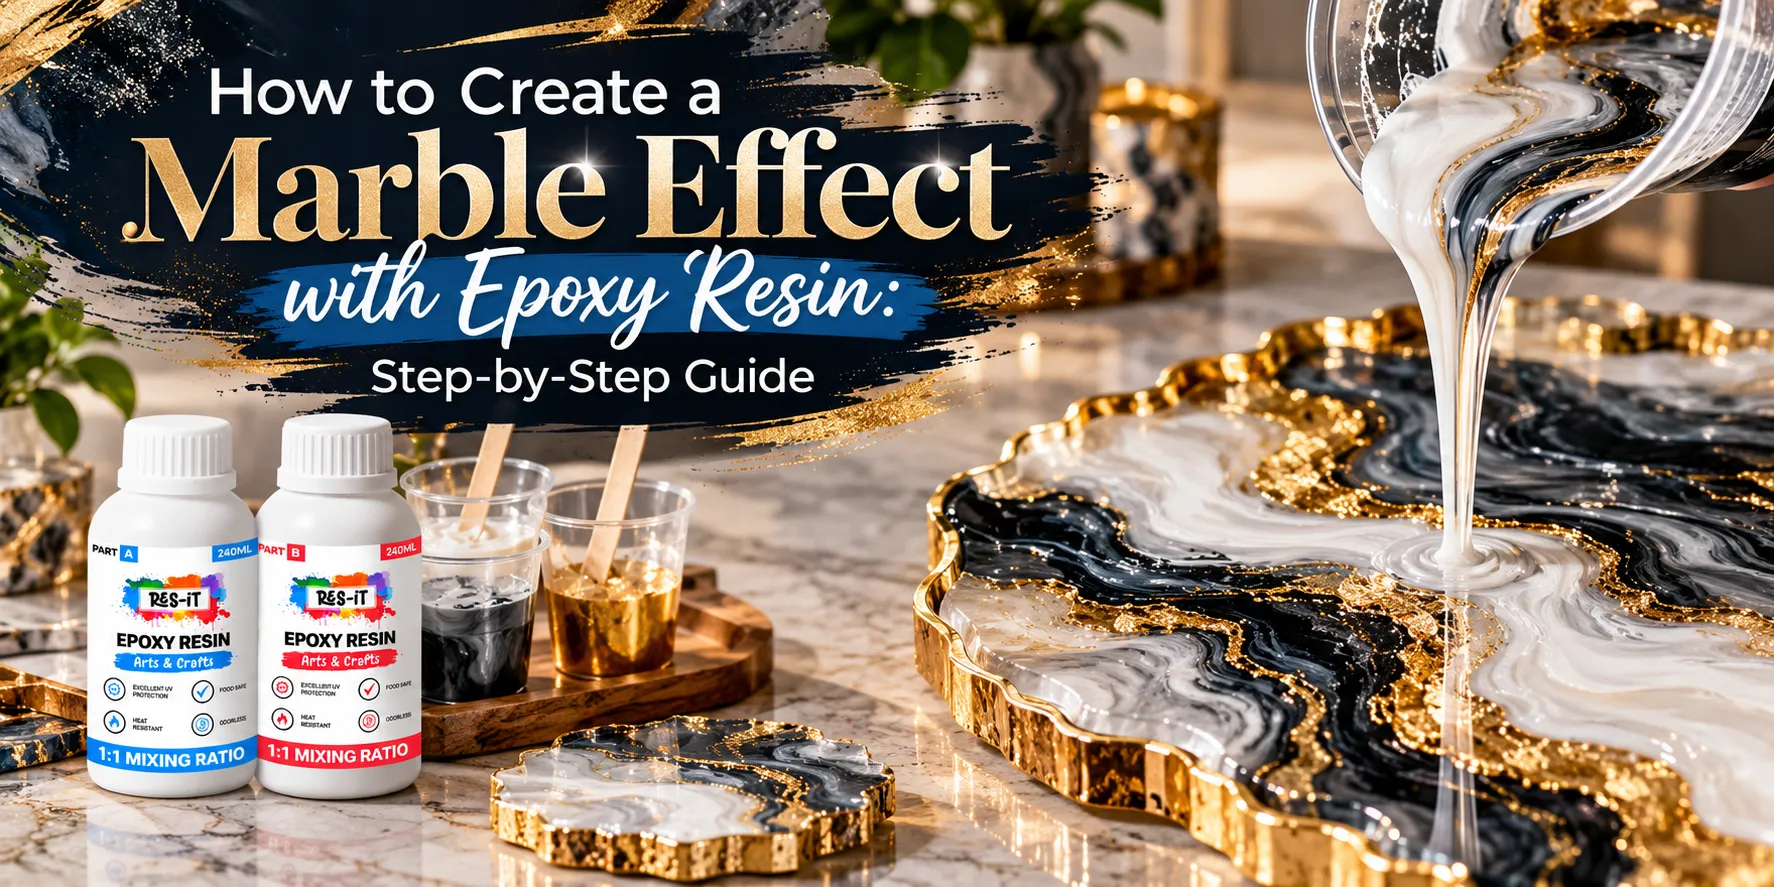
How to Create a Marble Effect with Epoxy Resin: Step-by-Step Guide
Creating a marble effect with epoxy resin is an excellent way to give tables, trays, coasters, countertops, wall art, and decorative pieces a luxurious appearance. By combining carefully selected colours and controlling how they flow through the resin, you can recreate the natural veins, depth, and movement associated with real marble.
The best part is that every marble resin project is unique. You can work with classic white and grey, dramatic black and gold, ocean-inspired blue and white, or create your own colour combination. In this guide, we will explain how to create a marble effect with epoxy resin step by step, from preparing your workspace to pouring, creating veins, curing, and finishing the surface.

Res-iT 2L Pro Epoxy Resin Kit

Res-iT Epoxy Resin 480ml Starter Kit

Res-iT Epoxy Resin 240ml Starter Kit
What Is a Marble Effect in Epoxy Resin?
A marble effect is a decorative resin technique designed to imitate the flowing veins and layered colours found in natural marble. Instead of mixing all pigments completely together, different colours are poured and manipulated separately to create organic lines, swirls, and patterns.
The technique can be used on many types of resin projects, including serving trays, artwork, decorative panels, furniture surfaces, coasters, and countertops. The final appearance depends on your colour selection, pouring technique, pigment concentration, and how much you manipulate the resin after pouring.
Why Is the Epoxy Resin Marble Effect So Popular?
Marble has a timeless and premium appearance, but natural stone can be heavy, expensive, and difficult to customise. Epoxy resin gives makers much greater creative freedom because colours, patterns, metallic accents, and vein designs can be adjusted for each individual project.
Another advantage is that no two pours need to look exactly the same. Even when using the same colours, small differences in pouring direction and movement can produce completely different patterns.
What You Need to Create a Marble Effect with Epoxy Resin
Preparing everything before mixing your resin makes the process much easier. Once the resin and hardener have been combined, your working time is limited, so all colours, tools, and surfaces should be ready beforehand.
- Epoxy resin and hardener
- Measuring cups
- Mixing stirrers
- Digital weighing scale if required by your resin system
- White, black, grey, or coloured resin pigments
- Mica powders for metallic effects
- Protective gloves
- Suitable mould or prepared surface
- Small mixing cups for individual colours
- Stirring sticks for creating veins
- Protective covering for your workspace
Choosing the Right Epoxy Resin
The correct resin depends on the type and thickness of your project. Decorative surface projects and thin pours generally require an art and craft or coating resin, while thicker moulds and larger castings may require a deep pour resin.
Always check the recommended mixing ratio, working time, maximum pour depth, and curing instructions for the specific epoxy resin you are using. Following the manufacturer's instructions is especially important because incorrect measurements can affect curing and the final finish.
Choosing Colours for a Marble Resin Effect
Colour selection has a major influence on the finished appearance. Natural marble normally combines a dominant base colour with one or more contrasting veins. For resin art, however, you can use traditional combinations or create something completely different.
Classic White and Grey Marble
Use white as the dominant base and introduce small amounts of grey and black to form natural-looking veins. This combination works particularly well for modern décor, trays, countertops, and wall art.
Black and Gold Marble
A black base combined with gold mica can create a bold and luxurious appearance. White or grey can also be introduced in smaller amounts to provide additional contrast and depth.
Blue and White Marble
Different shades of blue mixed with white can produce an ocean-inspired marble effect. Small metallic gold details can be added when you want a more decorative finish.
Neutral Marble Colours
Beige, cream, white, brown, and subtle metallic tones can create a softer marble effect that works well with natural and minimalist interior styles.
How to Create a Marble Effect with Epoxy Resin
Step 1: Prepare Your Workspace
Cover your work surface and organise all materials before starting. Your working area should be clean, stable, and suitable for resin work. Dust and debris can settle into wet resin, so keeping the surrounding area clean can help produce a better finish.
Place your mould or project surface on a level workspace. A surface that is not level may cause the resin to move towards one side during curing and distort your marble pattern.
Step 2: Prepare the Project Surface
If you are coating an existing surface, make sure it is clean, dry, and free from dust, grease, loose material, and contamination. Surface preparation is particularly important when applying resin to materials such as wood.
Some porous surfaces may need sealing before the main pour. This can help reduce air escaping from the material and entering the resin.
Step 3: Measure the Resin and Hardener
Measure your resin and hardener according to the mixing ratio specified for your epoxy system. Do not estimate the quantities by eye.
Accurate measurement is one of the most important parts of resin work. Incorrect proportions can lead to soft, sticky, or improperly cured resin.
Step 4: Mix Slowly and Thoroughly
Combine the resin and hardener and stir slowly, making sure you scrape the sides and bottom of the mixing container. Thorough mixing helps ensure both components are evenly combined.
Avoid extremely aggressive stirring because it can introduce unnecessary air bubbles into the mixture.
Step 5: Separate the Resin for Different Colours
Once your main batch is properly mixed, divide it between several smaller cups. Keep the largest amount for your main marble colour and use smaller quantities for veins and accent colours.
For example, a classic marble design might use a large portion of white resin, a smaller amount of grey, and only a small quantity of black or metallic pigment.
Step 6: Add Pigments and Mica Powder
Add your selected pigments to each cup and mix until the colour is evenly distributed. Add colour gradually rather than adding a large amount immediately.
For metallic veins, mica powder can create shimmering details that become especially noticeable when light moves across the cured resin surface.
Step 7: Pour the Base Colour
Begin by pouring your dominant colour across the prepared surface or into the mould. Spread it gently where necessary while allowing some natural movement to remain.
The base does not need to look completely uniform. Slight variations can help the final design appear more organic.
Step 8: Add the Secondary Colours
Pour your secondary colours in irregular lines, curves, or small streams across the base. Avoid creating perfectly straight or evenly spaced lines because natural marble usually contains unpredictable patterns.
Try varying the thickness of each line. Some veins can remain thin and delicate, while others can form larger areas of colour.
Step 9: Create Natural Marble Veins
Use a mixing stick or another suitable tool to gently guide the secondary colours through the base resin. Move in different directions and create subtle curves rather than repeatedly stirring the colours together.
The goal is to preserve visible separation between the colours. Too much movement can blend everything together and remove the distinctive marble appearance.
Step 10: Add Fine Accent Veins
Once the main pattern has formed, add smaller amounts of contrasting colour to create fine veins. Thin black, grey, white, or metallic lines can add extra detail to the design.
Use these accents carefully. Small details can create more realistic depth without overpowering the main pattern.
Step 11: Check the Overall Pattern
Look at the project from different angles before making additional changes. Resin patterns naturally continue to move after pouring, so avoid manipulating the design more than necessary.
If one section looks empty, introduce a small amount of colour rather than changing the entire surface.
How to Create Realistic Marble Veins
Real marble is naturally irregular. The veins vary in thickness, direction, colour, and intensity. Recreating this variation can make resin marble designs look more convincing.
Instead of drawing identical lines across the surface, allow some veins to branch into smaller lines. Let other areas remain relatively clean. This contrast between detailed and simple sections creates a more balanced appearance.
Use Different Vein Thicknesses
Combine broad areas of colour with very thin accent lines. Using only one vein thickness can make the pattern look artificial.
Avoid Excessive Swirling
One of the easiest mistakes is continuing to manipulate the resin after the marble pattern has already formed. Excessive swirling can muddy the colours and reduce definition.
Create Depth with Multiple Shades
Using two similar shades alongside a contrasting colour can make the pattern appear deeper. For example, light grey, dark grey, and a small amount of black can create more dimension than using black alone.
Using Gold Mica in Marble Epoxy Resin
Metallic gold is particularly popular in decorative marble resin projects. It can be introduced as thin veins, concentrated accents, or small highlights between larger colour areas.
Gold generally works best as an accent rather than the dominant colour. Carefully positioned metallic details can catch the light and add a premium appearance without overwhelming the overall design.
How to Avoid Muddy Colours
Muddy colours usually occur when multiple pigments are mixed together too aggressively. Once the colours lose their individual definition, restoring clean marble veins can be difficult.
Pour colours separately and move them only enough to achieve the desired pattern. Consider how different colours interact before combining them. Keeping a dominant base colour can also help maintain a clean overall design.
Managing Air Bubbles
Air bubbles can enter resin during measuring, mixing, or pouring. Slow and controlled mixing can help reduce the amount of air introduced into the mixture.
Always follow the bubble-removal recommendations provided for your specific resin system. Different formulations can respond differently to heat and other bubble-removal techniques, so avoid applying excessive heat unless it is appropriate for the product.
Curing Your Marble Epoxy Resin Project
Once you are satisfied with the pattern, leave the project undisturbed to cure. Keep it on a level surface and protect it from dust and accidental contact.
Curing time varies depending on the epoxy resin formulation, room temperature, project thickness, and environmental conditions. Always use the curing schedule supplied with your resin rather than assuming every product requires the same amount of time.
Avoid sanding, polishing, moving, or placing heavy objects on the project until the resin has reached the appropriate stage of cure.
Finishing the Marble Epoxy Resin Surface
After the resin has fully cured, inspect the surface and edges. Depending on the project, additional finishing may be required to achieve the desired appearance.
Sanding the Edges
Any rough or uneven edges can be carefully sanded after the resin has cured sufficiently. Work gradually and avoid removing more material than necessary.
Polishing the Resin
For suitable projects, polishing can help restore clarity and enhance the glossy appearance after sanding. Follow an appropriate finishing process for your particular resin and project.
Applying an Additional Coat
If the project requires another resin layer, make sure the previous layer is properly prepared according to the resin manufacturer's recommendations before recoating.
Common Marble Epoxy Resin Mistakes
Using Too Many Colours
Too many colours can make the finished piece look crowded. Starting with two or three complementary colours is often easier, particularly for beginners.
Overmixing the Marble Pattern
Constantly moving and swirling the resin can turn defined veins into an unclear mixture. Stop manipulating the resin once you have achieved a balanced pattern.
Incorrect Resin Mixing Ratio
Decorative techniques cannot compensate for incorrectly mixed epoxy. Always measure the resin and hardener according to the instructions for your specific product.
Working on an Uneven Surface
If the project is not level, the resin and pigments may gradually move to one side, changing your carefully created marble design.
Adding Too Much Pigment
Using excessive pigment can affect the appearance and, depending on the colouring product and resin system, may interfere with performance. Follow the recommended pigment quantities whenever available.
Epoxy Resin Marble Effect Project Ideas
Once you understand the basic technique, marble effects can be adapted to many different resin projects.
- Marble epoxy resin coasters
- Decorative serving trays
- Resin wall artwork
- Tabletops and furniture accents
- Decorative panels
- Jewellery and accessories
- Home décor pieces
- Resin ornaments
Tips for a Professional-Looking Marble Effect
Plan your colour palette before mixing the resin and keep your main colour dominant. Use contrasting pigments in smaller quantities so they form clearly visible veins rather than taking over the design.
Work patiently and avoid trying to control every part of the pattern. Some of the most attractive marble effects come from allowing the resin to flow naturally while guiding only selected sections.
It is also useful to practise the technique on a smaller project before moving on to a large tabletop or decorative panel. Small test pours allow you to understand how your pigments move and interact with the resin.
Frequently Asked Questions
How do you make epoxy resin look like marble?
Use a dominant base colour and introduce smaller quantities of contrasting resin to create veins. Gently guide the secondary colours through the base without fully blending them together. Varying the thickness and direction of the veins helps create a more natural marble appearance.
What colours are best for marble epoxy resin?
White, grey, and black are commonly used for a classic marble appearance. Black and gold can create a more luxurious style, while blue, turquoise, white, and metallic accents work well for artistic marble-inspired designs.
Can I use mica powder for a marble resin effect?
Yes. Mica powder can be used to introduce metallic or pearlescent accents into marble resin designs. It is particularly effective for creating gold, silver, bronze, and shimmering veins.
Why did my marble resin colours blend together?
This often happens when the colours are manipulated too much after pouring. To maintain defined veins, move the colours gently and stop once the desired pattern has formed.
Can beginners create an epoxy marble effect?
Yes. Beginners can practise on small projects such as coasters, trays, or decorative pieces before attempting larger surfaces. Using a simple colour palette can also make the technique easier to control.
Can I create a marble effect on wood with epoxy resin?
Epoxy resin can be applied to suitably prepared wood for decorative projects. The wood should be clean, dry, stable, and properly prepared before applying the resin system.
How long does marble epoxy resin take to cure?
Curing time depends on the specific resin formulation, temperature, project thickness, and environmental conditions. Follow the curing instructions supplied with your epoxy resin for accurate timings.
Final Thoughts
Learning how to create a marble effect with epoxy resin opens up many possibilities for customised artwork, home décor, furniture, coasters, trays, and other creative projects. The key is to choose a balanced colour palette, measure and mix the epoxy correctly, create irregular veins, and avoid overworking the pattern.
Start with a small project and experiment with different combinations such as white and grey, black and gold, or blue and pearl white. As you become more confident, you can introduce metallic mica powders, finer veins, multiple shades, and larger projects to develop your own distinctive marble resin style.
With careful preparation and controlled pouring, a simple mixture of resin and pigments can become an elegant marble-inspired surface with unique movement, colour, and depth.