How to Create Ocean Art with Epoxy Resin: Step-by-Step Guide
Epoxy resin ocean art is the best place to begin, in case you have always wanted to produce the beauty of ocean in your art. You can create ocean resin art on wood with this guide, whether you are a beginner or an experienced crafter, this is how it will be done using high quality materials such as Epoxy Resin 4L Pro Kit which is the best to use in achieving crystal clear, professional finish.


What Is Ocean Resin Art?
Ocean resin art is an artistic method, which involves the utilization of epoxy resin, colours, and textures like sand to resemble the beautiful colours and waves of the sea. It is also popular among many artists creating beach resin art as a beginner or to decorate the walls to provide a smooth water effect with depth and movement.
The right ocean resin art kit has the capability of transforming a plain wooden board in a beautiful masterpiece of the coast.
Materials You'll Need
Make sure you have the following when diving in before you get into the water:
- Epoxy resin Kit (starter or pro)
- Wooden board or panel
- Powder pigment (blue, turquoise, and white, and deep sea colours).
- Hairdryer or heat gun (to use to create effects of waves)
- Mixing cups and stir sticks
- Beach art materials Sand or tiny shells (in resin beach art)
- A protective cover and gloves in the working area.
Step-by-Step: How to Make Ocean Resin Art for Beginners
Step 1: Prepare Your Surface
Take any flat smooth wooden board. Lightly sand it and remove dust. Clean, dry, and level the surface- this aids in laying the resin to spread the resin.
Step 2: Mix the Resin
The Treatment of your Epoxy Resin Kit. Add resin and hardener to each other in the same ratio, and stir slowly over a period of 3-5 minutes to eliminate air bubbles.
Step 3: Add Colour with Pigments
You can pour it at the top with the darkest blue resin (deep water), then progressively darker blues to the middle, then lastly with white resin to the shore.
Step 4: Pour the Resin
You can pour it at the top with the darkest blue resin (deep water), then progressively darker blues to the middle, then lastly with white resin to the shore.
Sand can be sprinkled on the edge to make the resin beach art more realistic.
Step 5: Create the Waves
A heat gun or hairdryer is used to blow the white resin in the blue spots. This assists you to make waves in the resin art naturally and serves a foamy realistic effect.
To newcomers, epoxy resin ocean art is far easier as thin pours are easier to apply and small sections can be practised first.
Step 6: Let It Cure
Allow the art to dry (24- 48 hours). The Res-iT Epoxy resin has a transparent and glossy surface and hardens without yellowing, which is the perfect ocean effect.
Additional Hints on the Ideal Ocean Resin Art
- The resin should always be measured accurately - wrong ratios will influence curing.
- Resin when warmed slightly in a hot-water bath, bubbles are minimised by the mixing of the resin.
- Apply a second clear coat when the first one has set in order to give it more depth.
- Test introducing seat glass or sea shells to the texture.
Why Use Res-iT Epoxy Resin for Ocean Art
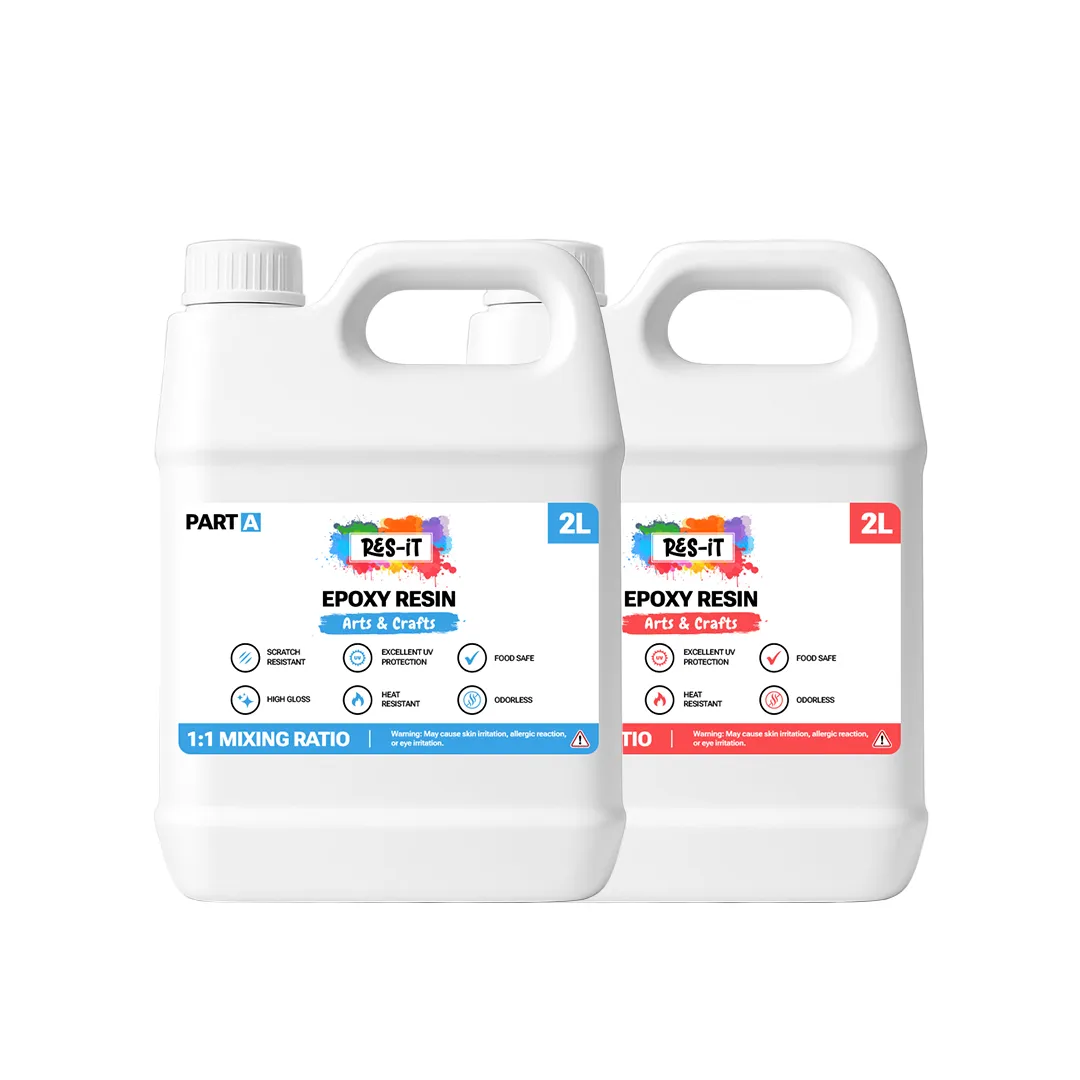
Epoxy Resin 4L Pro Kit is a beginner oriented epoxy resin kit with a formulation that is specifically designed to be used in ocean art. It offers:
- Premium crystal clear and high UV resistant finish.
- Mixing ratio (1: 1) is easy to prepare.
- Small bubbles, which are ideal in flat wave effects.
- Can be applied easily with Epoxy Resin Pigments/Mica Powder Kit.
Res-iT will make your resin work have the clarity and strength it needs, whether in craft work or you are starting your own art brand.
FAQs
- Q: How to make ocean resin art for beginners?
- Q: How to create waves in resin art?
- Q: What is the best resin for ocean waves?
A:You only need a small wooden board, a good resin such as Epoxy Resin 2L Pro Kit and a few pigment powders. Wave effects Mix, pour and apply heat gun to achieve wave effects - practice with layering colours to do best.
A:Having poured your coloured resin, then apply white pigment and a heat gun to push the resin. This is dispersing the white in the blue parts, making the natural and soft wave lines.
A: To be realistic with depths of the ocean and gloss, the Epoxy Resin 2L Pro Kit is the one to use - it dries up crystal clear and resists yellowing, not to mention that it is user-friendly to both the beginner and the professional.
Final Thoughts
Making epoxy resin ocean art is an easy and enjoyable sentimental experience that will allow you to bring the ocean into your own house. The Res-iT Epoxy Resin Kit results in an experience-level finish with no bubbles even when you are in the learning curve.
Begin with the easiest method of beginners as you start to make your own beach resin art and allow the imaginations to roll like waves.


