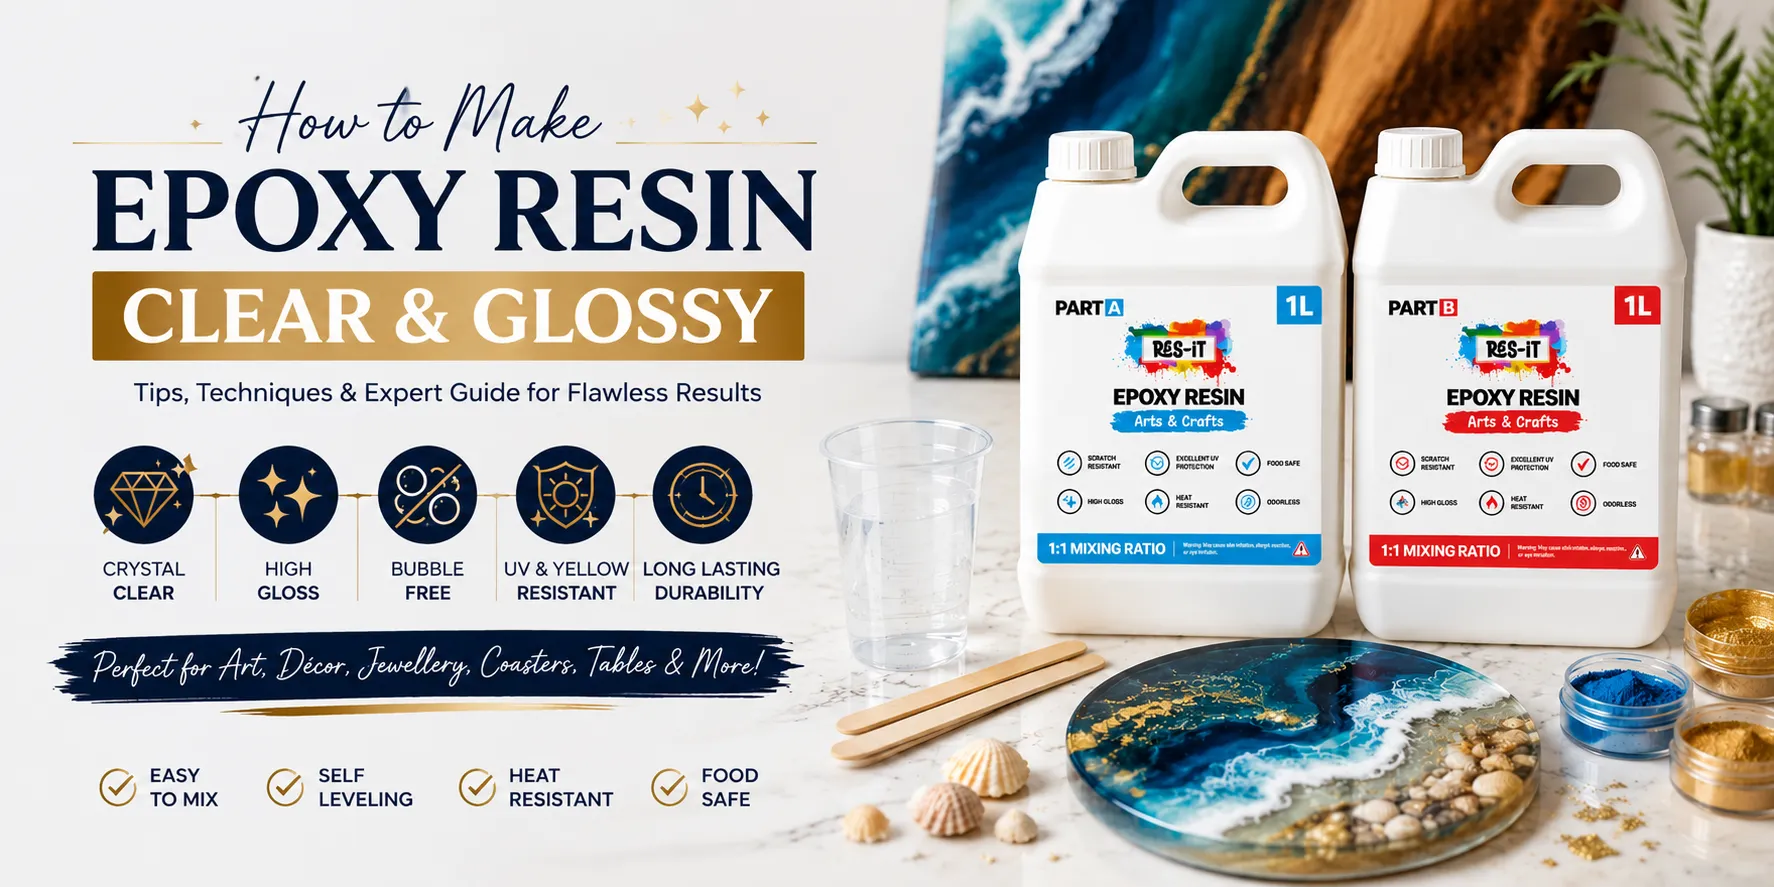
How to Make Epoxy Resin Clear and Glossy
A Complete Guide to Achieving a Crystal-Clear, High-Gloss Epoxy Resin Finish
Epoxy resin is one of the most versatile materials for creating beautiful, durable and professional-looking projects. From resin jewellery and coasters to decorative trays, artwork, countertops and river tables, a clear and glossy finish can completely transform the final result.
However, achieving that crystal-clear, glass-like appearance is not simply about pouring resin into a mould. Mixing technique, temperature, moisture, pigments, surface preparation, curing conditions and the quality of the epoxy system can all affect the final finish.
If your resin sometimes looks cloudy, develops bubbles, loses its shine or cures with an uneven surface, you are not alone. Fortunately, many of these problems can be reduced by following a consistent preparation, mixing, pouring and curing process.
In this guide, we explain how to make epoxy resin clear and glossy, covering everything from preparing your workspace and mixing correctly to removing bubbles, curing the project and polishing the finished surface.

Res-iT Epoxy Resin 480ml Starter Kit


Res-iT Epoxy Resin 1L Starter Kit
Why Does Epoxy Resin Lose Its Clarity?
Before learning how to achieve a crystal-clear finish, it is useful to understand what can make epoxy resin appear cloudy, dull or uneven.
- Incorrect resin-to-hardener measurements
- Incomplete mixing
- Mixing too aggressively and introducing air
- Working in unsuitable temperatures
- Moisture contamination
- Dust settling on the resin
- Using incompatible pigments or additives
- Pouring beyond the recommended depth
- Moving the project while it cures
- Insufficient curing time
- Using a resin system unsuitable for the intended application
- Scratches or surface contamination after curing
The good news is that careful preparation can prevent many of these issues before they affect your finished project.
Start With the Right Epoxy Resin
The resin system you choose has an important influence on the final appearance of your project. A resin designed for clear art and craft applications should provide a smooth, glossy finish when it is mixed, poured and cured according to the manufacturer's instructions.
For beginners, a smaller starter kit can be a practical way to learn the basics before moving to larger quantities.
The Res-iT Epoxy Resin 240ml Starter Kit and 480ml Starter Kit are useful options for smaller creative projects and practice pours. They allow beginners to learn accurate measuring, mixing and pouring without having to purchase a large quantity of resin.
For makers working on larger projects, the Res-iT 1L Starter Kit and 2L Pro Kit provide more resin for projects such as trays, decorative pieces, artwork, coasters and other applications.
For larger-volume projects, the Res-iT 4L Pro Kit can provide the additional resin required for bigger applications.
Choosing a kit that matches the size and type of your project can help reduce waste and make the entire process easier to manage.
Prepare a Clean Workspace
A glossy resin project can be affected by something as simple as dust. Even a tiny particle landing on the surface while epoxy is curing can leave an unwanted mark.
Before mixing your resin:
- Clean your work surface thoroughly.
- Remove unnecessary tools and materials.
- Make sure your mould or project surface is clean.
- Keep unnecessary movement around the workspace to a minimum.
- Prepare a clean cover to protect the project while it cures.
- Have your measuring cups, stirrers and other tools ready.
Preparing everything before mixing is important because epoxy has a limited working time. Having everything ready allows you to work calmly instead of searching for tools while the resin is already mixed.
Control the Working Environment
Temperature can influence the viscosity and curing behaviour of epoxy resin. In colder conditions, resin can become thicker, making it more difficult for trapped air to escape. Excessive heat can also change the working time and curing behaviour.
Always follow the temperature and environmental recommendations provided with your particular resin.
A stable and suitable room temperature can help the resin flow more consistently and make it easier to achieve a smooth finish.
How to Mix Epoxy Resin for Maximum Clarity
Measure Resin and Hardener Accurately
Accurate measurement is one of the most important steps in achieving a clear and properly cured epoxy finish.
Never guess the amount of resin or hardener. Always follow the exact mixing ratio specified for your resin system.
For example, if your particular epoxy system requires a 1:1 mixing ratio, measure both components accurately according to the manufacturer's instructions.
An incorrect ratio can result in:
- Sticky surfaces
- Soft or flexible areas
- Incomplete curing
- Uneven finishes
- Reduced durability
- Problems with clarity
Different epoxy systems can have different ratios, so always check the product instructions rather than assuming every resin uses the same ratio.
Use Clean and Dry Measuring Containers
Use clean and completely dry measuring cups when preparing your resin.
Water, dust, old pigment residue or other contaminants can affect the appearance and performance of your project. If you are working with several colours, clean tools should be used where appropriate to prevent unwanted colour contamination.
Mix Slowly and Steadily
One of the most common mistakes beginners make is stirring resin too quickly.
Fast stirring can introduce large amounts of air into the mixture, creating bubbles throughout the resin. Instead, mix slowly and steadily while keeping your stirring motion controlled.
- Stir slowly and steadily.
- Scrape the sides of the container.
- Scrape the bottom of the container.
- Avoid whipping the resin.
- Mix for the time recommended by the manufacturer.
- Keep your mixing technique controlled.
The objective is to combine the resin and hardener thoroughly without unnecessarily introducing air.
Scrape the Sides and Bottom
Simply stirring the centre of the cup is not enough. Resin and hardener can remain around the sides or at the bottom of the container.
Carefully scrape these areas while mixing to help ensure the components are properly combined.
Incomplete mixing can lead to soft, sticky or unevenly cured areas.
Do Not Overwork the Resin
Once your resin has been thoroughly mixed, avoid continuing to stir it unnecessarily. Excessive mixing can introduce more air and reduce the time available for pouring.
Prepare your mould and workspace before mixing so you can move smoothly from measuring to mixing and then pouring.
Adding Pigments Without Losing Clarity
Clear epoxy can be used on its own to achieve a glass-like finish, but compatible pigments can add colour and visual depth to resin artwork.
The Res-iT Pigments / Mica Powder Kit can be used with compatible Res-iT epoxy resin systems to create decorative effects such as:
- Metallic finishes
- Ocean-inspired designs
- Geode-style artwork
- Shimmering effects
- Layered colour effects
- Swirling patterns
However, avoid adding excessive pigment. Too much colouring material can affect the appearance and behaviour of the resin.
Always follow the manufacturer's recommendations for compatible pigments and suitable quantities.
How to Pour Epoxy Resin for a Smooth, Glossy Surface
Prepare the Mould or Surface
Before pouring, inspect your mould or prepared surface carefully.
It should be:
- Clean
- Dry
- Free from dust
- Properly positioned
- Suitable for your selected resin system
If you are using a silicone mould, check that there is no residue from a previous project.
For wood, artwork or other surfaces, prepare and seal the material appropriately according to the requirements of the surface and resin system.
Pour Slowly
A controlled pour gives you greater control over the resin and makes it easier to identify bubbles or surface problems.
Pour the epoxy slowly into the mould or across the prepared surface. Avoid dropping resin from a significant height because this can introduce additional air.
Allow the resin to flow naturally rather than rushing the pour.
Do Not Exceed the Recommended Pour Depth
Not every epoxy resin is designed for thick pours. Art and craft resin is generally intended for applications such as jewellery, coasters, trays, artwork and surface coatings, while deep-pour systems are formulated for thicker applications.
If you are working on a deeper project, select an epoxy system specifically intended for the required pour depth.
Res-iT offers 3L, 6L and 12L Deep Pour Resin Kits for larger deep-pour applications. Choosing an appropriate deep-pour system can provide better control for projects such as river tables, large moulds and other thicker applications.
How to Remove Surface Bubbles
Small bubbles can naturally appear during mixing and pouring.
After pouring, carefully inspect the surface. If your particular resin system permits the use of controlled heat for bubble removal, follow the manufacturer's instructions and apply heat carefully.
The goal is to encourage surface bubbles to release without overheating the resin.
Excessive heat can affect curing and may create additional surface problems, so always use caution.
Protect the Resin While It Cures
After pouring, leave the project undisturbed.
Cover the project with a suitable clean protective cover to reduce the chance of dust, hair or other particles landing on the surface.
Avoid repeatedly touching the resin to check whether it has cured. Fingerprints or marks can affect a surface that is still setting.
How to Keep Epoxy Resin Glossy During Curing
Curing conditions are just as important as the mixing and pouring process.
Keep the project:
- Level
- Clean
- Protected from dust
- Away from unnecessary movement
- Within the manufacturer's recommended temperature conditions
Do not rush the curing process. Even if the surface feels hard, the resin may still be curing internally.
Always follow the manufacturer's recommended curing time before sanding, polishing, handling or using the finished project.
How to Get an Even More Glossy Epoxy Finish
Allow the Resin to Cure Completely
Patience is one of the simplest ways to improve resin results.
Do not immediately sand, polish or handle your project simply because the surface feels dry. Curing time depends on the resin formulation, temperature, humidity, pour thickness and other environmental conditions.
Follow the curing instructions supplied with your specific epoxy resin.
Inspect the Finished Surface
Once the resin has cured according to the manufacturer's instructions, inspect the surface under good lighting.
Look for:
- Dust particles
- Small scratches
- Uneven areas
- Dull patches
- Surface imperfections
- Remaining bubbles
A correctly mixed, poured and cured epoxy surface may already have an attractive high-gloss appearance. If additional finishing is required, suitable sanding and polishing can help improve the surface.
Sanding a Dull Epoxy Surface
If your cured surface contains scratches or uneven areas, sanding may be necessary.
Use a suitable sanding process and gradually move towards finer grits as required. The exact sanding sequence depends on the condition and type of project.
Never aggressively sand resin that has not fully cured.
Polishing Epoxy Resin
After sanding, polishing can help restore a smooth, glossy appearance.
A suitable polishing compound can help remove fine sanding marks and improve surface shine. Work gradually and inspect the finish regularly.
For small decorative pieces, careful hand polishing may be sufficient. Larger surfaces may require suitable polishing equipment and techniques.
Applying a Compatible Clear Topcoat
For some projects, applying a compatible clear epoxy layer can help restore or enhance a glossy finish.
Before applying another coat:
- Ensure the existing layer has cured as required.
- Clean the surface thoroughly.
- Remove all contamination.
- Sand the surface if required for adhesion.
- Remove all sanding dust.
- Apply a compatible resin according to the manufacturer's instructions.
Always check compatibility before applying a new coating over an existing surface.
Common Problems That Stop Epoxy From Looking Clear
Cloudy Epoxy Resin
Cloudiness can be associated with moisture, contamination, bubbles, unsuitable environmental conditions or other factors.
Keep your materials and workspace clean and dry, and follow the environmental recommendations for your resin system.
Excessive Bubbles
Bubbles can be introduced during mixing and pouring. Stirring too quickly can trap additional air inside the resin.
Slow and controlled mixing can help reduce unnecessary air being introduced into the mixture.
Yellowing
Some epoxy systems can develop a yellow tint over time, particularly with exposure to UV light.
If long-term clarity is important for your project, look for an epoxy system formulated with suitable UV resistance and anti-yellowing properties.
Uneven Surface
An uneven surface can be caused by an unlevel workspace, contamination, incorrect pouring technique or other factors.
Make sure your work area is level before pouring and protect the resin while it cures.
Sticky Epoxy Resin
Sticky resin can be associated with incorrect component measurements, incomplete mixing or unsuitable curing conditions.
Measure accurately, mix thoroughly and follow the manufacturer's recommended curing conditions.
Choose the Right Res-iT Kit for Your Project
| Res-iT Kit | Suitable For |
|---|---|
| 240ml Starter Kit | Small tests, jewellery and tiny decorative projects |
| 480ml Starter Kit | Small crafts, practice pieces and workshops |
| 1L Starter Kit | Jewellery, coasters, artwork and small projects |
| 2L Pro Kit | Trays, décor, coasters and medium projects |
| 4L Pro Kit | Larger projects, furniture and decorative surfaces |
| 3L Deep Pour Kit | Small deep-pour applications |
| 6L Deep Pour Kit | Medium-to-large deep-pour projects |
| 12L Deep Pour Kit | Large river tables and high-volume projects |
Choosing the correct amount and type of resin can help minimise waste while ensuring you have enough material for your intended project.
Why Choose Epoxy Res-iT?
For resin artists, the quality of the materials can make the crafting process easier and help achieve more consistent results.
Epoxy Res-iT offers a range of products for different experience levels and applications, from small starter kits to larger Pro Kits and Deep Pour systems.
Beginners can start with smaller quantities and develop their skills before moving to larger kits. Experienced makers can choose larger systems according to the scale and requirements of their projects.
Compatible mica pigments can also add colour and visual depth to clear epoxy, making it possible to create metallic, ocean-inspired, geode and other decorative effects.
Choose the resin system that matches your project, follow the manufacturer's instructions carefully and give your epoxy enough time to cure properly.
Frequently Asked Questions About Clear and Glossy Epoxy Resin
1. How do I make epoxy resin crystal clear?
Use a suitable clear epoxy system, measure the components accurately, mix slowly and thoroughly, keep the workspace clean and dry, control bubbles according to the manufacturer's instructions and allow the resin to cure completely.
2. Why is my epoxy resin cloudy?
Cloudiness can be associated with moisture, contamination, bubbles, unsuitable temperatures or other working conditions. Check your resin instructions and make sure the workspace and materials are clean and dry.
3. How do I make epoxy resin glossy?
A correctly mixed and fully cured epoxy can naturally provide a glossy finish. If the cured surface is dull or scratched, suitable sanding and polishing techniques may help restore the shine.
4. Why does my epoxy resin have bubbles?
Bubbles can be introduced during mixing or pouring. Stirring too quickly can trap additional air inside the resin. Slow, controlled mixing can help reduce unnecessary bubbles.
5. Can I polish epoxy resin?
Yes. Once epoxy resin has fully cured, suitable sanding followed by polishing can improve the surface finish and restore gloss where necessary.
6. Can I add mica powder to clear epoxy resin?
Compatible mica powder can be added to many epoxy resin systems. Follow the manufacturer's recommendations regarding compatible pigments and suitable quantities.
7. How long does epoxy resin take to cure?
Curing time depends on the specific resin, temperature, humidity, pour thickness and other conditions. Always follow the curing time stated by the manufacturer of your particular epoxy system.
8. Why is my epoxy resin still sticky?
Sticky resin can be caused by inaccurate component measurements, incomplete mixing or unsuitable curing conditions. Check the resin-to-hardener ratio and follow the manufacturer's mixing and curing instructions.
9. How can I prevent dust from getting into epoxy resin?
Keep the workspace clean before pouring and protect the project with a suitable cover while it cures. Avoid unnecessary movement around the curing project.
10. Can I make a deep-pour project with ordinary art resin?
Not necessarily. Different resin systems are formulated for different applications. Always check the recommended maximum pour depth before attempting a deep project. A dedicated deep-pour system may be more appropriate for thicker applications.
11. What is the best epoxy resin for glossy artwork?
Choose a resin specifically intended for your application and follow its recommended mixing, pouring and curing conditions. A suitable art and craft epoxy can be ideal for many decorative projects where clarity and gloss are priorities.
12. How can beginners get better epoxy resin results?
Start with small projects, measure accurately, mix slowly, maintain suitable working conditions, keep the workspace clean and allow sufficient curing time. Practising with a smaller starter kit can also help build confidence before moving on to larger projects.
Conclusion
Making epoxy resin clear and glossy is a combination of good materials, accurate preparation, careful mixing, controlled pouring and proper curing.
The most important habits are simple: choose an epoxy system suited to your project, measure the components correctly, mix slowly and thoroughly, keep moisture and dust away, avoid excessive heat, use the correct pour depth and give the resin enough time to cure.
For beginners, starting with a smaller Res-iT Starter Kit can make it easier to practise the fundamentals. As your projects grow, you can move to larger Pro Kits or suitable Deep Pour systems.
Whether you are creating jewellery, coasters, trays, artwork, furniture or larger resin projects, a careful process can help you achieve the smooth, clear and glossy finish you are looking for.
Choose the right Res-iT resin for your project, take your time and let your creativity shine.
Create. Pour. Inspire.
```