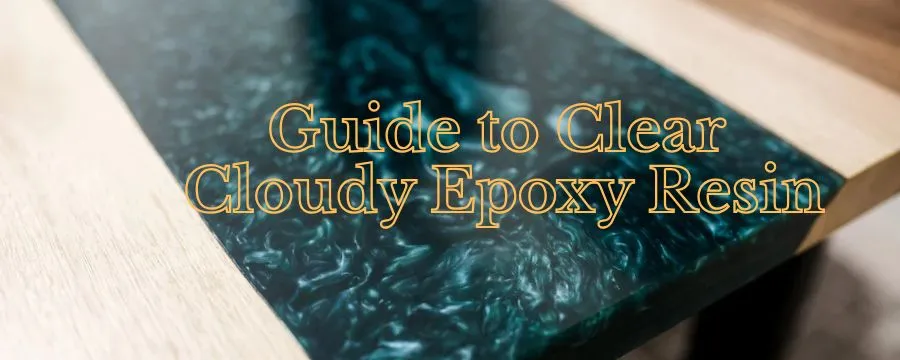
Step by Step: How to make Epoxy Resin Clear
Epoxy resin has found application in art, craft, table tops and in DIY due to its glass-like appearance. However, in some cases the epoxy may appear hazy or cloudy after curing and this can be a frustrating experience. The good news is that, it is possible to fix most cloudy resin issues and using the right techniques it is possible to achieve a clear and professional finish. This is a step-by-step, simple procedure that will guarantee you empty clouded epoxy resin and avoid future occurrence of the cloudy resin.
Step 1: Learn the reason why Epoxy Resin becomes cloudy
The reason behind the cloudiness will assist you in repairing it in the right way. Common reasons include:
- Air bubbles entrap during mixing: It can be caused by stirring too rapidly or insufficiently.
- Humidity or moisture: Air or material water may result in haze finish.
- Temperature problems: Curing can be influenced by working in either a cold or hot environment.
- Expired or old resin: The resin or hardener exhibiting loss of shelf life can cure off looking cloudy.
Step 2: Warm the Resin Surface
In case the epoxy that you are using is already cured with a hazy finish, warming it a little bit can work:
- Heat gun or hairdryer on a low temperature.
- Slowly move it through resin in order to prevent overheating.
- The slightly warm temperature is able to soften the resin and allow bubbles to reach the surface.
Hint: Do not excessive heat, it may lead to yellowing or to the destruction of the resin.
Step 3: Apply a Clear Top Layer
To recover the clarity, a new coat of the epoxy may be applied:
- Ensure that the original resin is completely cured.
- Prepare a small amount of epoxy gradually and thoroughly mixing it in the necessary ratio.
- The resin should be added slowly over the turbid surface.
- There should be a little heat gun or torch work to break the bubbles on the surface.
- This top is capable of giving your work an appearance of complete transparency and smoothness.
Step 4: Severe Cloudiness Sanding and Polishing
In resin which refuses to become clear when a top layer is applied:
- Wipe the surface using sandpaper of a fine grit. Begin with 400- 600 grit and proceed to 1000-2000 grit.
- Rubbing compound or epoxy polish can be used to polish the surface again.
- Additional layer of epoxy can be applied to seal it and make it clearer, optionally.
Step 5: Prevention of cloudy epoxy in the future
- Blend resin gradually and properly at least 2-3 minutes.
- Operate in a temperature and dry work environment (20–25°C is ideal).
- Fresh, high quality resin and hardener should be used.
- Store moisture off your working surface and supplies.
- Do not stir too vigorously where this entraps air bubbles.
Final Thoughts
Many believe that it is difficult to clear cloudy epoxy resin. A smooth surface, warmed, covered with a clear superficial coating, or sanded and polished, will give a perfect transparent surface. These steps will not only eliminate cloudiness, but will also stop cloudiness in further projects, and your resin art and crafts will always appear like professional, polished looking work.
With this guideline, you can transform even an epoxy disaster into a beautiful masterpiece that last years even when it is cloudy.


Be the first to add a comment.