
Top 10 Mistakes Beginners Make with Epoxy Resin (and How to Avoid Them).
Introduction: Starting Here at the Very beginning.
When you are not yet familiar with resin art, you have most likely encountered the glossy tables, crystal-clear jewellery, or coloured coasters on the social media and thought, I want to do that Epoxy resin is entertaining and enjoyable, but as with any other craft, there is a learning curve.
These are the common mistakes made by most beginners when they are starting out. The good news? You can prevent them knowing what to watch out. A Top 10 list of the most pitfalls that beginners fall into and how to correct them is listed below.
1. Guessing the Mixing Ratio
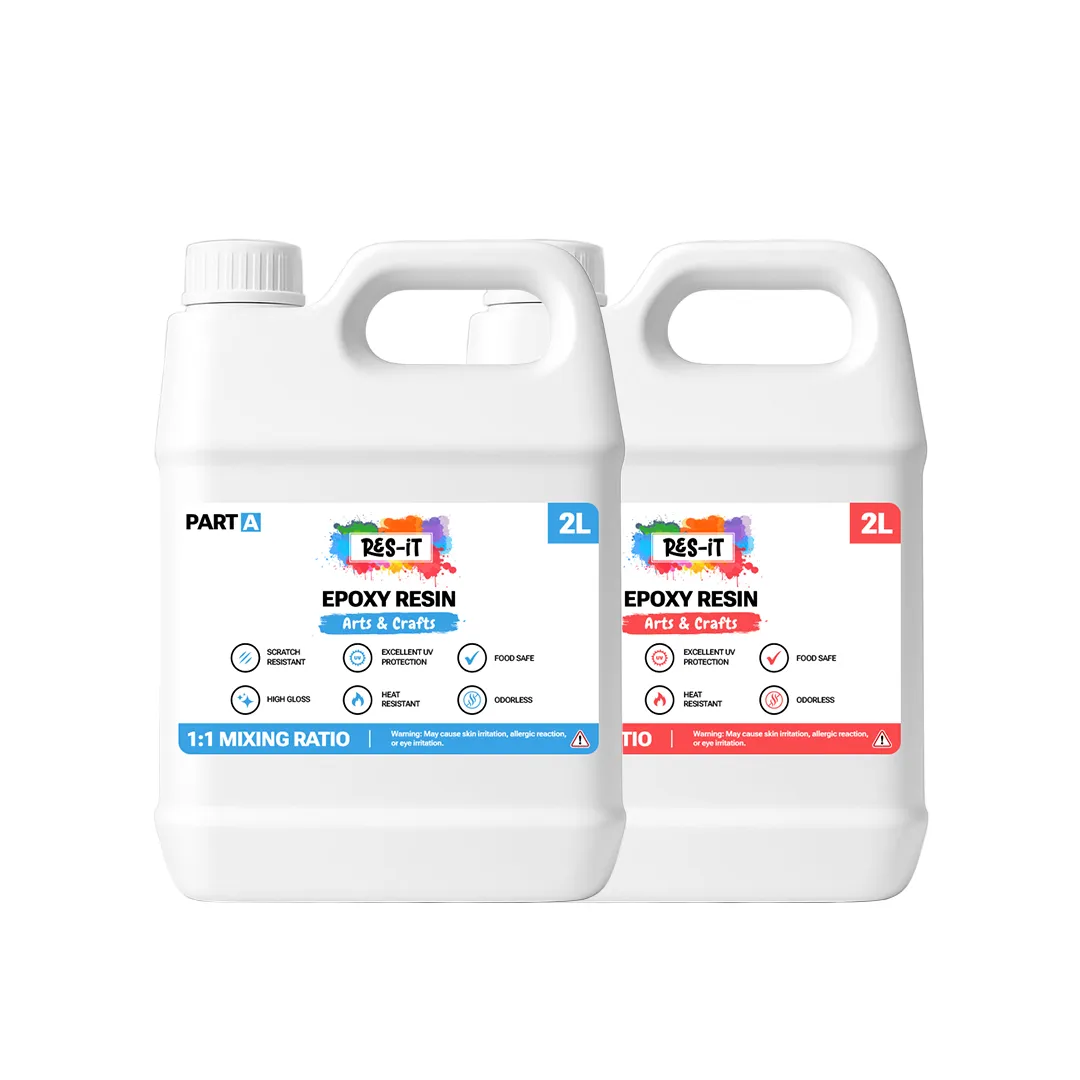
The Error: Most amateurs peep at the resin to hardener ratio. In this case, resin is not tolerant, slight imbalance can result in sticky, soft or uncured findings.
How to Prevent It: For the sake of all, it should be digital or graduated cups. Take in the same 1:1 proportion (or manufacturer). Being precise = being professional.
2. Mixing Too Fast
The Error: Vigorous mixing adds bubbles and streaks to your resin, rendering it cloudy.
How to prevent it: Stir sluggishly in one direction during 2-3 min. Scrape sides and bottom of your cup. Glassy resin with no bubbles is the result of patience.
3. Skipping Safety Gear
The Error: Amateurs tend to believe that resin is non-toxic due to the appearance of the clear craft glue. The truth of the matter is that epoxy has chemicals, which demand simple precautions.
How to Prevent it: It should be avoided, and this can be done by working in an environment with adequate ventilation, using nitrile gloves, and covering the table with plastic layers. The dust mask or respirator is intelligent when you are sanding cured resin.
4. Pouring Too Thick, Too Soon
The Error: This is commonly done by new artists adding deep layers (more than 1cm) immediately, which may entrap bubbles and result in overheating (exotherm).
How to prevent it: Pour resin in thin layers (2-5mm thick). Allow one layer to dry before applying the other. This eliminates cracking, cloudiness and warping.
5. Disregard of Temperature and Humidity.
The Error: Resin does not cure in the incorrect atmosphere. Too cold = sticky, too humid = cloudy surface of the blush.
How to prevent it: Work in 20 -25 °C and stress free. In case of a chilly space, heat the bottles using hot water and then mix.
6. Leaving Surfaces Porous Open.
The Error: Wood, paper and fabrics can be used to trap air, then you will see bubbles in your resin once you pour it.
How to Prevent It: Coat porous surfaces using a thin layer of resin or a sealant (such as Mod Podge). Allow to dry and pour over the last layer.
7. Excessive use of Pigments and Additives.
The Error: Amateurs are fond of colour, however, excessive addition of pigment powder, ink, or glitter leads to curing being off and results in resin being soft or streaky.
How to prevent it: Use not more than 10 percent pigment per volume of resin. Concentrated pigments are less but a lot.
8. Failing to Prepare the Mould or the Work space.
The Error: You fill a dusty mould, forget to use a mould release spray, or fake your product on a messy surface and you will end up with an awful result.
How to Prevent it: It is important to clean your silicone moulds and dust your workspace. An expedient spray of mould release will lengthen the life of the mould, as well as make it easy to demould.
9. Demolding Too Early
The Error: When beginners get excited, they tend to plunge resin out before it has solidified and leave a bend in it, fingerprint, or surface dent.
How to Prevent It: Adhere to the resin cure time (usually 24-48 hours). A fingernail test, should it still be coloured anything, is not ready.
10. Panicking When Things Go wrong.
The Error: Novices believe that a bubble, scratch or sticky spot has ruined the entire project.
How to Prevent It: The majority of the errors can be rectified! Sand and re-coat scratches, use a heat gun on bubbles, and re-coat tacky areas. Resin is not as tough as it appears.
Learners Friendly Quick Checklist (Social-Share).
- Weigh resin and hardener.
- Stir slowly & thoroughly
- Wear gloves and work in ventilations.
- Pour in thin layers
- Maintain temperature and humidity.
- Seal porous surfaces
- Limit pigments to 10% or less
- Wipe clean with moulds and release spray.
- Wait full cure time
It is not the end of the world, a vast majority of the mistakes are remediable!
Conclusions: Learn, Do Not Be afraid of errors.
All resin artists and even the professionals began doing these errors. The difference between beginners and experts is not the ability to avoid all mistakes, but to know how to correct them and make them better every time.
Resin involves chemistry and creativity. Admire the procedure, stick to the fundamentals and before long you will be churning crystal clear, bubble-free masterpieces.
Mistakes are part of the craft. Each one brings you closer to resin mastery


