How to Achieve a Professional Glass-Like Finish with Epoxy Resin 4L Pro Kit
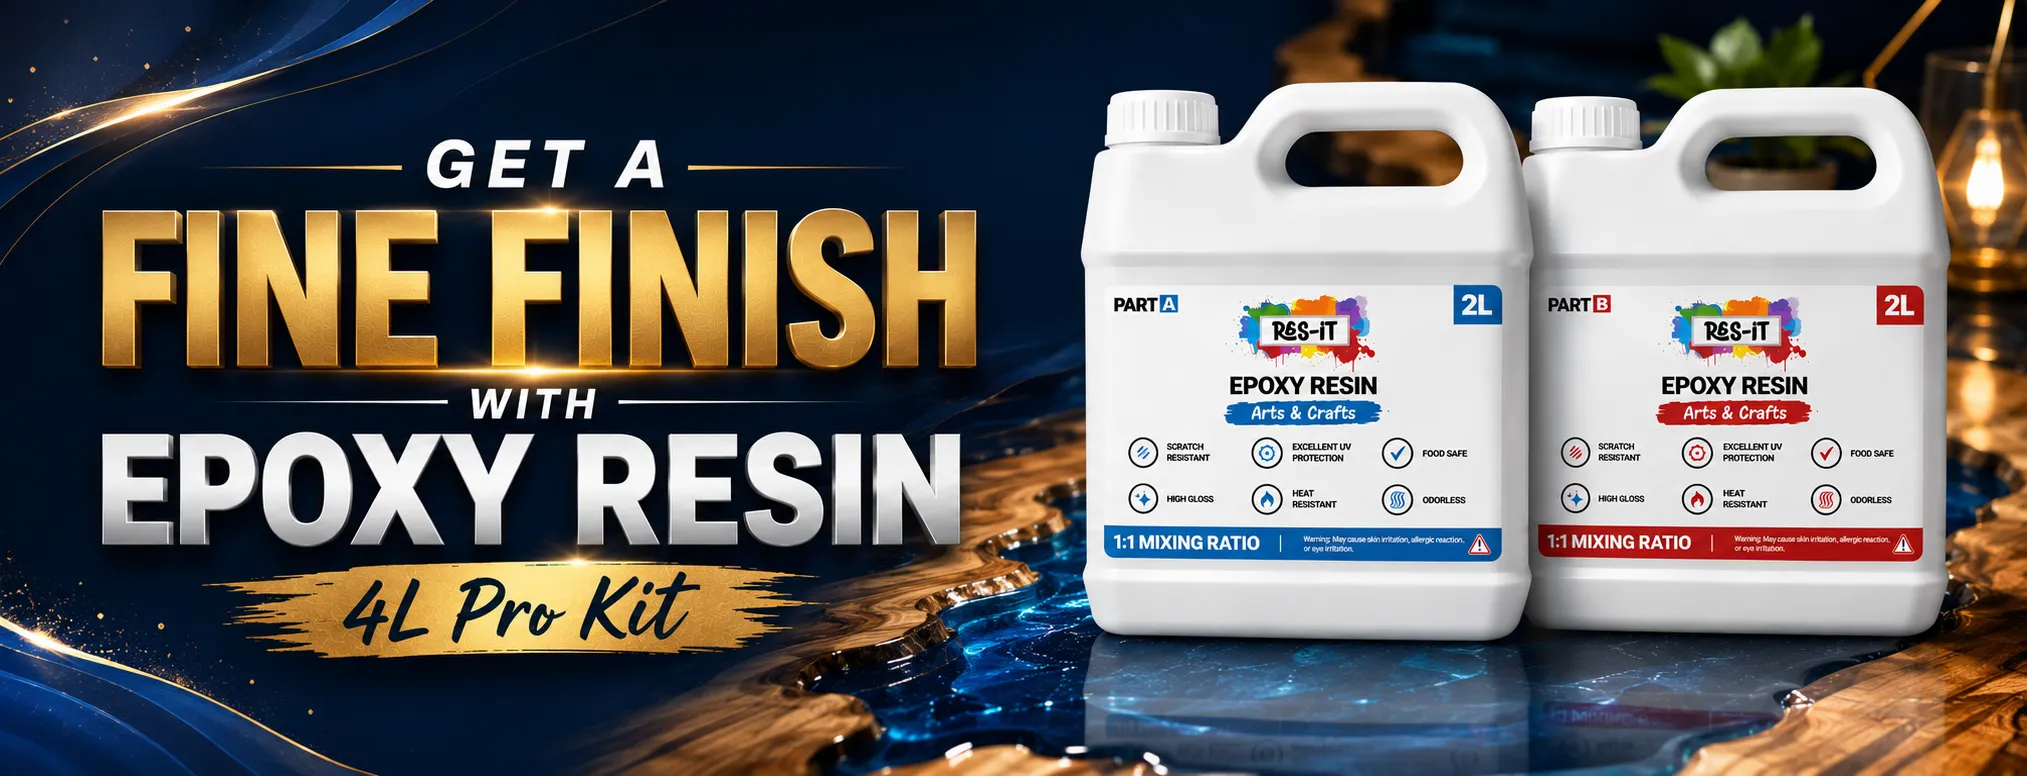
Overall, the Res-iT Epoxy Resin 4L Pro Kit is the best option for professionals and DIYers looking for a beautiful, crystal clear epoxy finish. It can be mixed 1:1 easily, and provides excellent self leveling properties for river tables, counter tops, bar tops, resin art, mould casting and wood coatings. A highly advanced formula that prevents bubbles and produces a glass-like surface that will bring exceptional clarity to every project.
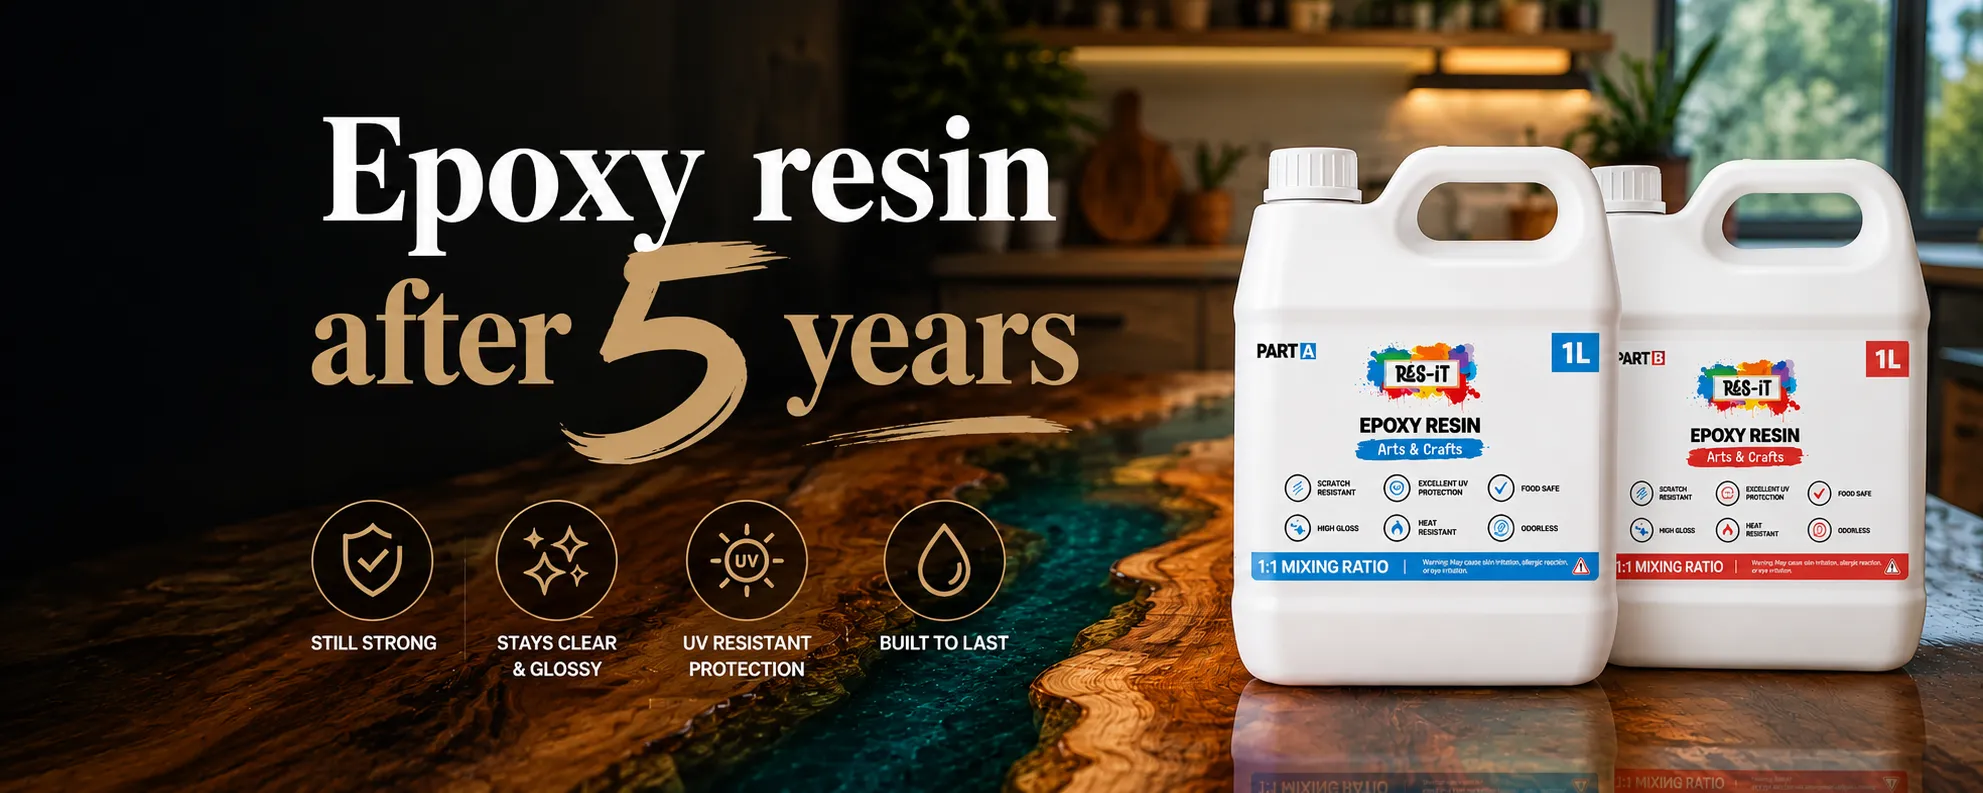
Epoxy Resin is constructed for long lasting performance, excellent UV protection to minimize yellowing, and heat resistant and hard wearing for everyday use. Use the Res-iT Epoxy Resin 4L Pro Kit to create decorative resin pieces or to give a protective coating to wooden surfaces – superior strength, clarity and reliability.
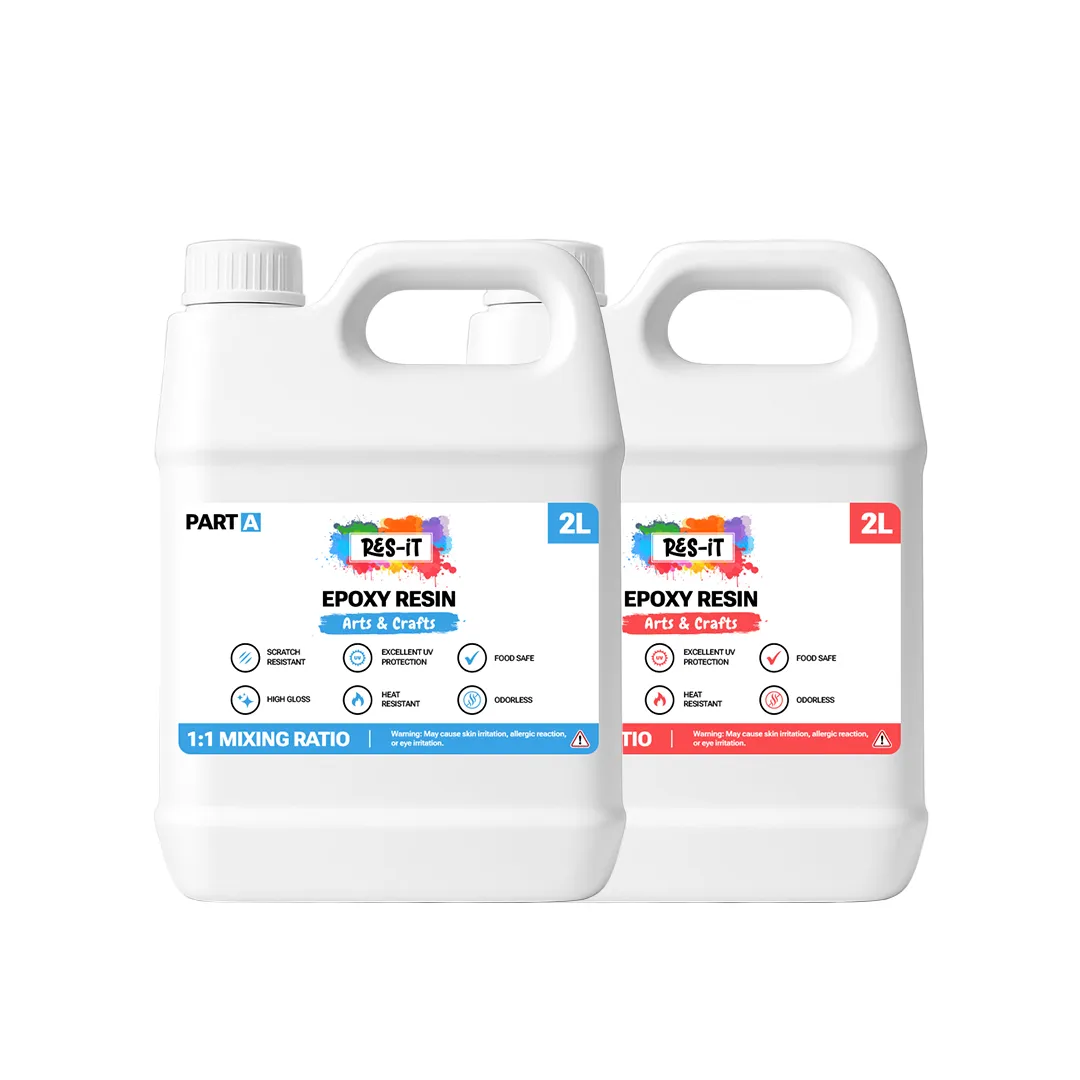
What is Epoxy Resin and Why Use It?
Epoxy resin is a two component material that consists of resin and hardener. The resin undergoes a chemical reaction when it is mixed in the correct ratio, and becomes hard, durable and shiny. Epoxy resin is also available in a large range of colors, allowing it to be used in a variety of ways.Epoxy resin is also available in a variety of colors, making it a versatile material for use in a range of creative projects. Usually a pro kit, like the 'epoxy resin 4L pro kit', would contain the resin and hardener in the correct ratio. This makes sure you're getting the highest quality results on every shot. To achieve a glass-like finish that is smooth, clear, and shiny, requires precision and the right approach. Let's take a look at how you can achieve that perfect finish.
Step 1: Gather Your Supplies
Before starting, make sure you have all the necessary supplies for your project. Here's a simple checklist:
- Epoxy resin (part A) and hardener (part B)
- Mixing container (preferably clear)
- Stir stick or mixing tool
- Gloves (to protect your hands)
- Measuring cups (to ensure correct proportions)
- Torch or heat gun (to remove bubbles)
- Protective cover or tarp (to protect your work area)
- Level surface (to keep your project even while curing)
Having everything ready ensures you won't have to stop in the middle of your project to find something.
Step 2: Prepare Your Surface
To achieve a perfect glass-like finish, start with a clean, smooth surface. If you're coating a piece of wood, a canvas, or any other object, make sure it is free of dust, dirt, and oil. Any debris on your surface will affect the final result, leaving imperfections or bubbles trapped in the resin.
- Wood: Sand your wooden surface lightly to remove any rough patches.
- Canvas: If you’re working with a canvas, make sure it’s free of paint and dirt.
- Moulds: If you’re pouring resin into a mould, ensure that it is also clean and dry.
Once the surface is prepared, place it on a level surface to avoid any uneven curing.
Why Choose Epoxy Resin for Wood?
Epoxy resin enhances the natural beauty of wood while creating a crystal-clear protective coating that resists moisture, stains, scratches, and everyday wear. Its self-levelling properties produce a smooth, glossy finish that gives furniture and decorative wooden surfaces a premium glass-like appearance.
- Enhances the natural wood grain
- Creates a crystal-clear high-gloss finish
- Protects against moisture and stains
- Resists scratches and everyday wear
- Easy to clean after curing
Step 3: Measure and Mix the Epoxy Resin
The success of your project depends on how well you mix the resin and hardener. Most epoxy resin kits, including the epoxy resin 4L pro kit, follow a 1:1 mixing ratio, which means that equal parts of resin and hardener should be used. If you use too much of one part, the resin may not cure properly, or it could turn cloudy or sticky.
- Step 1: Pour the resin and hardener into separate measuring cups.
- Step 2: Pour both liquids into a clean mixing container.
- Step 3: Stir the mixture slowly but thoroughly for at least 3-4 minutes. Make sure to scrape the sides and bottom of the container as you mix to ensure that the two components are fully combined.
Be careful not to mix too quickly, as this can cause air bubbles to form in the resin. The slower and more carefully you mix, the clearer and smoother the finish will be.
Step 4: Apply the Epoxy Resin
Once your resin mixture is ready, it's time to apply it to your surface. You can pour the resin directly onto the surface or spread it out with a spreader or brush, depending on your project.
- For surfaces like tables or countertops: Pour the resin slowly in the centre and spread it out using a spreader or brush. Work from the middle outwards to avoid air bubbles from getting trapped.
- For jewellery or smaller projects: Pour a small amount of resin and gently tilt the piece to cover the area evenly.
Be sure to work quickly, as epoxy resin starts to set once mixed, usually within 20 to 30 minutes. However, the full curing time might take up to 24 hours.
Step 5: Remove Air Bubbles
One of the common challenges when working with epoxy resin is the formation of air bubbles. These bubbles can ruin the smooth, glass-like finish you're aiming for. Fortunately, there are simple ways to eliminate them:
- Heat gun or torch: Gently pass a heat gun or a small torch over the surface of the resin. The heat will cause the bubbles to rise to the surface and pop.
- Patience: After applying the resin, let it sit for about 5–10 minutes. Most small bubbles will rise to the surface by themselves.
Be cautious not to hold the heat gun or torch too close to the resin, as this can cause the resin to become too hot and begin to cure too quickly.
Step 6: Let the Resin Cure
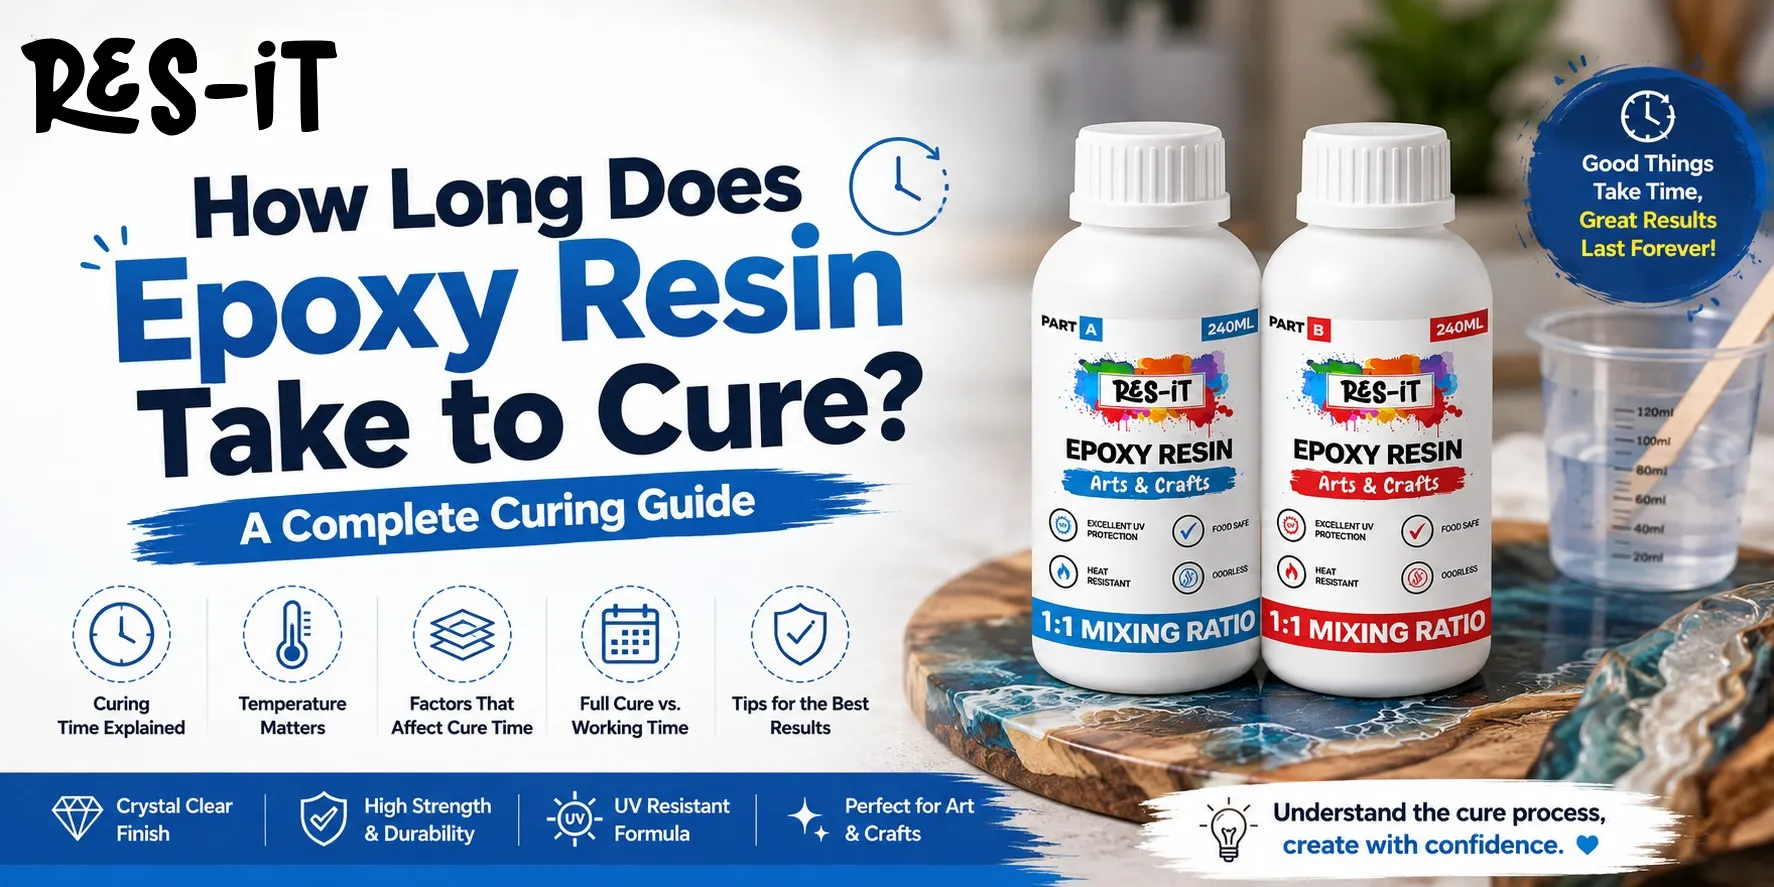
Once the resin is applied and the bubbles are removed, leave your project undisturbed in a dust-free environment. Resin needs a full 24 hours to cure and harden completely. During this time, ensure that no dust, hair, or other debris falls onto the surface, as these can get trapped in the resin.
It’s also essential to keep the surface level to ensure that the resin cures evenly.
Step 7: Finishing Touches
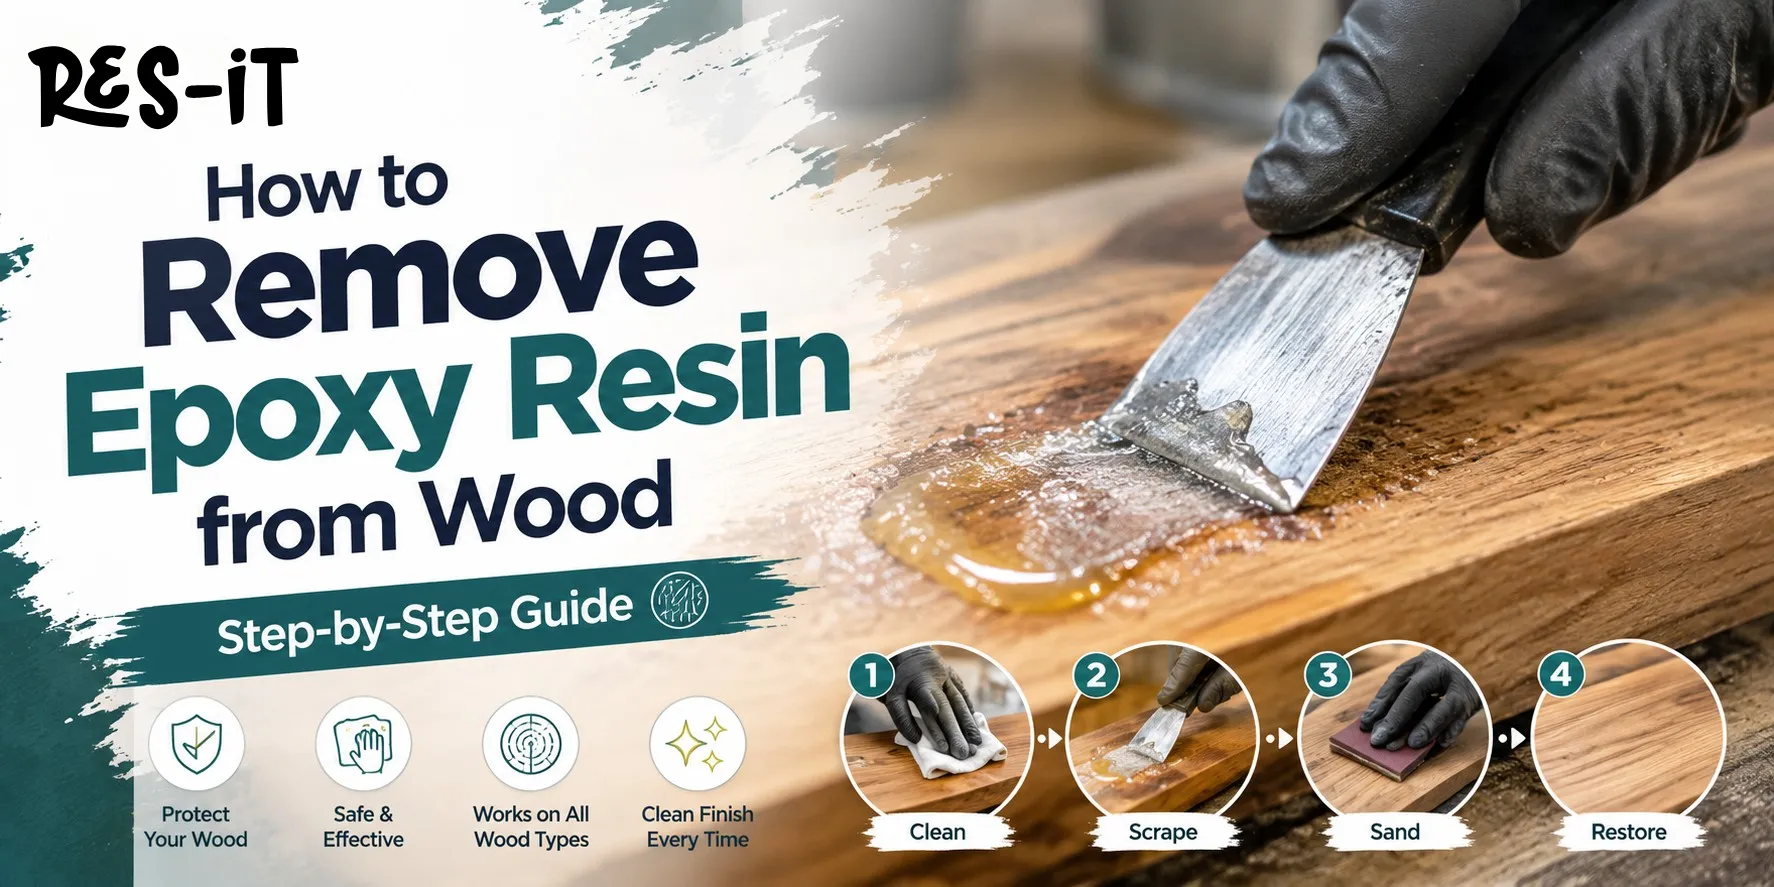
After 24 hours, your resin should be fully cured, leaving you with a beautiful, glass-like finish. If you notice any imperfections, such as small bubbles that weren’t removed, you can lightly sand the surface once it’s fully hardened. After sanding, apply a thin layer of resin over the top to restore the smooth, glossy look.
Common Mistakes to Avoid
| ⚠️ Mistake | ✅ How to Avoid It |
|---|---|
| Incorrect Mixing Ratio | Measure the resin and hardener exactly according to the manufacturer's instructions. |
| Mixing Too Quickly | Stir slowly for 3–5 minutes to minimise air bubbles. |
| Pouring Thick Coating Layers | Apply coating resin in thin layers of approximately 1–2mm. |
| Working in a Cold Environment | Keep the workspace between 20°C and 25°C for proper curing. |
| Skipping Surface Preparation | Sand and clean the wood thoroughly before pouring resin. |
Achieve a Flawless Finish with Epoxy Res-iT!
Looking to create a professional, glass-like finish with ease? Look no further than Epoxy Res-iT! Our 4L Pro Kit is designed to help you achieve stunning results for your DIY projects, whether you're working on countertops, jewellery, or art pieces. With our high-quality resin and easy-to-follow instructions, you can expect smooth, clear, and durable surfaces every time. Get your Epoxy Resin 4L Pro Kit from Epoxy Res-iT today and take your crafting to the next level! Start creating flawless, glossy finishes now!
Professional Tip
If you're working in a cool workshop or garage, place the resin and hardener bottles in warm water for 10–15 minutes before mixing. Slightly warming the resin reduces viscosity, improves flow, and helps release trapped air bubbles, resulting in a smoother glass-like finish.
Ideal Curing Conditions
- Maintain a room temperature between 20°C and 25°C.
- Keep humidity as low as possible.
- Protect the project from dust while curing.
- Leave the surface undisturbed until fully cured.
Why Choose Res-iT Epoxy Resin 4L Pro Kit?
The Res-iT Epoxy Resin 4L Pro Kit is designed for professional furniture makers, DIY enthusiasts, and resin artists looking for exceptional clarity and long-lasting durability. Its easy 1:1 mixing ratio, crystal-clear finish, and low-odour formula make it suitable for coating tables, countertops, wooden furniture, artwork, and decorative surfaces.
Frequently Asked Questions About Achieving a Glass-Like Epoxy Resin Finish
What mixing ratio should I use for the Res-iT Epoxy Resin 4L Pro Kit?
The Res-iT Epoxy Resin 4L Pro Kit uses a 1:1 mixing ratio. Measure equal parts of resin and hardener carefully and mix them thoroughly according to the product instructions. Accurate measuring helps achieve a clear and properly cured finish.
How do I get a crystal-clear finish with epoxy resin?
Start with a clean and level surface, measure the resin and hardener accurately, and mix slowly to minimise air bubbles. Keep the project in a dust-free environment and use gentle heat to release bubbles from the surface when necessary. :contentReference[oaicite:0]{index=0}
How can I prevent bubbles in epoxy resin?
Mix the resin slowly and thoroughly rather than stirring aggressively. After pouring, allow the resin to rest for a few minutes so bubbles can rise naturally, then use a heat gun or small torch carefully over the surface to remove remaining bubbles. :contentReference[oaicite:1]{index=1}
How long does epoxy resin take to cure?
The curing time depends on the product and working conditions. The guide states that the Res-iT Epoxy Resin 4L Pro Kit should be left undisturbed for around 24 hours for curing, while temperature and other environmental conditions can affect the process. :contentReference[oaicite:2]{index=2}
What temperature is best for curing epoxy resin?
For the Res-iT Epoxy Resin 4L Pro Kit, maintain a workspace temperature between 20°C and 25°C. Keep the project level, protect it from dust, and avoid disturbing it while it cures. :contentReference[oaicite:3]{index=3}
Can epoxy resin be used on wood?
Yes. Epoxy resin can enhance the natural appearance of wood while creating a crystal-clear protective coating. Before pouring, sand the wood and make sure the surface is clean and free from dust, dirt, and oil. :contentReference[oaicite:4]{index=4}
How thick should an epoxy coating be?
For coating applications, the guide recommends applying thin layers of approximately 1–2mm. Avoid applying excessively thick coating layers, as this can affect the curing process and final result. :contentReference[oaicite:5]{index=5}
What should I do if my cured epoxy has small imperfections?
Once the resin has fully hardened, lightly sand small imperfections and then apply a thin layer of resin over the surface to restore a smooth, glossy appearance. :contentReference[oaicite:6]{index=6}
How do I prepare a surface before applying epoxy resin?
Make sure the surface is clean, smooth, dry, and free from dust, dirt, and oil. Wooden surfaces should be lightly sanded to remove rough areas, while moulds should be clean and dry before use. :contentReference[oaicite:7]{index=7}
Conclusion
Achieving a professional glass-like finish with epoxy resin is easier than it may seem, as long as you follow the right steps and pay attention to detail. With the proper preparation, mixing, and application techniques, you can create stunning resin art and functional pieces that will shine for years. Whether you're a beginner or a seasoned artisan, epoxy resin 4L pro kit offers endless creative possibilities, making it a great choice for your next DIY project.