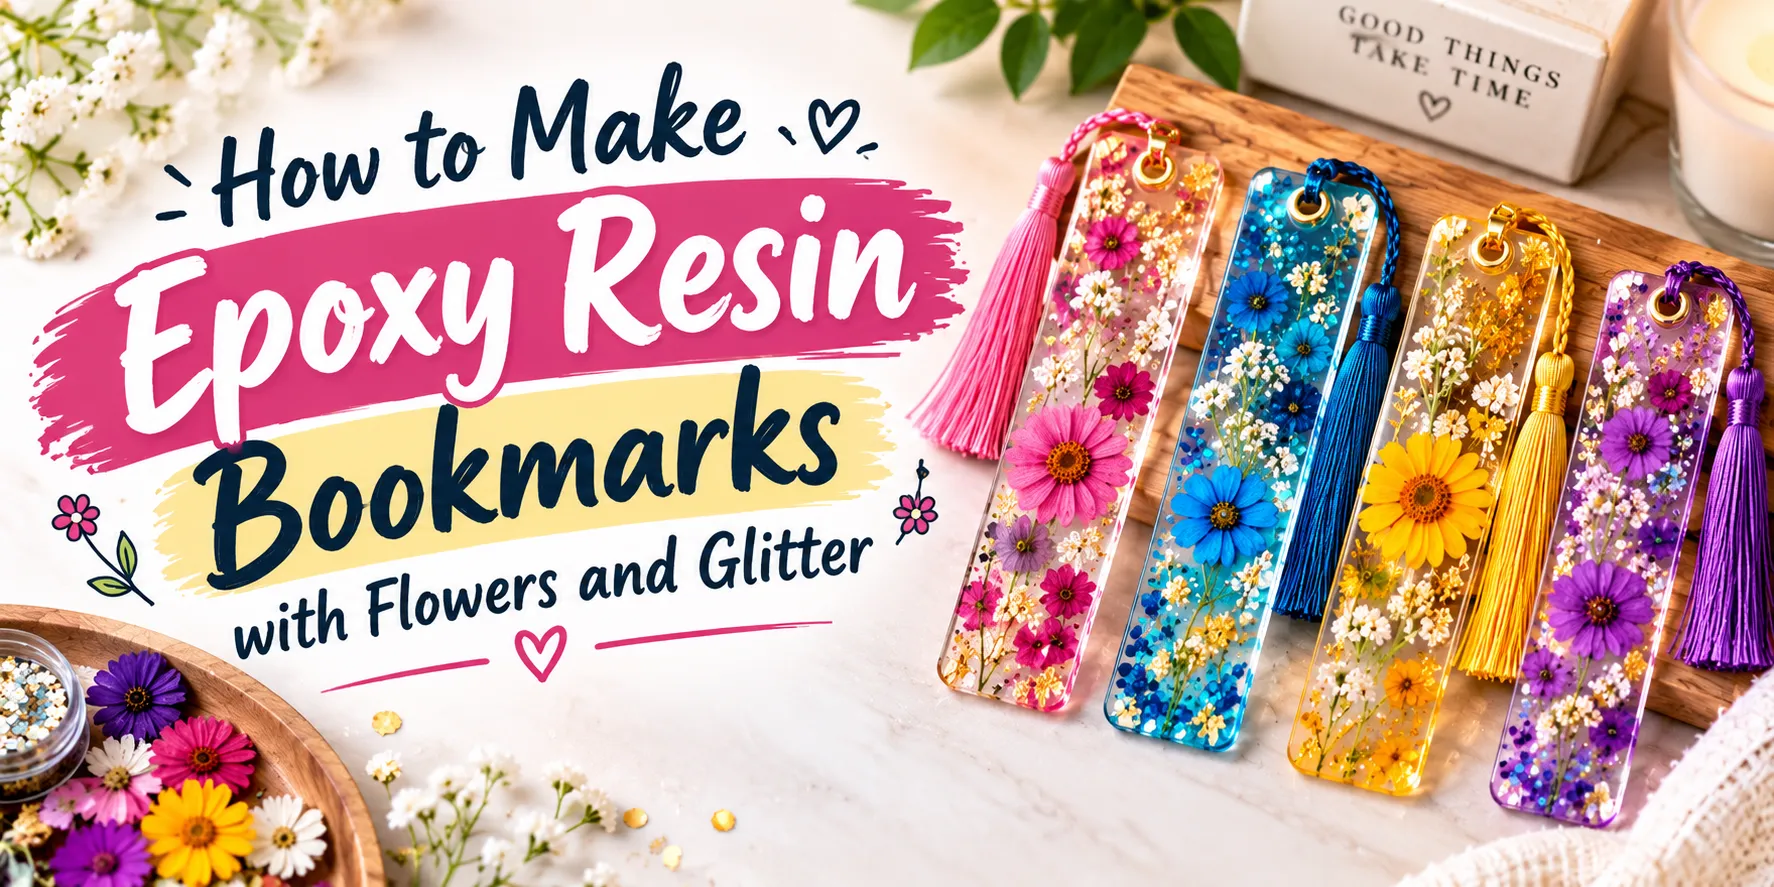
How to Make Epoxy Resin Bookmarks with Flowers and Glitter
Looking for a creative way to turn ordinary reading accessories into something beautiful and personal? Epoxy resin bookmarks with flowers and glitter are a wonderful DIY project for book lovers, craft enthusiasts and anyone who enjoys making handmade gifts. With clear resin, pressed flowers and a little sparkle, you can create unique bookmarks that look elegant, colourful and professionally finished.
One of the best things about making resin bookmarks is that you can customise every detail. Choose delicate dried flowers for a soft botanical design, add glitter for a glamorous finish, or combine different colours to create something that reflects your personal style. These handmade bookmarks also make thoughtful gifts for birthdays, teachers, friends and readers who appreciate something special.
In this guide, we will explain how to make epoxy resin bookmarks with flowers and glitter, which materials you need, how to arrange your decorations, and how to achieve a smooth, crystal-clear finish. Whether you are a complete beginner or already enjoy resin crafts, these practical steps will help you create beautiful bookmarks with confidence.

3L Deep Pour Epoxy Resin Starter Kit

6L Pro Kit Deep Pour Resin

12L Pro Kit Deep Pour Resin
What Are Epoxy Resin Bookmarks?
Epoxy resin bookmarks are decorative reading accessories made by pouring epoxy resin into a bookmark-shaped mould. Once the resin cures, it becomes a solid piece that can hold decorative elements such as pressed flowers, glitter, metallic flakes and other suitable embellishments.
Unlike ordinary paper bookmarks, resin bookmarks can preserve the appearance of carefully arranged decorations inside a clear, glossy material. This makes every piece an opportunity to experiment with colours, patterns and different floral arrangements.
Popular designs include:
- Pressed flower bookmarks: Delicate dried flowers and leaves arranged inside clear resin.
- Glitter resin bookmarks: Sparkling designs made with fine glitter or suitable decorative flakes.
- Floral and glitter bookmarks: A combination of natural flowers and subtle sparkle.
- Pastel resin bookmarks: Soft pink, lavender, cream or blue shades for a gentle aesthetic.
- Personalised bookmarks: Designs featuring suitable decorative letters, initials or small charms.
- Botanical bookmarks: Natural-looking arrangements inspired by leaves, wildflowers and garden plants.
The versatility of epoxy resin makes this craft suitable for both personal projects and handmade gifts. You can create matching sets, experiment with seasonal colours or develop a distinctive collection for your craft business.
Materials Needed to Make Resin Bookmarks with Flowers and Glitter
Before starting, gather all the materials you need. Preparing your workspace in advance makes the pouring process easier and helps you avoid disturbing your decorations while the resin begins to cure.
- Clear epoxy resin suitable for small decorative castings.
- The correct hardener supplied or specified for your chosen resin.
- A silicone bookmark mould in your preferred shape and size.
- Pressed or thoroughly dried flowers and leaves.
- Fine glitter suitable for resin crafts.
- Clean measuring cups and suitable mixing stirrers.
- A digital weighing scale if the resin instructions specify measuring by weight.
- Small tweezers for positioning delicate flowers.
- A toothpick or suitable fine tool for adjusting decorations.
- A clean, level working surface.
- Suitable protective gloves and safety glasses.
- Appropriate ventilation and any additional protective equipment required by the resin's safety instructions.
Optional decorations include compatible mica pigments, metallic flakes and suitable resin embellishments. Keep your first design simple so that you can learn how the resin flows and how the decorations behave during curing.
Choosing a resin designed for the size and thickness of your bookmark is important. Follow the product instructions for the recommended casting depth, working time, mixing ratio and curing conditions.
Step 1: Choose and Prepare Your Flowers
Flowers are often the main feature of a floral resin bookmark, so selecting and preparing them carefully can make a noticeable difference to the finished design.
Pressed flowers are particularly useful because they are thin and easier to position inside a shallow mould. Small daisies, forget-me-nots, baby's breath and delicate fern leaves can all create attractive botanical designs, provided they are thoroughly dried and suitable for the project.
How to Dry Flowers for Resin Bookmarks
Fresh flowers contain moisture, which can cause problems when trapped inside resin. They may change colour, develop unwanted spots or affect the clarity of the finished piece. Always dry flowers completely before embedding them.
- Select flowers that are clean and free from visible damage.
- Remove excess stems and unwanted leaves.
- Press the flowers between absorbent paper inside a flower press or a suitable heavy book.
- Leave them until they are completely dry and flattened.
- Check that no dampness remains before using them in resin.
- Store prepared flowers in a dry place until you are ready to create your bookmark.
Alternatively, a suitable flower-drying method can be used when you want to preserve more of the flower's original shape. Follow the drying product's instructions and ensure the flowers are fully dry before embedding them.
Remember that some flowers naturally change colour during drying or after being enclosed in resin. Test a spare flower in a small sample if preserving a particular shade is important to your design.
Step 2: Prepare Your Silicone Bookmark Mould
A clean mould helps produce a smooth resin bookmark with neat edges. Silicone bookmark moulds are available in straight, rounded, curved and decorative shapes, so choose one that suits your preferred style.
Before pouring, inspect the mould for dust, loose fibres or residue. Clean it according to the manufacturer's instructions and allow it to dry completely.
- Place the mould on a flat, level surface.
- Check that the mould is not damaged or distorted.
- Remove any visible dust or fibres.
- Arrange your flowers and glitter nearby so they are ready to use.
- Keep the working area free from unnecessary objects.
A level surface is particularly important because liquid resin naturally flows towards lower areas. If the mould tilts during curing, the finished bookmark may have an uneven thickness or an unbalanced surface.
Step 3: Measure and Mix the Epoxy Resin Correctly
Accurate measuring and thorough mixing are essential for a successful resin bookmark. Incorrect proportions can leave the resin sticky, soft or improperly cured, even when the decorations have been arranged perfectly.
Start by reading the instructions supplied with your epoxy resin kit. Some products use a 1:1 mixing ratio, while others require different proportions. The ratio may be specified by weight or volume, and these methods are not automatically interchangeable.
- Put on the protective equipment required by the product instructions.
- Measure the resin and hardener using the specified ratio.
- Pour the components into a clean mixing container.
- Stir slowly and thoroughly, scraping the sides and bottom as directed.
- Avoid mixing so aggressively that you introduce unnecessary air bubbles.
- Use the mixture within its recommended working time.
For beginners, preparing a small test batch can help you understand how much resin your mould requires. This reduces unnecessary waste and gives you an opportunity to practise your mixing technique before creating a more detailed design.
Res-iT epoxy resin starter kits are worth exploring when selecting materials for suitable small decorative projects. Always check the current product specifications to confirm that the chosen resin is appropriate for your mould and casting thickness.
Step 4: Add Glitter for a Beautiful Sparkling Effect
Glitter can transform a simple clear bookmark into a colourful decorative piece. The key is to use it thoughtfully so that it complements the flowers rather than hiding them.
Fine glitter often works well for elegant, understated designs, while larger decorative flakes can create a more noticeable sparkle. Choose glitter that is suitable for use in your selected resin system.
How to Add Glitter to Epoxy Resin
- Prepare the resin according to the manufacturer's instructions.
- Transfer a small amount into a separate clean mixing cup if you want a glitter-only section.
- Add a modest amount of glitter and mix gently.
- Pour the glitter mixture into the mould or apply it in selected areas.
- Use a fine tool to guide the glitter where you want it.
- Check that the glitter is evenly distributed before continuing.
For a premium look, try a clear bookmark with a fine gold shimmer and a small dried flower arrangement. Silver glitter can complement white flowers, while rose-gold details can work beautifully with pink and cream petals.
Avoid adding excessive glitter, as too much decoration can make the bookmark look cloudy and obscure the natural details of the flowers.
Step 5: Arrange the Pressed Flowers in the Resin
This is the stage where your bookmark begins to take shape. Flower placement determines the overall appearance, so take a moment to plan the arrangement before positioning the decorations.
You can create a balanced design by placing one larger flower near the centre, arranging smaller flowers along one side, or creating a natural pattern that follows the length of the bookmark.
How to Position Flowers Without Damaging Them
- Pour a small initial layer of resin into the mould, if your chosen resin system and casting instructions permit layered pouring.
- Use clean tweezers to place the dried flowers gently.
- Arrange the petals and leaves until you are happy with the composition.
- Use a fine tool to adjust any overlapping pieces.
- Add a small amount of resin if necessary to help position the decorations.
- Check that the flowers sit within the intended finished thickness.
Try not to overcrowd the mould. Leaving some clear space around the flowers allows light to pass through the resin and helps the individual details stand out.
If you are using a layered technique, follow the resin manufacturer's instructions for recoat timing and compatibility. Do not pour a second layer at an arbitrary time, because the correct method depends on the particular resin system.
Step 6: Remove Air Bubbles and Check the Design
Small air bubbles can affect the appearance of a clear resin bookmark. Some may rise naturally to the surface, while others can become trapped around petals, leaves or the edges of the mould.
Before leaving the bookmark to cure, inspect the design carefully under good lighting.
- Check the edges and corners for trapped air.
- Use a suitable fine tool to release visible bubbles around decorations where possible.
- Avoid repeatedly moving flowers once they are positioned.
- Do not overwork the resin, as unnecessary stirring can introduce additional bubbles.
- Follow the manufacturer's approved bubble-removal method.
Be cautious when using heat to remove bubbles. Excessive heat can damage a silicone mould, scorch dried flowers, discolour the resin or create other safety hazards. Only use a method approved for your specific resin and work safely.
Step 7: Allow the Resin Bookmark to Cure Completely
Once the flowers and glitter are arranged, place the mould in a clean, level area where it will not be disturbed. Covering the project with a suitable dust cover can help prevent airborne particles from settling on the surface.
The curing time depends on the resin formulation, temperature, casting thickness and environmental conditions. Always follow the manufacturer's instructions rather than relying on a fixed number of hours.
During curing:
- Keep the mould level and stable.
- Avoid touching or moving the resin unnecessarily.
- Keep dust, hair and other particles away from the surface.
- Maintain the temperature and ventilation conditions recommended for the product.
- Wait until the resin has reached the specified cure before demoulding or finishing it.
Resin may feel firm before it has reached its full cure. Removing a bookmark too early can cause bending, surface marks or damage to delicate edges.
Step 8: Remove the Bookmark and Finish the Edges
When the resin has cured sufficiently, carefully release the bookmark from the silicone mould. Flex the mould gently rather than pulling aggressively on the finished piece.
Inspect the bookmark for sharp edges, small raised areas or excess resin. Minor imperfections can often be corrected with suitable finishing techniques.
- Release the bookmark gently from the mould.
- Inspect the edges and surface under good lighting.
- Use suitable fine abrasives to smooth minor imperfections where necessary.
- Remove sanding dust carefully and follow the appropriate safety precautions.
- Polish the surface if required, using a compatible product and method.
- Allow any additional coating or finishing material to cure as instructed.
Take particular care when sanding cured resin. Use appropriate dust extraction and respiratory protection, and avoid inhaling fine particles. If the bookmark is already smooth and glossy, unnecessary sanding may do more harm than good.
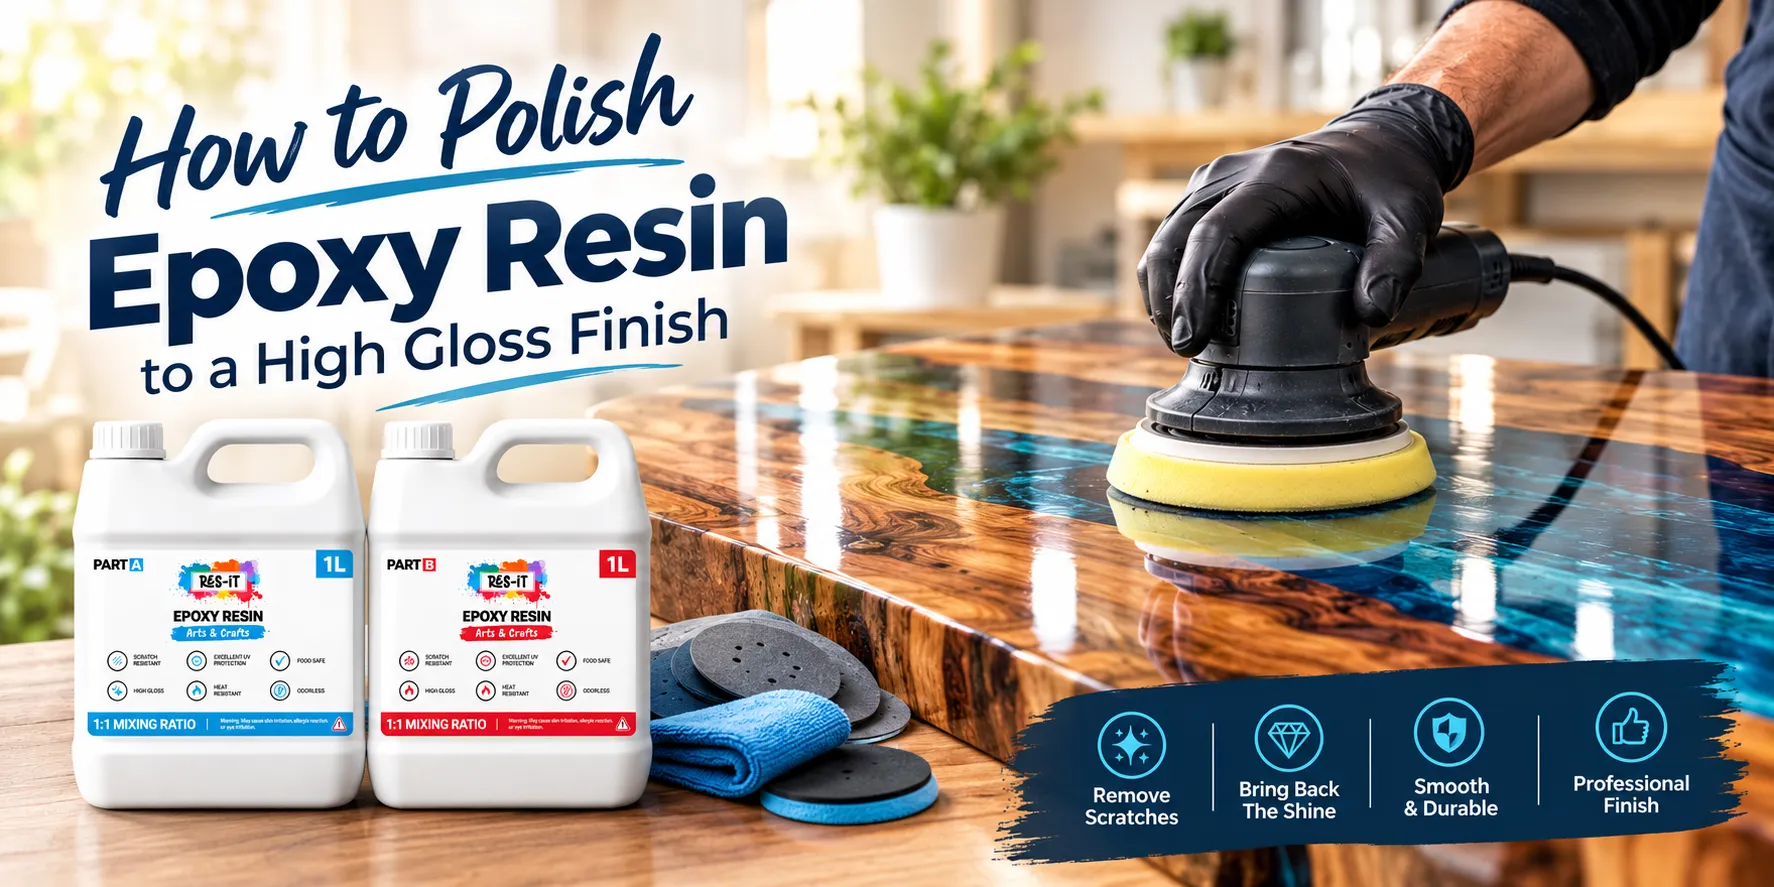
If you want to improve the shine of a finished piece, read our guide on how to polish epoxy resin to a high gloss finish.
Creative Epoxy Resin Bookmark Ideas with Flowers and Glitter
Once you understand the basic process, you can experiment with different styles to create bookmarks for different tastes and occasions.
1. Elegant Pressed Flower Bookmark
Choose small white flowers, delicate green leaves and clear resin for a simple botanical design. Keep the arrangement minimal to create a timeless bookmark that works well as a gift for readers and nature lovers.
2. Pink Floral Bookmark with Rose-Gold Glitter
Combine pale pink flowers with a light touch of rose-gold glitter. This colour combination creates a soft, elegant appearance that suits birthdays, personalised gifts and handmade stationery collections.
3. Purple Flowers with Silver Sparkle
Use dried purple flowers and fine silver glitter to create a cool-toned design. Leave enough clear space around the petals so that the colours remain distinct.
4. Minimalist White and Gold Bookmark
Arrange a small white flower or leaf near one end of the bookmark and add a subtle gold accent. This understated style is ideal for people who prefer clean designs rather than bold colours.
5. Colourful Botanical Bookmark Set
Create a coordinated set using different flower colours in the same mould shape. You could make one bookmark with yellow flowers, another with pink petals and a third with lavender details. Consistent shapes and complementary colours give the set a professional appearance.
6. Personalised Handmade Bookmarks
Suitable decorative initials, small charms or carefully positioned embellishments can make a bookmark feel more personal. Ensure that every decoration is compatible with the resin and does not interfere with the finished edges or intended use.
Common Mistakes to Avoid When Making Resin Bookmarks
Even a simple resin craft can produce disappointing results if a few important details are overlooked. Avoid these common mistakes to improve the clarity, durability and overall appearance of your bookmarks.
Using Fresh Flowers
Fresh flowers contain moisture and can discolour or deteriorate inside resin. Use thoroughly dried and prepared flowers instead.
Adding Too Much Glitter
Excessive glitter can obscure the flowers and make clear resin appear cloudy. Start with a small quantity and add more only when the design needs it.
Mixing the Resin Incorrectly
Incorrect proportions or insufficient mixing can prevent the resin from curing properly. Follow the product's exact mixing instructions and use clean equipment.
Overfilling the Mould
Too much resin can overflow the mould, create uneven edges or waste material. Measure your requirements carefully and follow the recommended casting thickness.
Ignoring Trapped Air Bubbles
Bubbles can become particularly noticeable around flower petals. Inspect the design before curing and use an appropriate bubble-management method.
Demoulding Too Early
Removing the bookmark before the resin has cured sufficiently can lead to bending or surface damage. Follow the manufacturer's recommended demoulding and curing times.
Which Res-iT Products Are Suitable for Resin Bookmark Projects?
Choosing the right materials makes it easier to plan your design and work consistently. For small decorative crafts such as bookmarks, select an epoxy resin that is suitable for shallow mould casting and check its working time, clarity and curing requirements.
Res-iT Epoxy Resin Starter Kits
If you are new to resin crafting, a smaller kit can be a practical way to test flower arrangements, experiment with glitter and create several sample designs before making a larger batch.
- 240ml Starter Kit: A compact option for testing small decorative projects and practising your technique.
- 480ml Starter Kit: An option for makers who want to create multiple small crafts or experiment with different bookmark designs.
- 1L Starter Kit: Consider a larger quantity if you plan to make a coordinated collection of bookmarks and other suitable crafts.
Check the current product descriptions before choosing a kit. Confirm that the resin is suitable for the mould dimensions and casting thickness you intend to use.
Res-iT Mica Pigments and Decorative Effects
If you want to expand beyond clear floral designs, suitable mica pigments can introduce colour and shimmer into resin projects. Use them sparingly to create coloured backgrounds, subtle accents or coordinated designs that complement your dried flowers.
For flower bookmarks, transparent or lightly tinted effects often work well because they allow the natural details to remain visible. Always use pigments compatible with your chosen resin and follow the recommended addition amounts.
Useful Resin Craft Accessories
Accurate measuring and organised preparation help make small resin projects easier to manage. Depending on your needs, measuring cups, mixing stirrers, a digital weighing scale and suitable protective equipment can all be useful additions to your craft workspace.
Remember that accessories do not replace correct resin preparation. Always follow the product's mixing ratio, safety instructions and curing guidance.
How to Make Resin Bookmarks for Gifts or a Small Craft Business
Handmade resin bookmarks can be a thoughtful gift or a product idea for a small craft business. Their compact size makes it possible to experiment with different styles without committing to a large casting project.
If you want to create a consistent collection, consider the following tips:
- Choose a clear theme, such as botanical, pastel, minimalist or glitter designs.
- Use flowers with complementary colours and similar sizes.
- Keep the resin surface smooth and the edges comfortable to handle.
- Create coordinated sets for birthdays, teachers, book clubs or seasonal gifting.
- Photograph the finished bookmarks in natural-looking light to show their details.
- Package fully cured bookmarks carefully to help prevent scratches during storage and transport.
- Calculate material costs and working time before setting a selling price.
Quality and consistency matter when making products for other people. Check every bookmark for sharp edges, visible defects and incomplete curing before gifting or selling it. Clearly describe the materials used and provide suitable care instructions.
Frequently Asked Questions About Epoxy Resin Bookmarks
Can you put real flowers in epoxy resin bookmarks?
Yes. Thoroughly dried and pressed flowers are commonly used in resin bookmarks. Drying the flowers properly helps reduce moisture-related problems and improves the chance of achieving a clear, attractive finish.
What is the best resin for making bookmarks?
The best choice is an epoxy resin suitable for small decorative mould castings and the thickness of your bookmark. Check the product's working time, mixing ratio, recommended casting depth and curing instructions before starting.
How do you stop flowers from floating in resin?
Careful placement and a suitable layered technique can help keep flowers in position. Depending on the resin system, an initial layer may help support the decorations before the remaining resin is added. Follow the manufacturer's instructions for layer timing and compatibility.
Why is my resin bookmark still sticky?
Sticky resin may result from incorrect measuring, inadequate mixing, unsuitable curing conditions or insufficient curing time. Check the product instructions and allow the recommended cure. If the material remains sticky beyond the expected period, consult the manufacturer's troubleshooting guidance.
How long does it take to make an epoxy resin bookmark?
The hands-on work may take less than an hour for a simple design, but the complete project takes longer because the flowers need to be prepared and the resin must cure. The exact time depends on the drying method, resin formulation and curing conditions.
Can you use ordinary craft glitter in epoxy resin?
Some craft glitters are suitable for resin, but others may behave differently or affect the finished appearance. Choose glitter intended for use in resin or confirmed compatible with your product, and test a small amount before making your final design.
Do epoxy resin bookmarks need polishing?
Not always. A well-poured bookmark released from a clean, suitable mould may already have a smooth, glossy surface. Polishing is mainly useful when minor imperfections need correcting and the resin has fully cured.
Can beginners make floral resin bookmarks at home?
Yes. Resin bookmarks are a manageable project for beginners who follow the product instructions, prepare dried flowers properly and use suitable protective equipment. Start with a simple design and a small test batch before trying more complicated arrangements.
Create Beautiful Floral Resin Bookmarks with Epoxy Res-iT
Making epoxy resin bookmarks with flowers and glitter is a rewarding way to combine creativity, colour and natural beauty. With properly dried flowers, a suitable mould, accurately mixed resin and thoughtful decoration, you can create bookmarks that are personal, attractive and ideal for gifting.
Start with a simple floral arrangement, experiment with small amounts of glitter and take your time during curing and finishing. As your confidence grows, try different flower combinations, colour palettes and personalised designs to develop a style of your own.
Ready to start your next craft project? Explore the Res-iT epoxy resin starter kits and compatible craft accessories to find materials suited to your bookmark designs and other creative ideas.