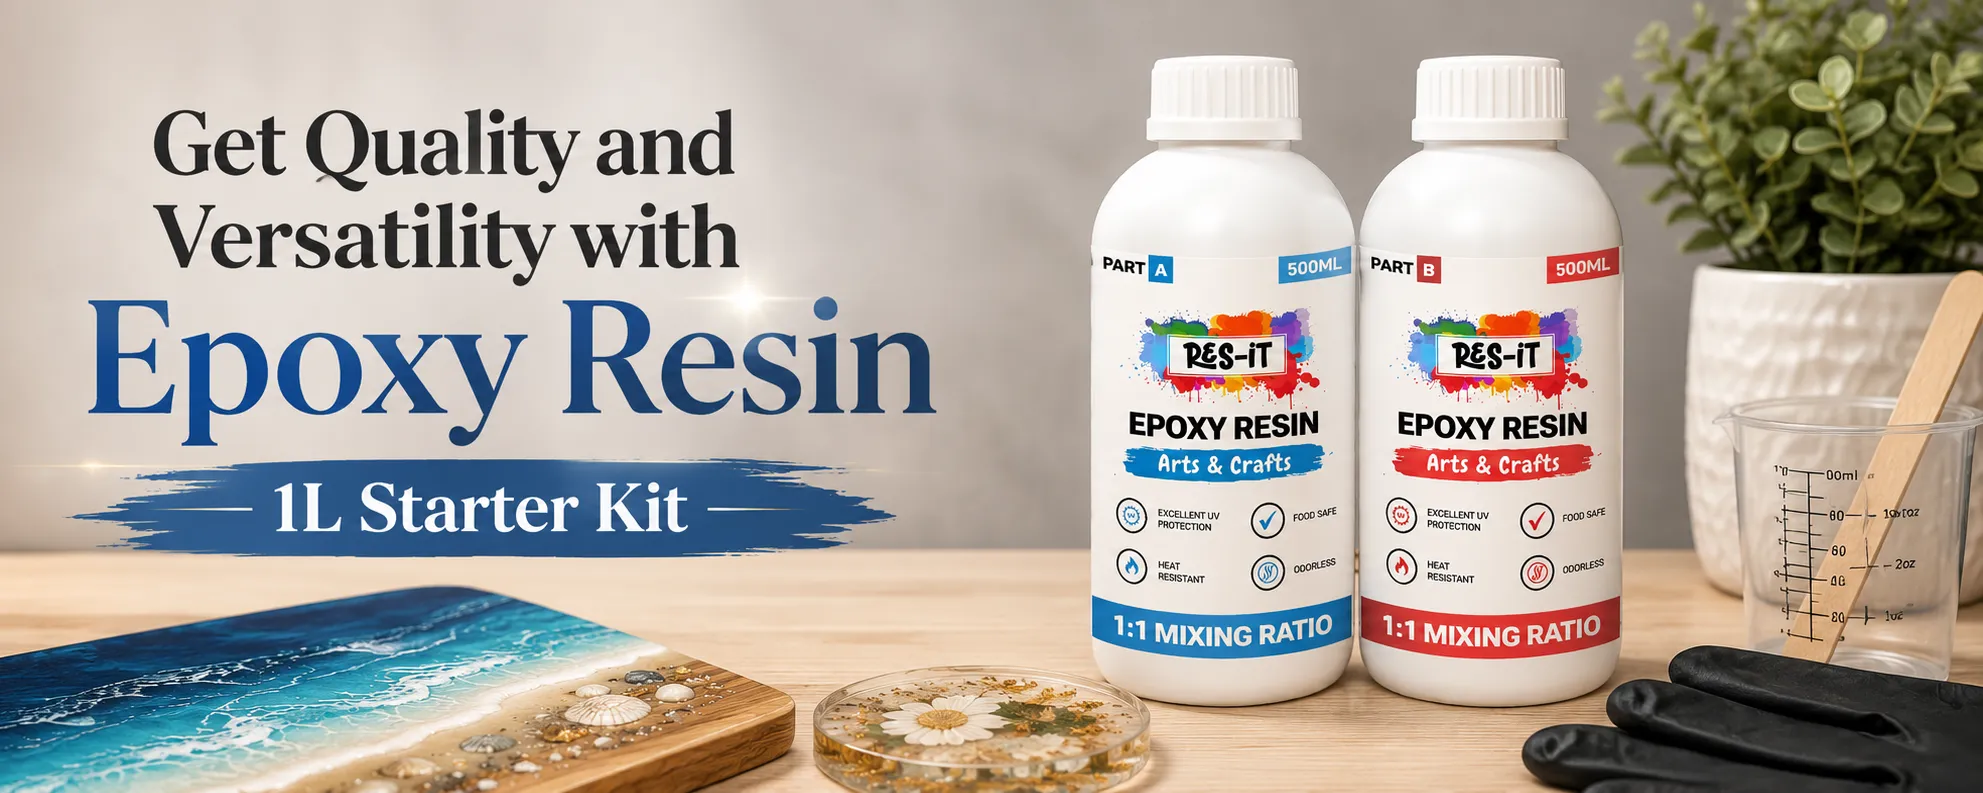
The Hidden Secrets Behind the Epoxy Resin 1L Starter Kit: Unlocking Unmatched Quality and Versatility
Epoxy resin is a widespread material among DIYers, crafts people, and artists, and understandably. It is suitable to make beautiful pieces of art, jewellery, or practical objects such as coasters or tabletops, the Epoxy Resin 1L Starter Kit is incomparable in the quality and variety of its use. Why is this device superior to others? Here in this blog we will discuss the secret behind this kit and it will reveal it to be the preferred kit among novice as well as experienced resin artists.
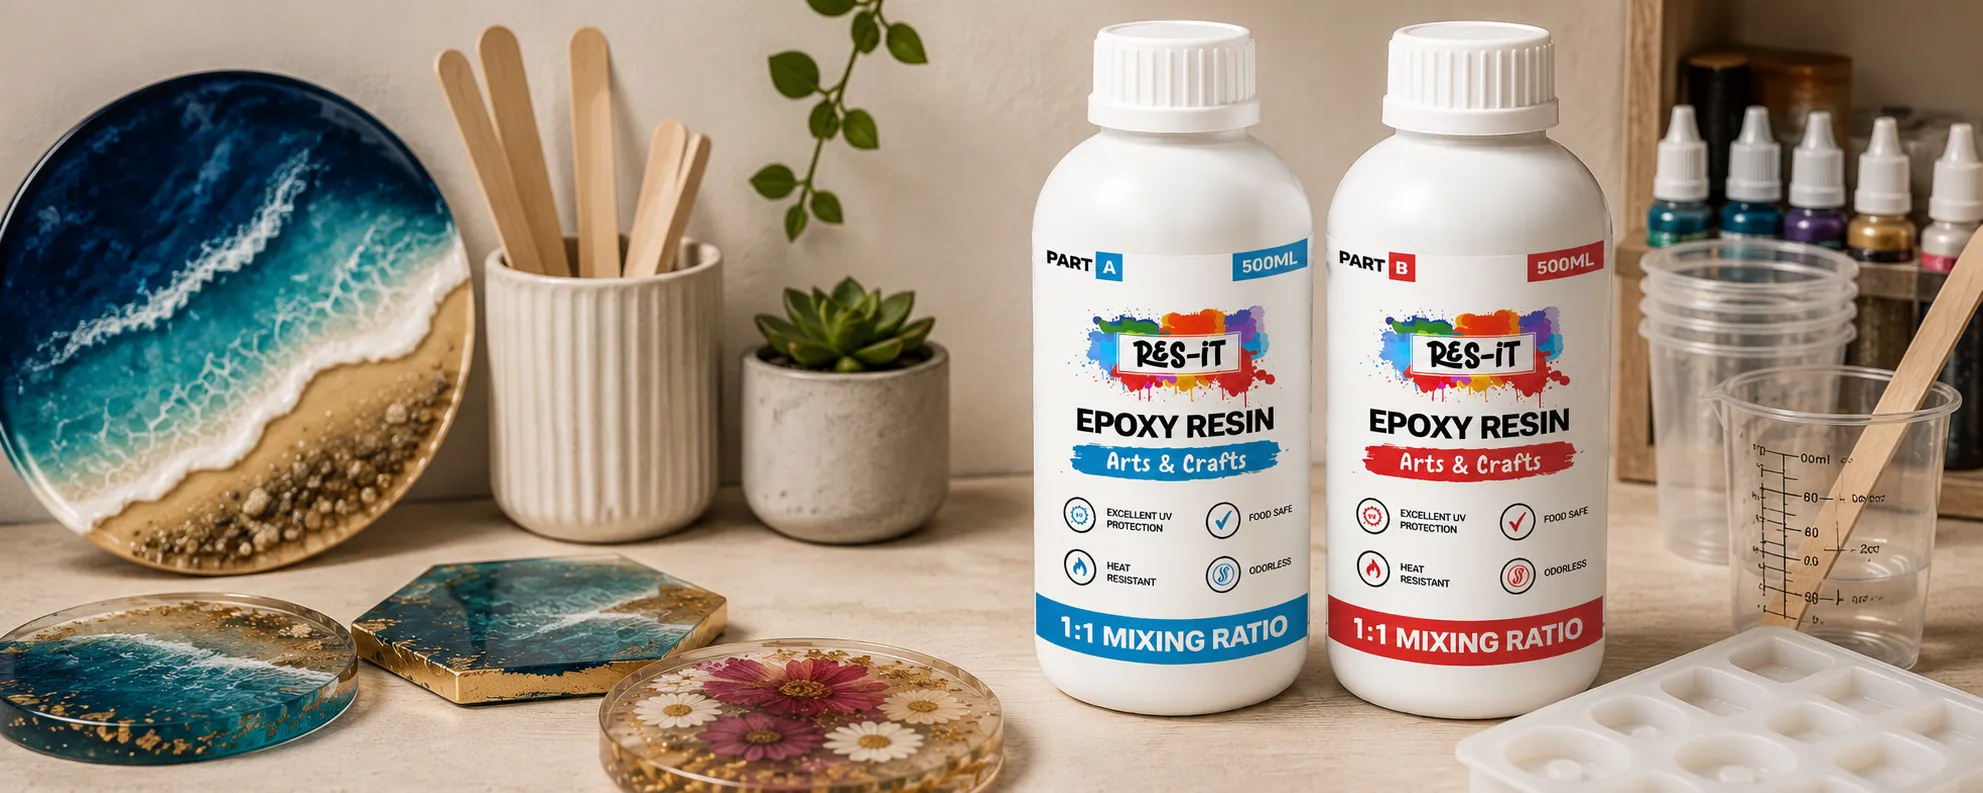
1. Premium Quality for Perfect Results
Epoxy Resin 1L Starter Kit is very famous due to its high quality. It has a crystal clear finish that does not turn yellow with time keeping your creations shiny in glass. According to both the hobbyists and the professionals, it is suggested due to its durable and clarity.
The resin and hardener contained are designed to provide the results required be it on a table top or jewellery making, which are reliable and durable.

Res-iT Epoxy Resin 480ml Starter Kit

Res-iT Epoxy Resin 1L Starter Kit

Res-iT 2L Pro Epoxy Resin Kit
2. The Perfect 1:1 Mixing Ratio
Epoxy resin is not easy to mix, yet this kit will make it easy due to a 1:1 ratio. Simply pour an equal amount of resin and hardener and you have perfect results. It is beginner-friendly and consistent since clear instructions have been provided.
Why a 1L Epoxy Resin Kit Is Ideal for Beginners
A 1L epoxy resin starter kit offers a practical balance between quantity, value, and ease of use. It provides enough resin and hardener for several small or medium-sized projects without requiring beginners to invest in a large professional kit. This makes it easier to practise new techniques, test colours, and improve resin skills without worrying about running out too quickly.
The 1L size is suitable for making coasters, jewellery, small decorative pieces, resin art, mould castings, and other DIY projects. Beginners can experiment with different pigments, glitter, mica powders, dried flowers, and creative effects while learning how epoxy resin behaves during mixing, pouring, and curing.
A Comfortable Working Time for Beginners
A beginner-friendly resin formula should provide enough working time to allow users to mix, colour, pour, and adjust their project before the resin starts to cure. This helps new users work more confidently and reduces the pressure of completing every step too quickly.
Having enough working time also makes it easier to remove bubbles, arrange decorative elements, and create smooth layers. Following the product instructions carefully will help you achieve more consistent and professional-looking results.
3. Bubble-Free Technology
The usual complaint about resin is the air bubbles and the Epoxy Resin 1L Starter Kit has a formula that reduces this. Bubbles form and automatically disappear when the mixture is correctly mixed and warmed, thus saving time and effort so that it produces an impeccable finish.
4. Fast Curing Time for Quick Turnaround
This resin is ready in as little as 24 hours and this has the effect of ensuring your projects are completed the following day. After curing, it is rock-solid, scratchproof and heatproof to 95 (203), which is ideal to make coasters, art objects or even working surfaces.
5. Certified Food Safe for Added Versatility
This kit is food-safe unlike most resins. It can be used confidently as coasters, trays and charcuterie boards. It is low odour, non-toxic, and VOC-free, which is safe to use in the home and profession.
6. Versatile Uses for Endless Creative Possibilities
It is not just a jewellery or tabletops kit because it is perfect in mould casting, painting on canvas, embedded objects such as flowers, and home decor DIY. Whether it is the functional coasters or personalised gifts, there are no limits.
Popular Projects You Can Create with a 1L Epoxy Resin Kit
The versatility of a 1L epoxy resin starter kit allows beginners and experienced creators to explore a wide range of artistic and practical projects. The clear, glossy finish can enhance colours, decorative materials, and embedded objects while giving finished pieces a smooth appearance.
- Resin Coasters: Create colourful or transparent coasters using pigments, glitter, dried flowers, or decorative effects.
- Resin Jewellery: Make pendants, earrings, keyrings, and other personalised accessories.
- Small Decorative Pieces: Design ornaments, trays, bookmarks, photo holders, and customised home décor.
- Resin Art: Experiment with abstract designs, layered colours, ocean-style artwork, and mixed-media projects.
- Mould Casting: Use suitable silicone moulds to create unique shapes and personalised resin items.
- Personalised Gifts: Create handmade gifts by adding names, photographs, glitter, flowers, or meaningful decorative elements.
The 1L quantity provides enough material to practise several techniques while helping beginners build confidence. It is an excellent size for learning the basics before moving on to larger resin projects.
7. Eco-Friendly and Safe for the Environment
The Epoxy Resin 1L Starter Kit is a green product made of high-quality, non-toxic substances and not harmful to the environment in terms of the use of VOCs. You will be able to live with resin art and be conscious of your health and the planet.
How to Use an Epoxy Resin 1L Starter Kit
Using an epoxy resin starter kit is easier when each stage is completed carefully. Preparing your workspace and organising your materials before mixing can help make the process cleaner, smoother, and more enjoyable.
Step 1: Prepare Your Workspace
Choose a clean, level, and well-ventilated workspace. Cover the working surface with a protective sheet and keep your resin, hardener, mixing containers, stirring tools, moulds, pigments, and decorative materials within easy reach.
Wear suitable protective equipment and follow the safety instructions provided with the product. Keeping the workspace clean can help prevent dust, lint, and unwanted particles from settling on the resin while it cures.
Step 2: Measure the Resin and Hardener
Measure the resin and hardener according to the mixing ratio stated in the product instructions. For a 1:1 formula, use equal amounts of Part A and Part B. Accurate measuring is important because an incorrect ratio may affect the curing process.
Step 3: Mix Slowly and Thoroughly
Mix the two components slowly and carefully. Scrape the sides and bottom of the mixing container to help combine the material evenly. Avoid stirring too quickly because rapid mixing may introduce additional air bubbles.
Step 4: Add Colours and Decorative Effects
After mixing, you can add suitable resin pigments, mica powders, glitter, or other compatible decorative materials. Mix colourants evenly and avoid adding more material than recommended, as excessive additives may affect the final result.
Step 5: Pour the Resin
Pour the prepared resin slowly into a suitable mould or onto the project surface. A controlled pour can help reduce bubbles and make it easier to create an even finish.
Step 6: Remove Surface Bubbles
Allow small bubbles to rise naturally and use an appropriate method recommended by the product instructions to remove surface bubbles. Avoid applying excessive heat because too much heat may affect the resin or the project.
Step 7: Allow the Project to Cure
Place the project in a clean, dust-free area and allow it to cure for the recommended time. Avoid moving or touching the piece while it is curing because this may leave marks or disturb the surface.
Create Masterpieces with Epoxy Res-iT
Common Beginner Mistakes to Avoid
Even when using a high-quality epoxy resin starter kit, beginners may experience problems if important preparation and mixing steps are missed. Understanding common mistakes can help improve the quality and consistency of your finished projects.
- Using an Incorrect Mixing Ratio: Always follow the ratio stated in the product instructions. Adding extra resin or hardener does not make the material cure faster.
- Mixing Too Quickly: Fast stirring can introduce extra air bubbles. Mix slowly while scraping the sides and bottom of the container.
- Working in a Dusty Area: Dust, lint, and small particles can settle on the resin surface during curing and affect the final appearance.
- Moving the Project Too Early: Avoid touching, demoulding, or using the project before the recommended curing time has passed.
- Using Too Much Heat: Excessive heat may damage the resin surface or affect the curing process. Use only appropriate methods recommended for the product.
- Adding Too Much Pigment: Use compatible colourants in suitable amounts so the resin can maintain its intended curing and finishing properties.
Learn more about the Epoxy Resin 1L Starter Kit found at Res-iT Epoxy where it is our reputation that counts. Bubble-free, quick curing, and a strong finish make this kit the most appropriate to work on projects of all sizes, starting with the use of the kit as the coaster and finishing with jewellery work. and not even dangerous, and the general usability and ease of startercraft makes it quicker to start using than distressed wood!
Why Beginners Love the Res-iT Epoxy Resin 1L Starter Kit
The Res-iT Epoxy Resin 1L Starter Kit offers a useful combination of manageable quantity, simple mixing, and creative versatility. Beginners can use the kit to practise essential resin techniques while creating a variety of small and medium-sized projects.
The 1L size provides enough material for experimentation without requiring the commitment of a much larger kit. Users can test colours, layered effects, embedded decorations, and different mould designs while developing their confidence and skills.
For new resin artists, a reliable starter kit can make the learning process more organised and enjoyable. By following the product instructions and allowing sufficient curing time, beginners can work towards clear, smooth, and long-lasting results.
Frequently Asked Questions About Finishing Resin Projects
How long should epoxy resin cure before sanding?
Most epoxy resin should be fully cured before sanding. Depending on the resin type, temperature, and project thickness, this can take around 24–72 hours. Always check the manufacturer's recommended curing time before starting the finishing process.
What grit sandpaper is best for epoxy resin?
Start with a coarse grit such as 80–120 for removing rough edges or uneven areas, then gradually move through 240, 400, 800, 1500, and higher grits for a smoother finish. For a glossy surface, wet sanding with fine-grit sandpaper can produce better results.
Can I polish epoxy resin without sanding?
Yes, if the resin surface is already smooth and free from scratches or imperfections. However, sanding is usually necessary when removing scratches, rough edges, cloudy areas, or uneven surfaces before polishing.
How do I make epoxy resin shiny again?
Start by wet sanding the cured surface with progressively finer grits, clean away all sanding residue, and then apply a suitable resin polishing compound using a microfiber cloth or buffing pad. A thin final top coat can also restore a glossy appearance when appropriate.
Can I wet sand epoxy resin?
Yes. Wet sanding is an effective way to smooth cured epoxy resin while reducing dust and helping to prevent excessive heat during sanding. Keep the surface and sandpaper wet and work gradually through the grit levels.
How do I remove scratches from epoxy resin?
Light scratches can usually be removed by wet sanding with a suitable fine grit and then polishing the surface. Deeper scratches may require sanding the affected area more extensively before applying a new clear coat or thin flood coat.
Do I need a top coat after polishing epoxy resin?
A top coat is not always necessary if the polished surface is already smooth and durable. However, applying a compatible protective top coat can help cover fine sanding marks, enhance gloss, and provide additional surface protection.
How can I get professional-looking epoxy resin edges?
Sand the edges gradually, remove sharp corners carefully, and continue with finer grits before polishing. Use consistent pressure and inspect the edges under good lighting to identify scratches or uneven areas.
Why does my epoxy resin look cloudy after sanding?
Sanding creates very fine scratches across the resin surface, which temporarily makes it appear cloudy or dull. Progressing through finer grits and polishing the surface will restore clarity and shine.
Can I finish epoxy resin before it is fully cured?
It is best to wait until the epoxy has fully cured before sanding, polishing, or applying a finishing layer. Working on resin too early can cause surface damage, uneven results, or adhesion problems with subsequent coatings.
End Note
The Epoxy Resin 1L Starter Kit is an immensely useful product that should be used by novices as well as professionals. It has endless creative opportunities due to its premium quality, completely bubble free technology, quick curing time and with environmental friendly features. You can use this kit to create both practical and beautiful pieces of art, so you'll be guaranteed of professional quality every single time.