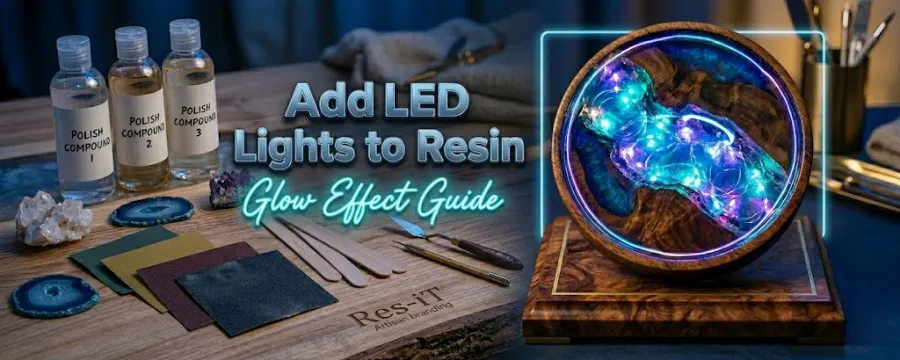
How To Put Led Lights In Epoxy Resin (Glow Effect Guide)
Adding LED lights to resin creations is one of the easiest ways to turn a simple project into something eye-catching and premium. Whether you’re making coasters, lamps, river tables, or wall art, combining epoxy resin and LED lights creates a glowing effect that customers love.
This guide uses simple wording and practical steps so beginners and experienced resin artists in the UK can follow along easily.
Why Add LED Lights to Resin Art
LED lights bring your resin projects to life.
- Creates a unique glowing look
- Makes your products stand out
- Adds value for selling resin crafts
- Works for home décor and gifts
- Energy-efficient and long-lasting
Types of LED Lights You Can Use in Resin
LED Strip Lights
- Flexible and easy to place
- Perfect for river tables and large designs
- Available in RGB colour-changing options
Fairy Lights (String Lights)
- Thin wire with tiny bulbs
- Ideal for small crafts and decorative items
- Creates a soft, magical glow
LED Modules or Small Bulbs
- Used for custom lighting effects
- Best for lamps or artistic designs
- Requires basic wiring knowledge
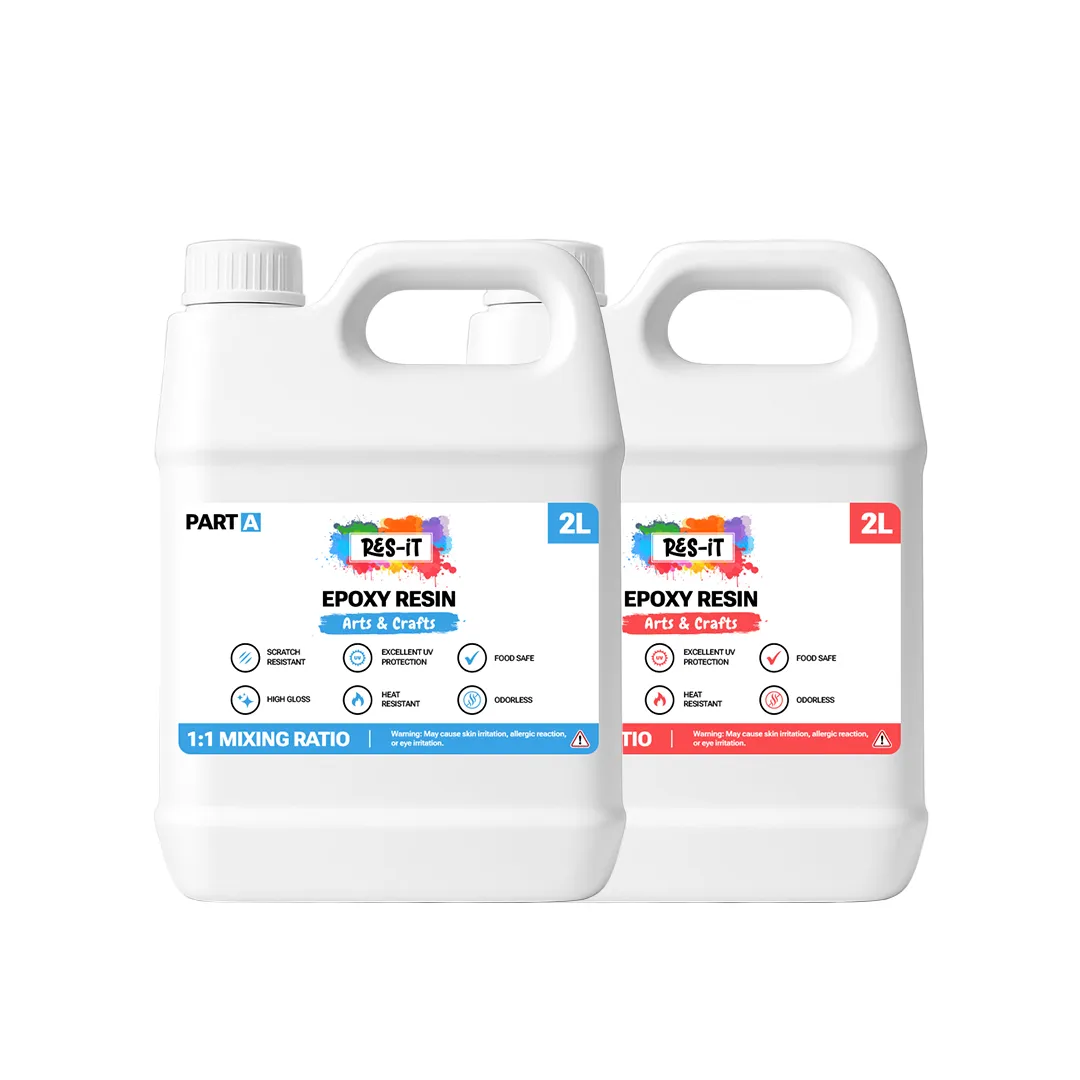
Tools and Materials You Will Need
- Epoxy resin kit (clear casting resin)
- LED lights (strip, fairy, or modules)
- Silicone mould or surface
- Power source (battery pack or USB)
- Glue or tape to hold lights in place
- Mixing cups and sticks
- Gloves and safety mask

Step by Step How to Add LED Lights to Resin
Step 1: Plan Your Design
- Decide where lights will go
- Under the surface, inside layers, or edges
- Sketch your design before starting
Step 2: Test the LED Lights
- Turn on the lights
- Check brightness and colour
- Make sure everything is working
Step 3: Pour the First Resin Layer
- Mix resin properly
- Pour a thin base layer
- Let it become slightly tacky

Step 4: Place the LED Lights
- Position lights carefully
- Keep wires neat and hidden
- Leave battery pack outside
Step 5: Pour the Final Resin Layer
- Mix fresh resin
- Pour slowly over lights
- Remove bubbles using heat gun
Step 6: Let It Cure Properly
- Leave for 24 to 72 hours
- Keep in dust free area
- Avoid touching during curing
Safety Tips for LED Resin Projects
- Use low heat LED lights only
- Never embed high voltage wires
- Keep battery pack accessible
- Avoid water contact with wiring
- Work in a ventilated space
Best Resin Projects with LED Lights
Resin River Tables
- LED strips create glowing river effects
Resin Lamps
- Perfect for home décor and gifts
Wall Art Panels
- Backlit designs look modern and premium
Coasters and Small Crafts
- Use fairy lights for decorative pieces
Common Mistakes to Avoid
- Using non waterproof lights
- Embedding the battery completely
- Pouring resin too hot
- Not testing lights before pouring
- Poor wire placement
Pro Tips for Better Results
- Use clear epoxy resin for better glow
- Add pigments carefully
- Use reflective surfaces
- Keep design simple
- Practice on small projects
How to Make Your Resin Glow Even More
- Combine LED lights with glow powder
- Use transparent dyes
- Add mirror or metallic backing
- Layer resin for depth
Is It Safe to Put LED Lights in Resin
Yes, it is safe if done correctly. Low heat LED lights work best because they do not overheat and use low power.
Final Thoughts
Adding LED lights to resin creations is a powerful way to upgrade your designs. By following the right steps planning, testing, layering, and curing you can create stunning glowing resin pieces that stand out in the market.


