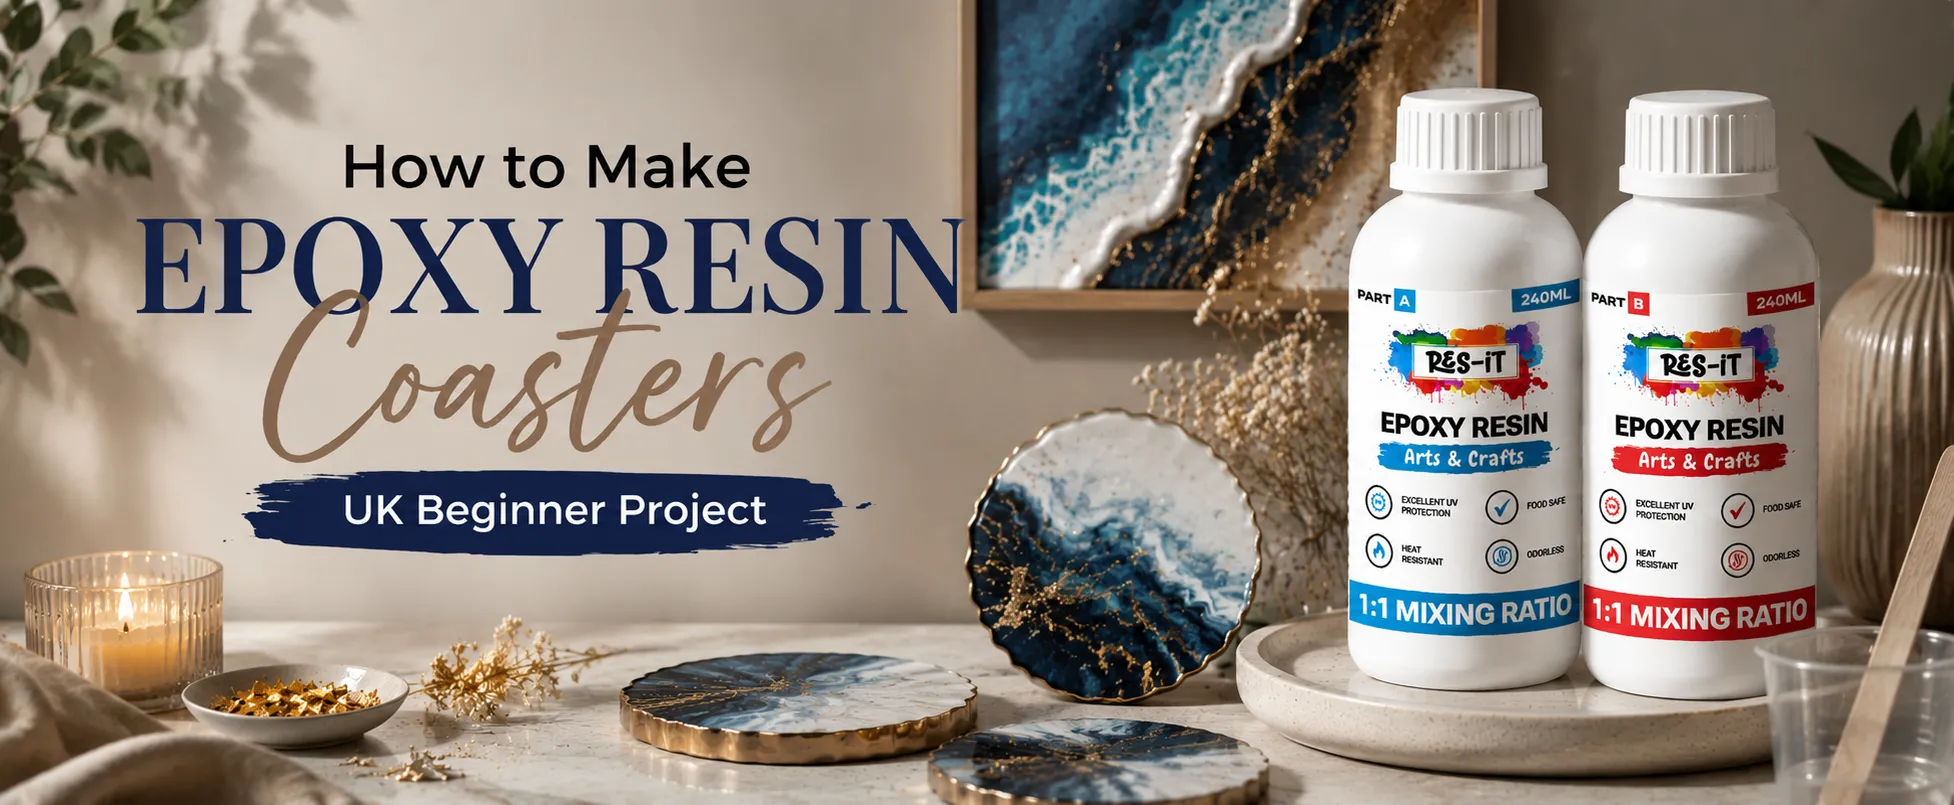
How to Make Epoxy Resin Coasters (UK Beginner Project)
Creating your own epoxy resin coasters is one of the easiest and most rewarding DIY resin projects for beginners. Whether you're making personalised home décor, handmade gifts, or starting a small resin craft business, resin coasters are an excellent place to begin. With the right materials, a little patience, and a simple step-by-step process, you can create crystal-clear coasters that look professional without needing advanced skills.
In this beginner-friendly UK guide, we'll walk you through everything you need to know—from choosing the right silicone moulds and mixing epoxy resin correctly to pouring, curing, demoulding, and adding the perfect finishing touches. We'll also recommend the best Res-iT starter kits and essential safety accessories to help you complete your first project with confidence.
What You'll Need Before You Start
Before mixing any resin, it's important to gather all of your materials in one place. Having everything prepared will make the process easier, reduce mistakes, and help you achieve a cleaner finish. Beginners should always work in a clean, dust-free area with good ventilation and wear suitable protective equipment throughout the project.
For small projects like coasters, you don't need expensive equipment. A quality starter kit, silicone moulds, measuring tools, and a few basic accessories are enough to create beautiful handmade resin coasters.
- Epoxy resin and hardener
- Silicone coaster moulds
- Mixing cups
- Wooden mixing sticks
- Nitrile gloves
- Protective apron
- Heat gun or small butane torch (optional)
- Resin pigments or mica powder (optional)
- Dried flowers, glitter, foil flakes or decorative items (optional)
- Digital weighing scale (if required by your resin)
Step 1: Choose the Right Silicone Coaster Mould
Choosing a high-quality silicone mould is one of the most important parts of any resin coaster project. Flexible silicone moulds make it easy to remove cured resin without damaging the coaster, while also helping achieve smooth edges and a glossy finish straight from the mould.
Beginners usually start with simple round or square coaster moulds because they are easier to work with and require less finishing. As your confidence grows, you can experiment with hexagon, geode, floral, or decorative mould designs to create more unique pieces.
Always inspect your mould before pouring resin. Dust, fingerprints, or leftover resin from previous projects can affect the final finish. Wipe the mould gently with a lint-free cloth before use to achieve the clearest possible result.
Step 2: Prepare Your Workspace
Preparing your workspace properly will help prevent dust contamination, accidental spills, and uneven curing. Resin naturally attracts airborne dust while curing, so working in a clean environment is essential for producing professional-looking coasters.
Cover your work surface with a protective plastic sheet or silicone mat and organise all of your tools before mixing the resin. Wearing protective gloves and a quality apron will also keep your clothes clean while making cleanup much easier once your project is complete.
Safety Tips Before Mixing Resin
- Work in a well-ventilated room.
- Wear nitrile gloves throughout the project.
- Use a protective apron to keep clothing clean.
- Keep food and drinks away from your workspace.
- Protect your table using a silicone mat or plastic covering.
- Keep children and pets away until the resin has fully cured.
Step 3: Measure and Mix the Epoxy Resin
Correct measuring and mixing are the foundation of every successful epoxy resin project. Most beginner-friendly resin kits use a simple 1:1 mixing ratio, making them easy to prepare without complicated calculations. Always follow the manufacturer's instructions carefully to ensure the resin cures properly.
Pour equal amounts of resin and hardener into a clean mixing cup and stir slowly for approximately three to five minutes. Scrape the sides and bottom of the cup regularly while mixing to ensure both components combine completely. Mixing too quickly can introduce unnecessary air bubbles, while insufficient mixing may leave soft or sticky areas after curing.
If you're new to resin crafting, the Res-iT Epoxy Resin 240ml Starter Kit is ideal for making several coaster sets without wasting material. For larger batches or multiple projects, the Res-iT Epoxy Resin 480ml Starter Kit offers extra resin while maintaining the same easy 1:1 mixing process.
Step 4: Add Colours, Pigments and Decorative Elements
Once your resin has been thoroughly mixed, it's time to personalise your coasters with colours and decorative effects. This is where your creativity comes to life. Whether you prefer elegant transparent designs or vibrant artwork, adding pigments and embellishments allows you to create completely unique resin coasters.
Mica powders, resin pigments, alcohol inks, glitter, metallic flakes, dried flowers, and decorative stones are all popular choices. Start with a small amount of colour and mix well before adding more, as highly concentrated pigments can quickly become too dark.
If you're using multiple colours, pour each one into separate mixing cups before combining them inside the mould. This creates beautiful marble, geode, ocean, or abstract effects without over-mixing the resin.
Popular Decorative Materials
- Mica powder pigments
- Liquid resin pigments
- Alcohol inks
- Dried flowers
- Gold or silver foil flakes
- Fine glitter
- Shell pieces
- Small stones or crystals
Step 5: Pour the Resin into the Moulds
Slowly pour the mixed resin into your silicone coaster moulds to minimise air bubbles and achieve an even surface. Begin pouring from one side of the mould and allow the resin to spread naturally rather than pouring directly into the centre.
Avoid overfilling the mould. Leave just enough space so the resin settles level with the mould edge. Overfilled moulds can create uneven edges and require additional sanding after curing.
If you're creating layered designs or embedding decorative items, pour a thin base layer first before carefully positioning your decorations. Once they're in place, gently cover them with another layer of resin for a clean, professional finish.
Step 6: Remove Air Bubbles
Small air bubbles are completely normal after mixing epoxy resin. Removing them before the resin begins curing helps achieve a crystal-clear, glass-like finish. Most bubbles naturally rise to the surface within a few minutes after pouring.
A heat gun or small butane torch can be passed gently over the resin surface to pop remaining bubbles. Keep the heat source moving continuously and avoid holding it in one place for too long, as excessive heat may damage the mould or cause imperfections in the resin.
Common Resin Bubble Problems & Easy Fixes
If you notice bubbles while working with resin, don't worry. Most issues are easy to fix with the right technique. Use the guide below for quick solutions.
| ⚠️ Problem | ✅ Simple Solution |
|---|---|
| Small Surface Bubbles | Use a heat gun or butane torch lightly over the resin surface to remove bubbles without overheating the mould. |
| Bubbles Around Decorations | Carefully release trapped bubbles using a wooden stick or toothpick before the resin begins curing. |
| Cloudy Appearance | Mix the resin slowly and thoroughly to minimise trapped air for a crystal-clear finish. |
| Foamy Resin | Allow the mixed resin to rest for a few minutes before pouring so air bubbles can naturally rise to the surface. |
Step 7: Leave the Resin to Cure
After pouring your resin, place the moulds on a completely flat surface where they can remain undisturbed during the curing process. Covering the moulds with a clean plastic storage box or dust cover helps prevent dust particles from settling onto the surface while the resin hardens.
Most beginner-friendly epoxy resins become touch dry within approximately 24 hours, although a full cure usually takes between 48 and 72 hours depending on room temperature, humidity, and the resin brand. Avoid moving or touching the moulds during this period to prevent marks or uneven surfaces.
Tips for Better Resin Curing
- Keep the room temperature between 20°C and 25°C.
- Protect the moulds from dust while curing.
- Avoid moving the mould during the curing process.
- Keep the resin away from direct sunlight.
- Allow the full curing time before removing the coasters.
Step 8: Demould Your Resin Coasters
Once the resin has fully cured, gently flex the silicone mould to release your coaster. High-quality silicone moulds make removal easy while helping preserve sharp edges and a glossy finish.
Never force the coaster out of the mould before it has completely cured, as this may cause bending, fingerprints, or permanent damage. If the coaster still feels soft, allow additional curing time before attempting removal.
After demoulding, inspect the coaster for any sharp edges or small imperfections. Minor finishing work can easily transform a good project into one that looks professionally made.
Step 9: Sand, Polish and Finish Your Coasters
After removing your coasters from the mould, inspect them carefully for any rough edges, sharp corners, or small imperfections. Although high-quality silicone moulds usually produce a glossy finish, a little sanding and polishing can make your coasters look even more professional.
Use fine-grit wet and dry sandpaper to gently smooth the edges before polishing the surface with a soft cloth. If you want an ultra-gloss finish, you can apply a thin final coat of clear epoxy resin once the coaster has been cleaned thoroughly.
Professional Finishing Tips
- Use fine-grit sandpaper for smooth edges.
- Sand gently using circular movements.
- Clean away sanding dust before polishing.
- Apply a thin top coat for an extra glossy finish if required.
- Allow the finishing coat to cure completely before use.
Common Mistakes Beginners Make
Most resin mistakes are easy to avoid once you understand the basics. Taking your time, measuring accurately, and following the correct curing process will dramatically improve your results. Even experienced resin artists occasionally make mistakes, so don't worry if your first coaster isn't perfect.
| Common Mistake | How to Avoid It |
|---|---|
| Incorrect Mixing Ratio | Always measure the resin and hardener exactly according to the manufacturer's instructions. |
| Mixing Too Quickly | Stir slowly for 3–5 minutes to minimise air bubbles and ensure a thorough mix. |
| Overfilling the Mould | Pour carefully until the resin reaches the mould edge without overflowing. |
| Removing Too Early | Allow the resin to cure completely before removing it from the mould. |
| Working in a Dusty Area | Cover the moulds while the resin cures to prevent dust and debris from settling on the surface. |
| Skipping Protective Equipment | Always wear gloves and a protective apron to keep your hands and clothing safe. |
Which Resin Kit Should You Choose?
Choosing the right epoxy resin kit depends on the size of your project. If you're completely new to resin crafting, a smaller starter kit is usually the best option because it allows you to practise without wasting material. Larger kits are ideal for making multiple coaster sets or trying more advanced resin projects.
Recommended Resin Starter Kits
Choosing the right resin kit makes your first projects much easier. Both Res-iT Epoxy Resin Starter Kits offer a crystal-clear finish, an easy 1:1 mixing ratio, and a low-odour formula, making them ideal for beginners and hobbyists.
| Product | Best For |
|---|---|
| Res-iT Epoxy Resin 240ml Starter Kit | Perfect for beginners creating their first coaster sets, jewellery, keyrings, and other small resin crafts. |
| Res-iT Epoxy Resin 480ml Starter Kit | Ideal for larger coaster projects, serving trays, home décor pieces, and multiple resin creations. |
|
Why Choose These Kits? Both starter kits feature a crystal-clear finish, an easy 1:1 mixing ratio, and a low-odour formula, making them excellent choices for beginners who want professional-looking results. |
|
Why Wear an Epoxy Resin Apron?
Although epoxy resin is easy to work with, accidental spills can permanently stain clothing. Wearing a dedicated epoxy resin apron helps keep your clothes clean while allowing you to focus entirely on your project.
A waterproof, wipe-clean apron is especially useful when mixing pigments, pouring resin, or working on multiple projects. Combined with nitrile gloves, it provides a cleaner, safer, and more enjoyable crafting experience.
Extra Tips for Better Resin Coasters
- Measure resin accurately every time.
- Mix slowly to reduce bubbles.
- Use high-quality silicone moulds.
- Work in a warm, dust-free environment.
- Don't rush the curing process.
- Experiment with pigments, glitter, and dried flowers.
- Store leftover resin tightly sealed after use.
- Practise with small projects before attempting larger resin pieces.
Final Thoughts
Making epoxy resin coasters is one of the easiest and most enjoyable ways to begin your resin crafting journey. By following each step carefully—from choosing quality moulds and mixing the resin correctly to pouring, curing, and polishing—you can create beautiful handmade coasters that look professional and last for years.
Whether you're creating personalised gifts, decorating your home, or starting a small resin business, using the right materials makes all the difference. A quality Res-iT Epoxy Resin 240ml Starter Kit or 480ml Starter Kit, together with essential accessories like a protective apron and gloves, will help you complete every project with confidence and achieve crystal-clear, glossy results every time.