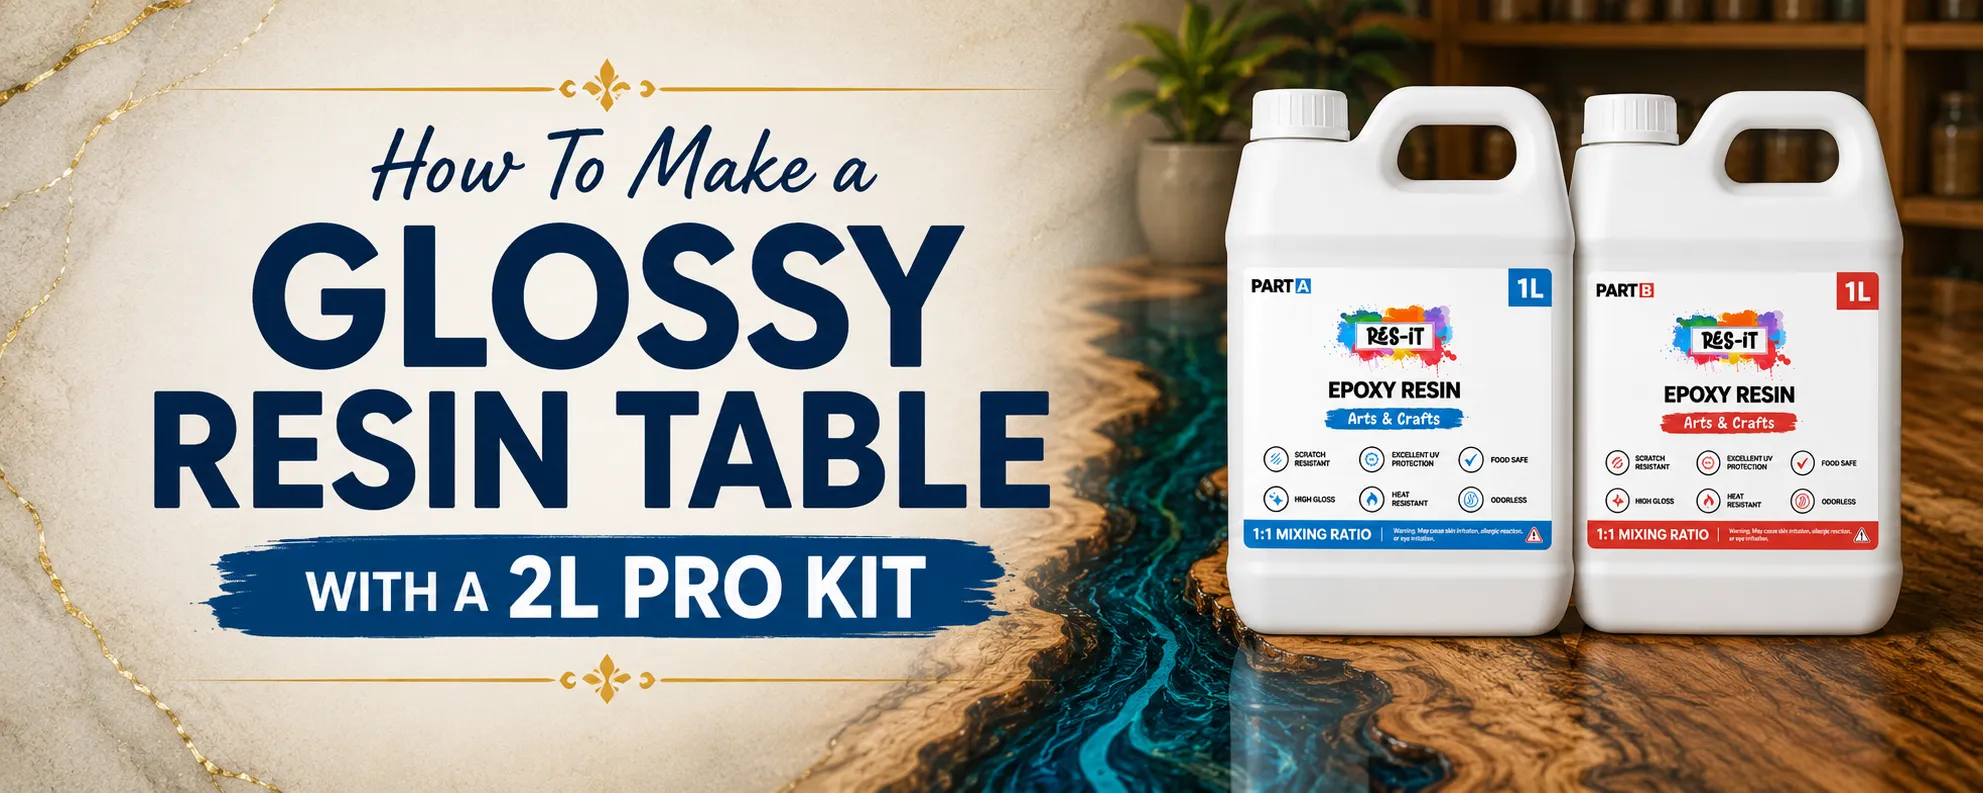
Step by Step Tutorial: How to Create a Glossy Epoxy Resin Table with a 2L Pro Kit?
With the help of epoxy resin tables, it is possible to create a beautiful epoxy resin table and any room will look like a masterpiece – elegant and modern. No matter whether you're a novice or a DIY lover, a resin table kit is an easy and rewarding experience. A professional-looking result which boosts your home or workspace can be reached by being patient and putting keen attention to detail.
Why Choose an Epoxy Resin 2L Pro Kit for a Table?
A 2L epoxy resin kit is sufficient for medium-sized creative projects, such as art with resin, serving trays and decorative furniture. It provides one enough resin to finish a project without having to buy multiple smaller kits.
Res-iT Epoxy Resin 2L Pro Kit is recommended for the creators who desire a clear and glossy result with easy control of the mixing and application process. The kit size makes it a great choice for DIY enthusiasts, artists, and small resin producers alike.

Res-iT Epoxy Resin 240ml Starter Kit

Res-iT Epoxy Resin 1L Starter Kit

Res-iT 2L Pro Epoxy Resin Kit
Materials You Will Need
Prior to commencing with the following materials will be required:
- Epoxy resin 2L pro kit (resin and hardener)
- Wooden tabletop (live edge wood or MDF board)
- Sandpaper (120, 220, and 400 grit)
- Painter's tape
- Spoons and sticks used for measurement.
- Heat gun or torch
- Protective gloves and mask
- Plastic covering (to keep the work area covered up).
- Clamps (unless it is live edge wood)
- Levelling tool
- Colour or pigments (if required to create any effects of coloured resin)
- A stirring drill attachment (but not required) (useful to stir the mixture).
Prepare Your Workspace Before Starting
Before mixing the epoxy resin, prepare a clean and organised workspace. Cover the surrounding area with a protective plastic sheet or disposable covering because resin can drip onto nearby surfaces. Keep all tools, mixing cups, stirring sticks, pigments, and the wooden tabletop within easy reach.
Make sure the tabletop is placed on a stable and level surface. A level workspace helps the resin spread evenly and reduces the risk of one side becoming thicker than the other. Keep the area as clean and dust-free as possible throughout the pouring and curing process.
- Cover the work surface with plastic or a disposable sheet.
- Keep the tabletop stable and completely level.
- Prepare all tools before mixing the resin.
- Keep dust, dirt, and loose particles away from the project.
- Use suitable protective equipment while working.
Step 1: Preparation of the Wooden Surface
Proper preparation is crucial for a smooth and glossy epoxy finish. Follow these steps:
- Sand the Wood - It is best to sand the wood prior to sanding it with a 120-grit sandpaper to eliminate any kind of roughness. Graduate to 220-grit for a smoother finish. When you desire a very smooth surface, apply 400-grit sandpaper then.
- Seal the Wood - Wood may be porous and therefore it may contain air bubbles in the resin. Epoxy is used as a seal coat, apply it in a thin layer using a brush. Allow it to heal at least 6 hours prior to getting on with it.
- Taping of Edges - Apply painter tape to the sides of the table to keep the resin off.
- Ensure a Level Surface - This should be put on a flat and steady surface so as to have even distribution of resin.
Check the Room Temperature Before Mixing
Temperature can affect how epoxy resin flows, levels, and cures. For consistent results, work in a stable indoor environment and avoid sudden changes in temperature while the resin is curing. A cold workspace may slow down the curing process, while excessive heat may reduce the available working time.
Keep the resin bottles and wooden tabletop at a similar room temperature before starting. Avoid placing the project near open windows, direct heat sources, or areas where the temperature changes frequently. Maintaining stable conditions can help produce a smoother and more even tabletop finish.
Step 2: Mixing the Epoxy Resin
To make a glossy finish crystal-clear, it is important to mix it.
- Measure Accurately - The epoxy resin 2L kit is accompanied by a resin and hardener. Use the instructions of the manufacturer with regard to the proper proportion (generally 1:1 volume).
- Mix Thoroughly - Combine the resin and the hardener in a mixing cup and stir slowly 3-5 minutes. In case, pigments or dyes are used then incorporate them now and combine until they blend uniformly.
- Get rid of Air Bubbles - Allow the mixed up resin to rest 2-3 minutes so the bubbles can come to the surface.
Mix Slowly and Scrape the Mixing Cup
When mixing the resin and hardener, stir slowly and consistently to reduce unnecessary air bubbles. Use a flat mixing stick and scrape the sides and bottom of the cup regularly. Material left on the edges may not mix properly and can affect the consistency of the final result.
Continue mixing until the material appears uniform throughout. Avoid stirring too quickly because fast mixing can introduce additional air into the resin. Once the mixture is fully blended, add any compatible pigment or colourant and mix gently until the colour is evenly distributed.
Step 3: Pouring the Epoxy Resin
Your resin is now ready and it is time to pour the resin to the tabletop.
- First Layer (Flood Coat) - Unpoured layer Resin To the surface, drizzle the resin out evenly, using a spreader or gloved hand.
- Blast Air Dry - Heat gun or torch will be used to heat the undesired quarters until all the bubbles are done away with.
- Let It Cure - The initial layer should be allowed to cure 12-24 hours prior to laying on another coat in the event of necessity.
- Add a Second Coat (if required) - You can always add a second coating in case the first one is not glossy enough, just mix and pour the second coating in the same way.
Apply the Resin in Controlled Layers
If your table design requires a thicker resin section, avoid applying an excessively deep layer without checking the product instructions. Large or deep pours may generate additional heat during curing, which can affect the appearance and finish of the project.
For thicker designs, work in controlled layers and allow each layer to reach the appropriate curing stage before applying the next one. Layering can provide better control over the final appearance and may also help you create decorative effects with pigments, mica powders, or embedded elements.
Add Colour and Creative Effects
You can customise the appearance of your epoxy resin table by adding suitable pigments, mica powders, or decorative colour effects. Metallic shades can create a premium look, while transparent colours can help preserve the natural beauty and grain of the wood.
Add colourants gradually because a small amount may produce a strong effect. Mix the colour evenly before pouring so that the tabletop has a consistent appearance. For more detailed designs, prepare separate resin mixtures and pour them carefully to create patterns, waves, marble effects, or artistic colour blends.
Step 4: Finishing Touches
Once your resin has completely cured fill your table using the following finishing process:
- Partitioning the Edges - With sharp edges, it is best to light sand by using a 400-grit sandpaper.
- Polishing - To attain a high-gloss finish, rub the surface using a buffing compound.
- Tape Removal - This is to remove the painter tape, one should remove the painter tape carefully before the resin hardens down.
- Let it Cure Properly - Epoxy resin requires approximately 72 hours to cure. Avoid heavy use until then.
Protect the Table While the Epoxy Resin Cures
After applying the final resin layer, leave the table on a stable and level surface. Avoid moving, touching, or placing objects on the tabletop while the resin is curing. Even when the surface begins to feel firm, the resin may still require additional time to develop its final strength.
Protect the tabletop from dust and small particles by placing a clean cover above the project without allowing the cover to touch the wet resin. Keep the curing area free from unnecessary movement and maintain stable conditions until the table has cured according to the product instructions.
- Keep the table level throughout the curing process.
- Do not move or disturb the tabletop unnecessarily.
- Protect the wet surface from dust and debris.
- Avoid placing heavy objects on the table before full curing.
- Allow sufficient curing time before regular use.
Transform Your DIY Projects with a Resin Table Kit
If you want flawless results, choosing a high-quality resin table kit is essential. Epoxy Res-iT has the high quality Epoxy Resin 2L Pro Kit which is used to give a crystal-clear and ultra-glossy finish. Regardless of whether you are creating a beautiful resin table, countertop or artwork, this quality kit will be durable, UV resistant, and it will have a smooth application. Upgrade your self-created products. Today buy Epoxy Resin 2L Pro Kit kit which you find at Epoxy Res It and see through your designs!
How to Care for a Glossy Epoxy Resin Table
After the epoxy resin table has fully cured, regular care can help maintain its clear and glossy appearance. Clean the surface using a soft cloth and avoid rough cleaning materials that may leave marks on the finish. Wipe spills promptly to keep the tabletop looking clean.
Use suitable protection for hot or heavy objects and avoid dragging sharp items directly across the surface. Although a cured resin finish can provide a durable protective layer, careful everyday use can help preserve the appearance of your handmade table for longer.
- Clean the tabletop with a soft, non-abrasive cloth.
- Avoid harsh or rough cleaning materials.
- Use protective mats or coasters when needed.
- Do not drag sharp objects across the surface.
- Allow the resin to fully cure before regular use.
Frequently Asked Questions
Can I use the 2L Pro Kit for a tabletop?
The 2L Pro Kit can be suitable for tabletop projects, depending on the size of the surface and the thickness of the resin layer. Measure the tabletop before starting so you can estimate whether the available quantity is suitable for your design.
How long should I wait before using an epoxy resin table?
The table should remain undisturbed during the curing process. Follow the product instructions and allow enough time for the resin to develop its final strength before placing heavy objects on the surface or using the table regularly.
Why are there bubbles in my epoxy resin tabletop?
Bubbles may appear during mixing or when air escapes from porous wood. Mixing slowly, sealing the wood before the main pour, and applying the resin carefully can help reduce visible bubbles.
Can I add colour to an epoxy resin table?
Yes, suitable resin pigments and mica powders can be used to create coloured, metallic, marble, or decorative effects. Add colour gradually and mix it evenly before pouring.
Can I apply a second epoxy resin coat?
Yes, an additional coat may be applied when the first layer requires more coverage or gloss. Follow the product guidance for the correct timing between layers and make sure the surface is properly prepared before applying another coat.
Conclusion
A glossy epoxy resin table is a rewarding DIY project which can be used to give a luxurious feel to your space. With these steps and epoxy resin 2L pro kit, one can attain a smooth professional-level finish. Epoxy resin tables are a sleek and resistant product that can be stylishly fashioned into natural wooden appearance or add a vibrant colour touch in every home. Get to work on your project and be happy with the beauty of epoxy handcrafted furniture!