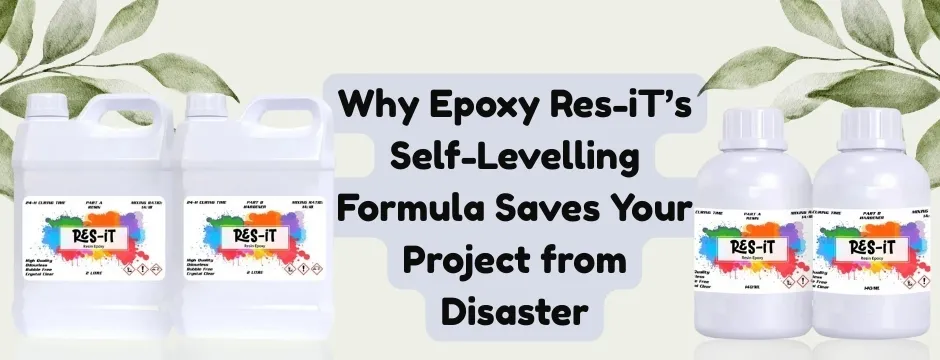
Why Epoxy Res-iT's Self-Levelling Formula Saves Your Project from Disaster
Introduction
Any resin enthusiast, hobbyist, or industrially minded professional is familiar with the pain: You have diligently prepared your epoxy mix, carefully poured it into a mould, and still the finished product does not appear smooth, even, or blemish-free. This is not only frustrating, it will also destroy your project.
Epoxy Res-iT self-levelling formula fits the bill there, since it functions equally as either a beginner or advanced resin, with the advantage of being able to form a smooth, glass-like surface with no additional effort. In this blog, we will explore what self-levelling epoxy is, why it matters, and how Epoxy Res-iT's advanced formula saves your projects from common disasters.
What is self-levelling epoxy?
In other words, self-levelling epoxy resin is designed in such a way that it can be spread evenly on its own. As opposed to streaking, lumping or ridgeing, the resin will automatically level itself out as a smooth, flat surface when poured.
- No streaks or brush marks; unlike varnishes or paints.
- Automatically fills gaps; perfect for embedding items.
- Creates a glass-like finish; smooth and flawless.
This property is critical whether you are making a jewelry piece, a resin river table, or coating an industrial floor.
Common Resin Disasters (and How Self-Levelling Fixes Them)
Without self-levelling, resin users often face these frustrating issues:
1. Uneven Surfaces
The disaster: Your cured resin looks lumpy or tilted.
How self-levelling helps: Epoxy Res-iT's formula balances itself out, creating a perfectly flat layer every time.
2. Brush Strokes or Roller Marks
The disaster: Marks left behind from applying resin with brushes.
How self-levelling helps: The formula smooths out automatically, leaving no visible strokes.
3. Resin Pooling or Thin Patches
The disaster: Resin collects in one area, leaving bare spots elsewhere.
How self-levelling works: The formula is evenly distributed on the whole surface and does not make puddles or patchy.
4. Trapped Air Bubbles
The disaster: Tiny bubbles ruin the glass-like look.
How self-levelling helps: A thinner, even spread makes bubbles easier to release with a torch or heat gun.
5. Wasted Time and Materials
The disaster: Extra sanding, re-pouring, or starting over.
How self-levelling helps: One pour is often enough—saving both resin and effort.
Why Epoxy Res-iT's Formula Stands Out
Many brands claim to be self-levelling, but Epoxy Res-iT's formula is trusted by thousands across the UK for several reasons:
- Crystal-Clear Finish; no yellowing, no haze.
- Bubble-Resistant; designed for fewer imperfections.
- Beginner-Friendly; you don't need professional skills for pro results.
- Durability; cures to a strong, scratch-resistant surface.
- Versatility; equally great for art, DIY, and industrial use.
Step-by-Step: How to Use Self-Levelling Resin for Best Results
Even with a high-quality formula, your technique matters. Here is how to make the most of Epoxy Res-iT's self-levelling properties:
1. Prepare Your Workspace:
- Work in a dust free, warm room 20-25°C.
- Flatten your table or surface to provide the resin with a flat surface to work on.
2. Mix the Resin Properly
- Add the resin to hardener in the exact 1:1 ratio.
- Gently mix in a folding motion to prevent the addition of bubbles.
3. Pour Evenly
- Pour resin in thin layers instead of all at once.
- Allow it to naturally spread; don't overwork it.
4. Remove Bubbles
- Sweep a torch or heat gun across the surface.
- Self-levelling helps bubbles rise to the top quickly, making removal easier.
5. Protect While Curing
- Cover your project with a box or tent to keep dust away.
- Let the self-levelling action do the hard work while it cures undisturbed.
Who Benefits Most from Self-Levelling Epoxy?
For DIY Enthusiasts
No special methods are required simply pour and allow the resin to settle easily. Ideal on coasters, jewellery and keychains.
For Artists
Get perfect finishes on canvases, river tables and stratified art pieces without any concern of uneven surface.
For Industrial Clients
Coat large areas like countertops or floors with minimal labour. The resin tends to spread easily and it saves time during application.
Troubleshooting: What If It Doesn't Level?
While Epoxy Res-iT is designed to self-level, mistakes can still happen. Here is how to troubleshoot:
| Problem | Solution |
|---|---|
| Surface still uneven? | Check if your table is perfectly level before pouring. |
| Resin too thick to spread? | Warm the bottles in hot water before mixing. |
| Bubbles remain? | Use a heat gun immediately after pouring. |
| Sticky patches after curing? | Caused by incorrect mixing ratios; always measure carefully. |
Eco-Friendly Advantage
It is a healthier, greener formula compared to some other options: Epoxy Res-iT.
- Safe indoor use-VOC free and low odour.
- Put in recyclable packaging.
- Minimal waste thanks to precise measuring and self-levelling efficiency.
FAQs
Q: Can I use Epoxy Res-iT self-levelling resin for deep pours?
A: Yes, but it's best to pour in layers for thickness beyond 5-10mm.
Q: Do I still need a heat gun if it's self-levelling?
A: Yes, heat helps release bubbles quickly even though levelling reduces them.
Q: Can it be applied to outdoor projects?
A: Absolutely Epoxy Res-iT is both UV resistant and hardy except outdoors.
Q: Is this something that beginners can use?
A: That is the beauty of the formula, it is forgiving and easy to use.
Conclusion:
Resin projects often fail due to uneven finishes, bubbles, or wasted materials. However, with the self-levelling formula of Epoxy Res-iT such disasters are a thing of the past. Make it a hobby or profession, this high quality formula assures you of a smooth and glassy finish each and every time.
Save time. Save materials. Save your project from disaster; with Epoxy Res-iT.


