How to use a 240ml Epoxy resin starter kit: A Guide to the beginner.
Epoxy resin has swept the DIY and crafting sector! Epoxy resin starter kit 240ml is the perfect beginner kit that is required to make exquisite jewellery, sparkling tabletops or eye catching art creations. Epoxy resin has a glass-like finish, strength as well as flexibility that makes it a great material to work with on different projects.
Some questions that you might be having are:
- How shall I effectively combine epoxy resin?
- What can I do to avoid bubbles and flaws?
- How do I create some project out of my 240ml epoxy resin starting kit?
This manual will answer you all the questions and will also present you with the step by step guide. You will be able to use your starter epoxy resin of 240ml like a professional once you complete the end.
What is in the 240ml Epoxy Resin Starter Kit?
An average epoxy resin 240ml starter kit includes the following items which are crucial:
- Resin (120ml) - The most important one which provides a transparent, glossy and hard finish.
- Hardener (120ml) - A substance that is hardened together with the resin to form a hard surface.
- Measuring Cups - This is to measure right volume of the resin and hardener to cure.
- Mixing Sticks - This helps to mix resin and hardener properly.
- Protective Gloves - Denies hand contact.
- User Manual - It comes with some kits with directions to good practices.
It is also worthwhile to have the right proportions and technique so that it can be a smooth, bubble-free, professional finish.


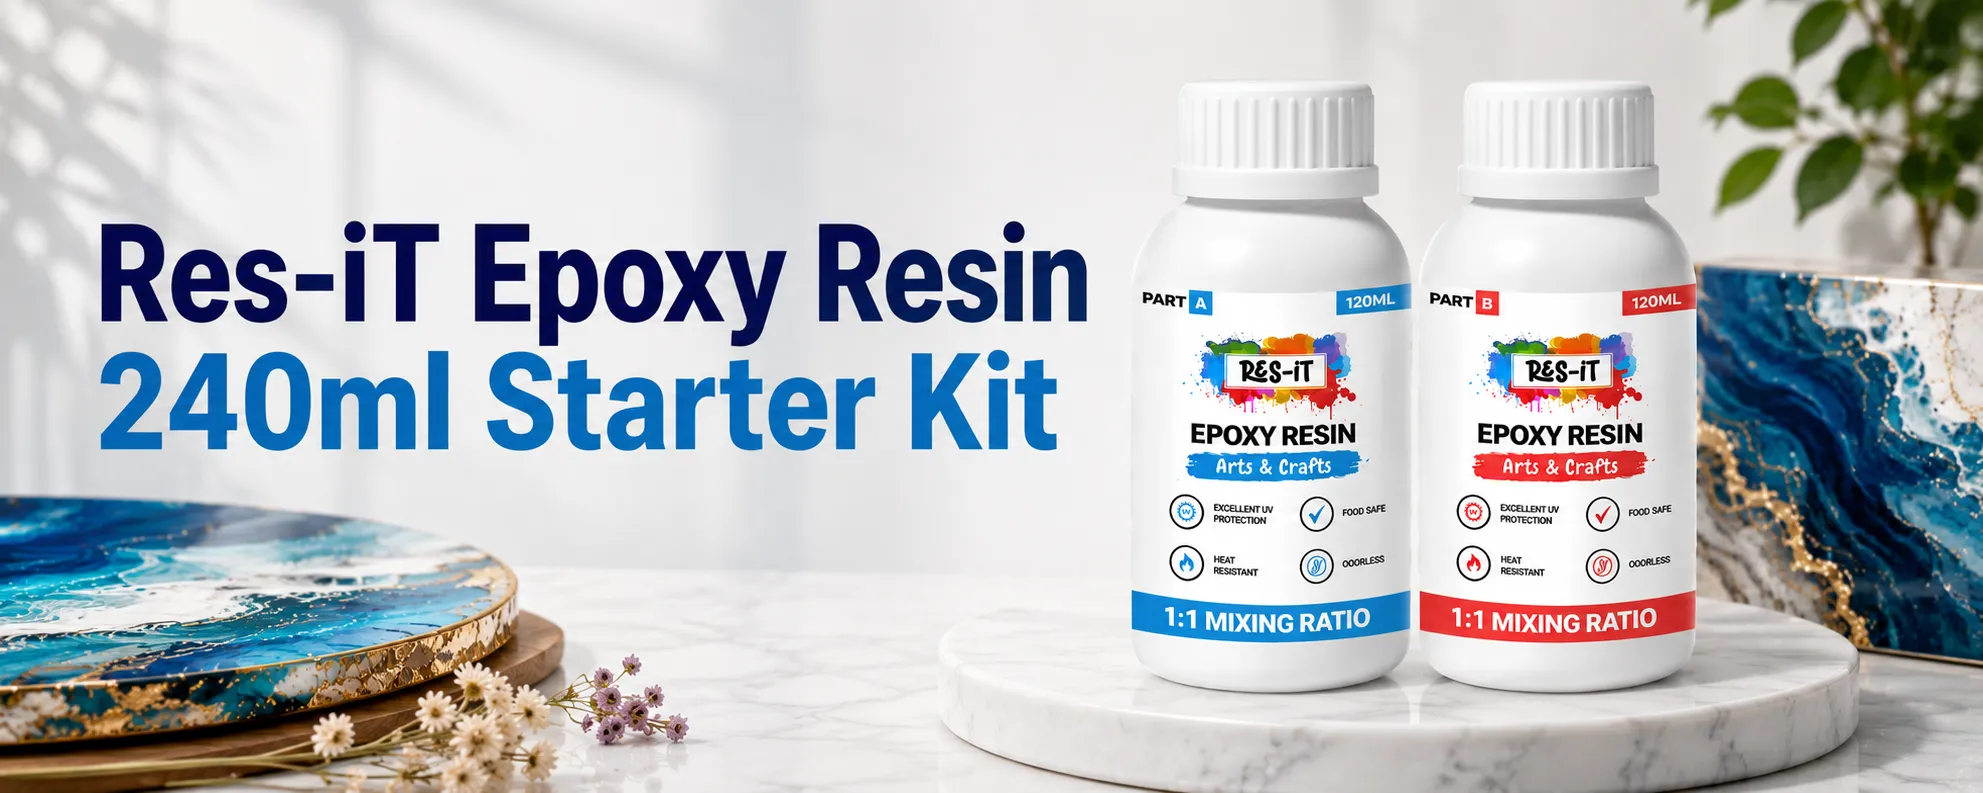
Res-iT Epoxy Resin 240ml Starter Kit

Res-iT 2L Pro Epoxy Resin Kit
Why Choose a 240ml Epoxy Resin Starter Kit?
A 240ml epoxy resin starter kit is an excellent choice for beginners because it provides a practical amount of resin for learning without the cost or waste associated with larger kits. It allows new creators to practise mixing, pouring, colouring and curing while working on small projects.
The compact size is ideal for jewellery, coasters, keychains, bookmarks and decorative resin art. It is easy to store, simple to handle and gives beginners the opportunity to experiment with different colours, pigments and creative effects.
- Beginner-friendly: Easy to measure and use for small projects.
- Cost-effective: A practical way to start resin crafting without buying a large kit.
- Versatile: Suitable for jewellery, coasters, keychains and decorative art.
- Compact: Easy to store and convenient for home use.
- Less waste: Helps beginners practise without using excessive resin.
Setting up Your Workplace to Epoxy Resin Work.
Preparation of a safe and efficient working environment is very important before you begin working with your starter pack of 240ml epoxy resin.
1. Ensure sufficiency of Ventilation.
- Epoxy resin gives out fumes that are irritating when taken over an extended period.
- Change of work-place - work in a place with a great deal of air.
- Instal an exhaust fan to help get the fumes out of your work place.
- In case of working in a narrow space, use a respirator mask available to resin fumes.
2. Cover Your Work Surface
- Use a plastic sheet, silicone mat or a parchment paper to cover your table to capture spills.
- Place high stools beneath your project to ensure that resin does not form at the bottom.
- Have paper towels and alcohol wipes on hand.
3. Wear Proper Protective Gear
- Disposable gloves will ensure that your hands are not exposed to resin.
- Splashes are prevented by protective goggles.
- There is an apron or old clothes to keep your dress out of rags.
4. Work on a Level Surface
A smooth surface helps to avoid the concentration of resin. Check the workspace with a bubble tool.
The Epoxy Resin Starter Kit 240ml is used in the following way.
Step 1: Measuring the Resin and Hardener
- Add an equal quantity of resin and hardener in a measuring cup.
- Be careful and scrape the sides with a stick.
- Extra hardener will not accelerate the process it is likely to destroy your project.
Step 2: Blending the Resin and Hardener
- Blend gently and carefully during 3-5 minutes.
- Stir scrape sides and bottom.
- Shake too quickly forms air-bubbles keep still!
Pro Tip: Continue stirring until the resin is clear.
Step 3: Adding Colours and Special Effects
- Pigments and Dyes: Add several drops of dye, alcohol ink or powdered mica to produce bright colours.
- Glitter and Metallic Powders: Add shine and glitter.
- Embedded Objects: Include small trinkets or dried flowers to give special effects.
Step 4: Pouring the Resin
- Slowly and gradually: Gently pour not to create bubbles.
- Spreading: Resin should be spread using a spatula in order to even resin.
- Layering: Instead of a thick layer use several thin layers of paint.
Step 5: Removing Air Bubbles
- Heat Gun: Rapidly blow resin to remove bubbles.
- Straw Technique: Blow a little on the surface.
- Warm Resin Prior to Mixing: Assists in minimising trapped air.
Hack: Do not eject air with a hairdryer, it sprays dust on your resin.
Step 6: Curing the Resin
- Allow to rest, without disturbance, 24-48 hrs. in a dust-free place.
- Best curing at 22-25°C.
- Do not move or touch until hard.
The 240ml Epoxy Resin Starter Kit is designed to allow a creative project to be made with it.
1. Jewellery Making
- Make flowers or glitter embedded earrings, bracelets, pendants, and rings.
- Silicone moulds are also varied.
- Add metallic foil/mica powder to make it fancy.
2. Resin Coasters
- Unique designs should be done with gold flakes, dried flowers or coloured inks.
- Use geode type moulds in the appearance of natural stone.
- Emboss initials or little in-built things to personalise.
3. Tabletops and Wood Finishes
- Apply crystal-clear resin to furniture made of coat wood.
- Add marble or ocean wave effects pigments.
- Art beneath resin to create special tables.
4. Key Chains and Accessories
- Design customised charms of pigments or glow.
- Play with transparent layers and dried flowers.
More Creative Projects for Your 240ml Epoxy Resin Starter Kit
5. Resin Trays
A resin tray is a great next project when you are ready to work on something slightly larger. You can add mica powder, glitter, gold flakes or dried flowers to create a decorative and useful piece.
Resin trays can be used for jewellery, candles, keys or home decoration. Custom designs with names, initials or unique colour combinations can also make thoughtful handmade gifts.
6. Resin Wall Art and Abstract Designs
Abstract resin wall art gives beginners the freedom to experiment with flowing colours and creative effects. A small canvas or flat wooden panel can be used as a base for your first project.
Add small amounts of pigment, mica powder or alcohol ink to the mixed resin and allow the colours to move naturally. You can tilt the surface carefully to create marble, ocean-wave or abstract patterns.
7. Resin Bookmarks
Resin bookmarks are simple projects that make good use of small amounts of leftover resin. Add dried flowers, glitter, coloured pigments or decorative flakes to create a personalised design.
This project is useful for practising mixing, pouring and demoulding techniques. Resin bookmarks are also suitable as handmade gifts or small products for craft collections.
Problem Solving Epoxy Resin Problems.
- Sticky or Soft Resin: Positioning ratio or lack of curing time.
- Bubbles Won't Pop: Heat gun or wait to pour.
- Smoking Visage: Blend resin and hardener.
- Leaking through Moulds: Pour not too full.
How to Store Your 240ml Epoxy Resin Starter Kit
Proper storage helps maintain the quality of your epoxy resin and hardener. Always close both containers tightly after use and keep them upright to reduce the risk of leaks or contamination.
- Store the resin and hardener in a cool, dry place.
- Keep the containers away from direct sunlight and heat.
- Keep the lids tightly closed after every use.
- Do not allow dirt, moisture or mixing tools to enter the bottles.
- Keep the kit safely stored and follow the product label instructions.
What Makes 240ml Epoxy Resin Starter Kit by Epoxy Res-iT the best choice?
- Professional quality, crystal-clear finish.
- Easy 1:1 mixing ratio.
- Bubble-free formula.
- Jewellery and tabletops and art.
When Should You Upgrade to a 2L Epoxy Resin Kit?
Once you become confident using the 240ml starter kit, you may want to move to a larger resin kit for bigger or more frequent projects. A 2L kit can provide more material for trays, larger artwork, furniture projects and multiple resin creations.
The 240ml kit is ideal for learning and testing new techniques, while a larger kit may be more practical when you regularly create resin art or need more resin for larger designs.
If you are ready to work on bigger projects, explore the Res-iT Epoxy Resin 2L Pro Kit .
Frequently Asked Questions About the 240ml Epoxy Resin Starter Kit
What is included in a 240ml epoxy resin starter kit?
A typical 240ml starter kit includes 120ml of resin, 120ml of hardener, measuring cups, mixing sticks, protective gloves, and a user manual. These items provide the basic equipment needed for small resin projects.
What can I make with a 240ml epoxy resin starter kit?
A 240ml kit is suitable for smaller projects such as jewellery, resin coasters, keychains, bookmarks, decorative trays, and small resin art pieces. It can also be used to practise different colouring and pouring techniques.
What is the mixing ratio for a 240ml epoxy resin starter kit?
The 240ml Epoxy Res-iT Starter Kit uses a 1:1 mixing ratio. Measure equal quantities of resin and hardener and follow the product instructions carefully for the best curing results.
How long does 240ml epoxy resin take to cure?
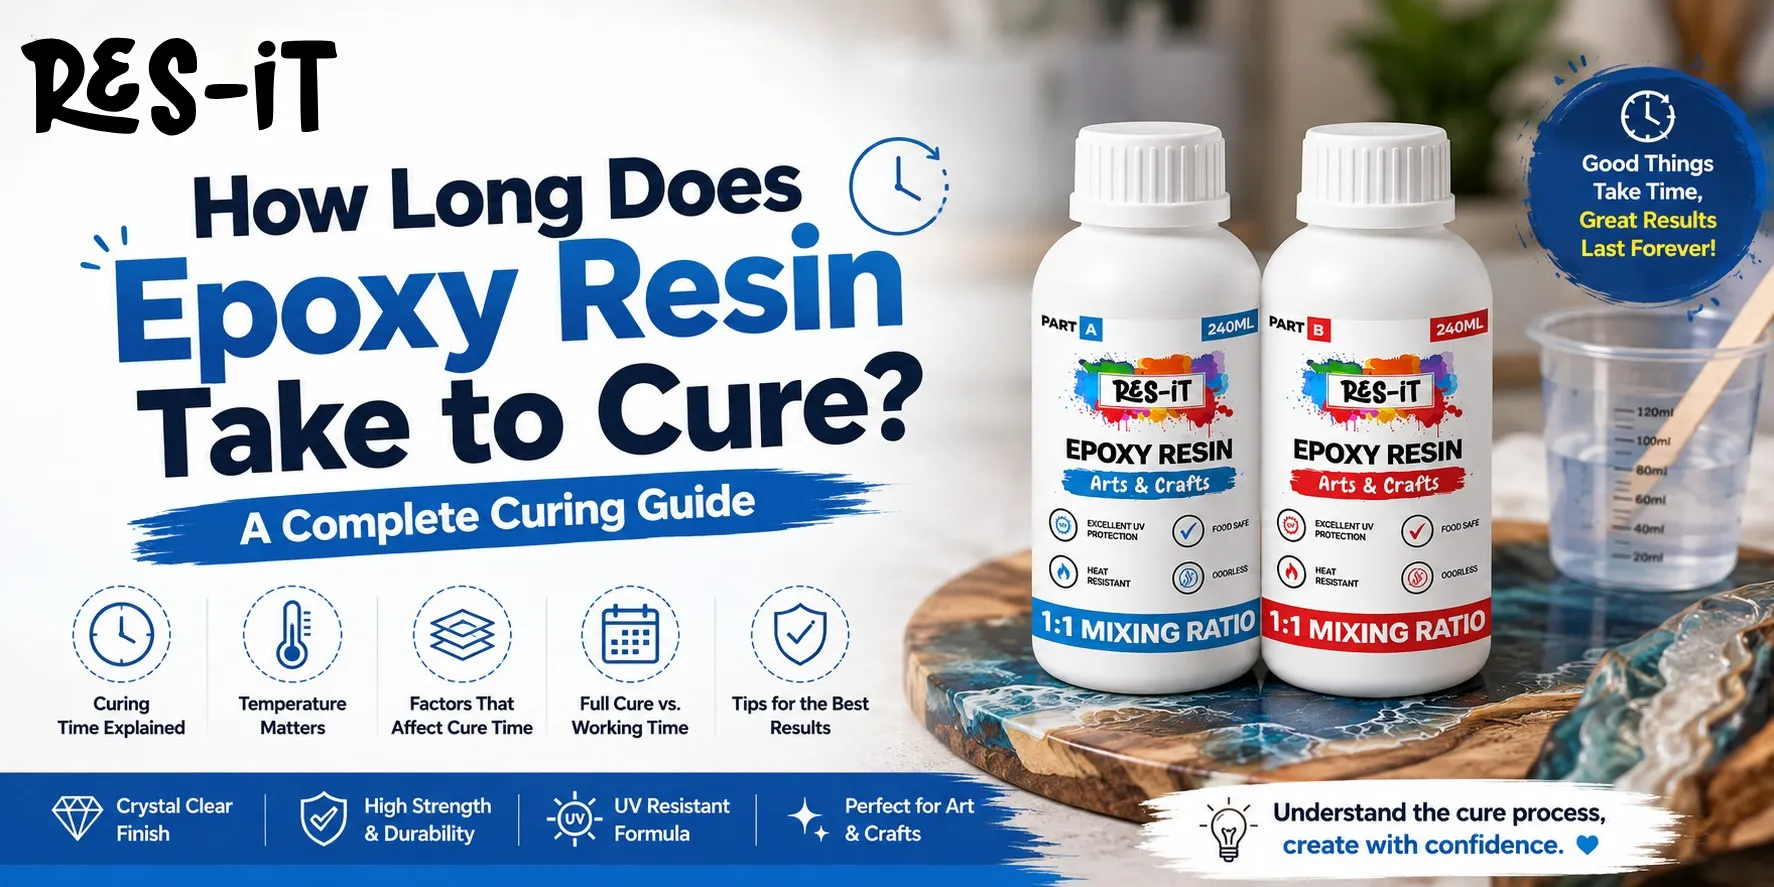
The resin should generally be left undisturbed for around 24–48 hours in suitable conditions. The curing environment should remain stable, with the guide recommending a temperature of approximately 22–25°C.
How do I prevent bubbles in epoxy resin?
Mix the resin and hardener slowly and carefully to reduce trapped air. Pour gradually and use suitable bubble-removal techniques, such as gentle heat, when appropriate. Warming the resin before mixing can also help reduce trapped bubbles.
Can I add pigments to a 240ml epoxy resin starter kit?
Yes. You can experiment with mica powder, resin dyes, alcohol inks, glitter, metallic powders, and other suitable colouring materials. Small decorative elements such as dried flowers can also be embedded in suitable resin projects.
What temperature is best for curing epoxy resin?
The guide recommends curing the resin at approximately 22–25°C. Keeping the project in a stable, dust-free environment helps support a more consistent cure.
Why is my epoxy resin sticky or soft?
Sticky or soft resin can be associated with an incorrect mixing ratio or insufficient curing time. Measure the resin and hardener accurately and allow the project enough time to cure before handling it.
How should I store a 240ml epoxy resin starter kit?
Keep the resin and hardener containers tightly closed and upright in a cool, dry place away from direct sunlight and heat. Prevent dirt, moisture, or used tools from entering the containers.
When should I upgrade from a 240ml to a 2L epoxy resin kit?
The 240ml kit is ideal for learning and practising small projects. Once you regularly create larger artwork, trays, furniture projects, or multiple resin pieces, a 2L kit may be more practical.
Final Thoughts
The world becomes creative and crafty with the help of a 240ml epoxy resin starter kit. Using this guide, you can easily make resin art projects and craft projects that are stunning and professional-quality.