
Step-by-Step Resin Art Process
Epoxy resin art is now one of the most thrilling creative trends in the past few years and particularly among the resin art UK community.. Between abstract wall artworks and resin art ocean scenes and resin art tables, there are no limits to what can be done with the resin art epoxy.
This guide walks you through the complete resin art process, from preparation and mixing to curing and finishing—helping both beginners and experienced artists achieve consistent, professional results. As a beginner who is working with a resin artwork kit or skilled artist who is adjusting his or her technique, you need to know this process in order to get consistent results.

What Is Resin Artwork?
Resin Artwork is an artistic process in which epoxy resin is combined, poured, and molded to form either decorative or practical artworks. Also in contrast to a conventional paint, resin can be finished in a high-gloss, glass-like finish which can be layered to create depth and movement.
Epoxy resin artwork is commonly used for:
- Wall art and abstract designs
- Resin art ocean scenes
- Resin art table tops and furniture
- Decorative trays, coasters, and panels
- Resin for painting mixed media art
Epoxy resin of good quality, like that provided on the Res-iT epoxy gives you clear, durable, and long-lasting results.
Stage 1: Planning the Resin Art Process
With resin artwork kit, it is important to plan before opening it. This step determines the success of the final work.
Key Planning Elements
- Artwork type: Wall art, resin art table, ocean scene, or functional décor
- Surface selection: Wood panels, MDF boards, canvas, or table tops
- Colour palette: Pigments, mica powders, or transparent tints
- Layer strategy: Single pour or multi-layer design
Professional resin artists always sketch their design or test the colours before mixing resin.
Stage 2: Preparing the Workspace and Materials
Preparation is a crucial part of the resin art process that is often overlooked.
Workspace Setup
- Clean, dust-free surface
- Level working table
- Controlled room temperature
- Good ventilation
Essential Tools
- Resin artwork kit (resin + hardener)
- Mixing cups and wooden stirrers
- Gloves and protective gear
- Heat gun or torch for bubble removal
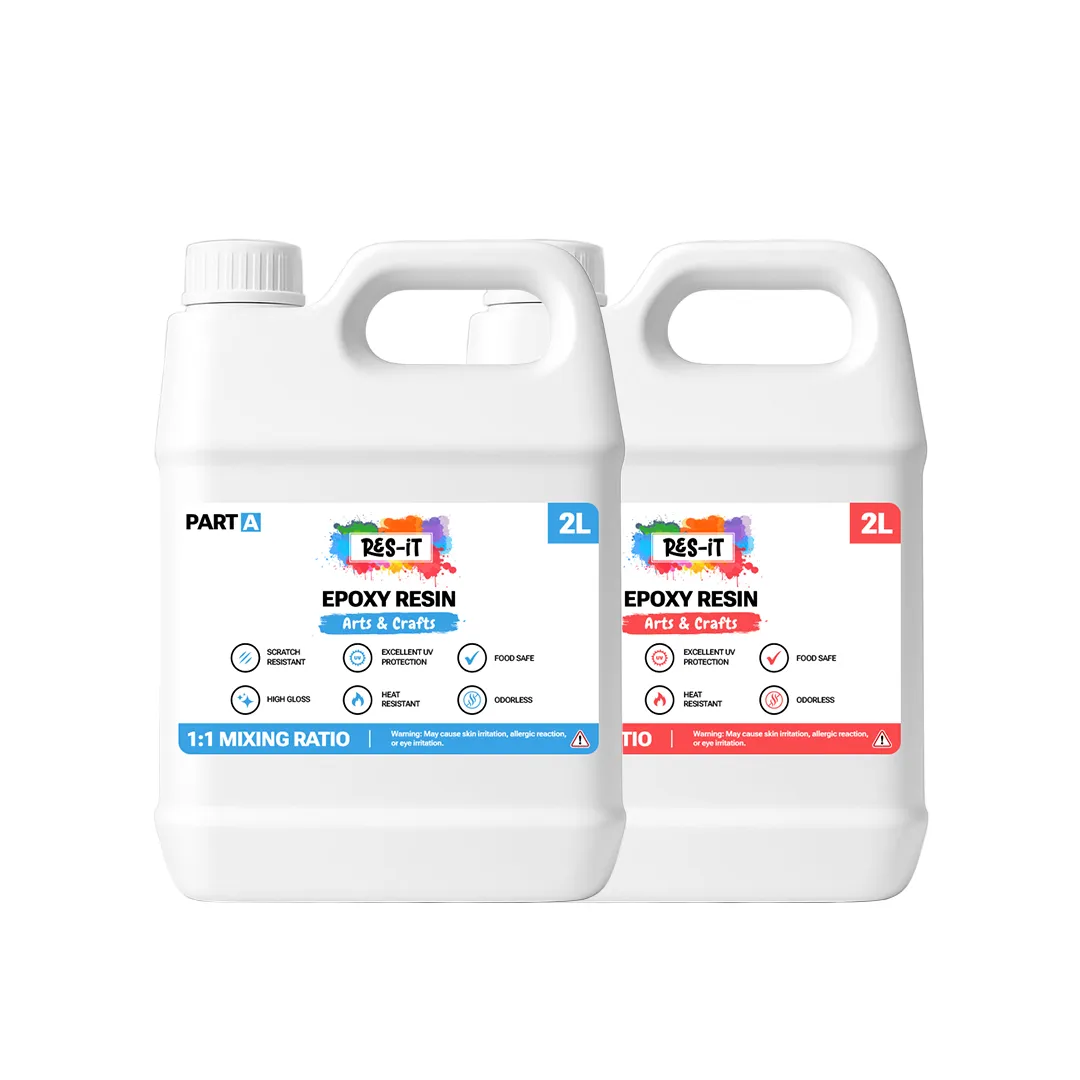
Premium-quality resin materials supplied by Res-iT Epoxy Resin are used to reduce the number of bubbles and enhance uniformity in curing.
Stage 3: Mixing the Epoxy Resin
This is where resin art epoxy truly begins. Mixing errors are the most common reason to failed resin artwork.
Proper Mixing Process
- Measure resin and hardener accurately
- Mix slowly to avoid air bubbles
- Scrape sides and bottom of the cup
- Mix for the recommended time
Correct mixing ensures:
- Proper curing
- Smooth, glossy finish
- Strong, durable epoxy resin artwork
Stage 4: Pouring and Creating the Design
After mixing, the liquid resin is poured onto the surface of preparation. This is where creativity comes to life in the resin art process.
Popular Resin Art Techniques
- Flood pour: Covers the entire surface evenly
- Dirty pour: Colours are mixed before pouring
- Ocean wave technique: Used in resin art ocean designs
- Layer pouring: Adds depth and texture
Resin is also used by artists as a method to create the effects of painting combining resin with acrylic paint or pigments.
Stage 5: Bubble Removal and Surface Control
Air bubbles naturally float up, after being poured down.
How to Remove Bubbles
- Use a heat gun or torch gently
- Move in slow, sweeping motions
- Avoid overheating the resin
This process make your epoxy resin artwork to achieves a crystal-clear finish.
Stage 6: Curing and Setting the Artwork
The transformation process is known as curing in which resin changes into solid.
Curing Factors
- Room temperature
- Resin thickness
- Product quality
Most of the resin kits require 24-72 hours for initial curing, and full hardness takes a number of days. At this period, the artwork must be covered to avoid contamination of dust.
Stage 7: Sanding, Finishing, and Final Touches
After being cured, the process of finishing is used to make the resin work look professional.
Finishing Steps
- Light sanding for imperfections
- Edge trimming if required
- Optional topcoat for added gloss
- Polishing for a glass-like finish
This step is particularly crucial in resin art table projects, where the most important factors of consideration are durability and smoothness.
Why Quality Resin Matters in Resin Art
Not every product of epoxy resin perform same. High-quality resin offers:
- Better clarity
- Reduced yellowing
- Longer working time
- Stronger final surface
Resin artists in the UK use trusted brands such as Res-iT Epoxy Resin which can be accessed through their entire product line.
The success and long working life of your work depend on the right resin artwork kit used.
Common Mistakes to Avoid in Resin Artwork
- Incorrect resin-to-hardener ratio
- Pouring in unsuitable temperatures
- Skipping surface preparation
- Overheating during bubble removal
- Rushing the curing process
These errors can be avoided to enhance consistency and minimize waste of materials.
Conclusion
The resin art process takes a process of planning, technique, and patience. Learning about the resin artwork to the process of pouring and curing, each of them is essential towards the outcome. Be it creating resin art ocean scenes, trying resin to paint a picture or creating a resin art table, good materials and a guided procedure will guarantee a professional outcome.
By using reliable products of Res-iT Epoxy Resin, artists can be assured to create lasting, interesting artwork using liquid resin that will withstand the test of time.
Frequently Asked Questions
1. What is resin artwork best used for?
Resin artwork is best to use in wall art work, decorative furniture such as resin art tables, sea themes, and mixed media painting.
2. Can beginners use a resin artwork kit?
Yes. A resin artwork kit is a beginner and professional resin kit containing pre-weighed resin and clear instructions to follow.
3. How long does epoxy resin artwork last?
Resin artwork can take several years to yellow and crack when composed with high quality of epoxy resin and cured.


